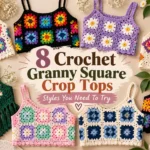
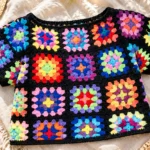
You Need to Try This Crochet Granny Square Crop Top Patterns
This guide covers seven granny square crop top styles worth trying, plus a complete beginner-friendly pattern for making your own wearable top.

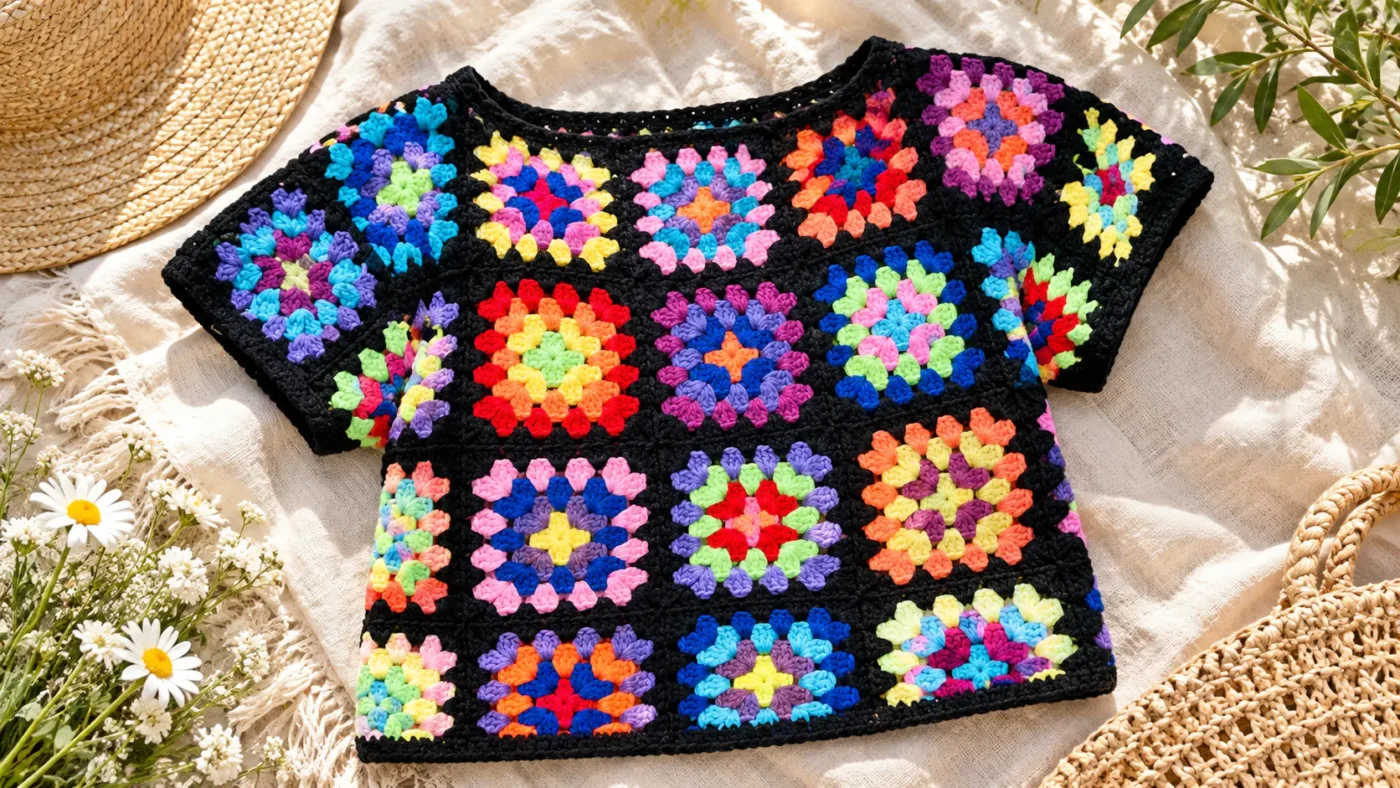
This guide covers seven granny square crop top styles worth trying, plus a complete beginner-friendly pattern for making your own wearable top. You’ll learn how to crochet the squares, calculate your size, join the pieces, add straps, and finish the edges neatly.
Seven Granny Square Crop Top Patterns to Try
The best granny square top crochet design depends on the look you want, the yarn you enjoy working with, and your experience level.
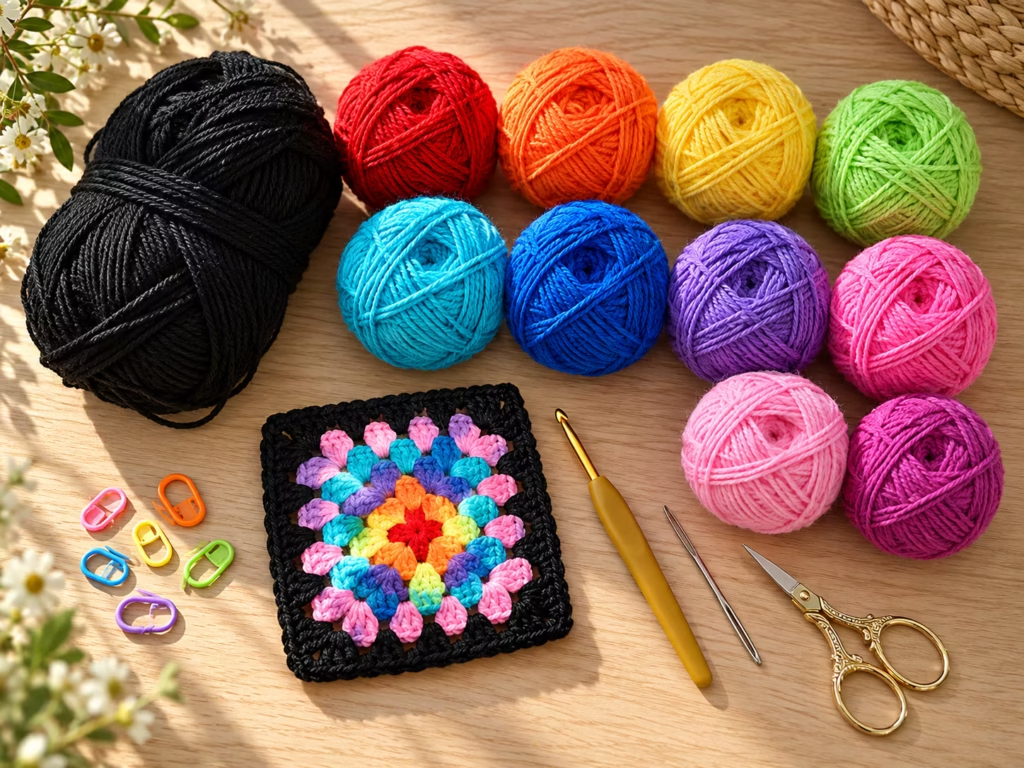
These seven original design concepts range from simple square-based construction to more detailed statement pieces. The complete tutorial later in this article teaches the classic patchwork version, which provides a useful foundation for several of the variations.
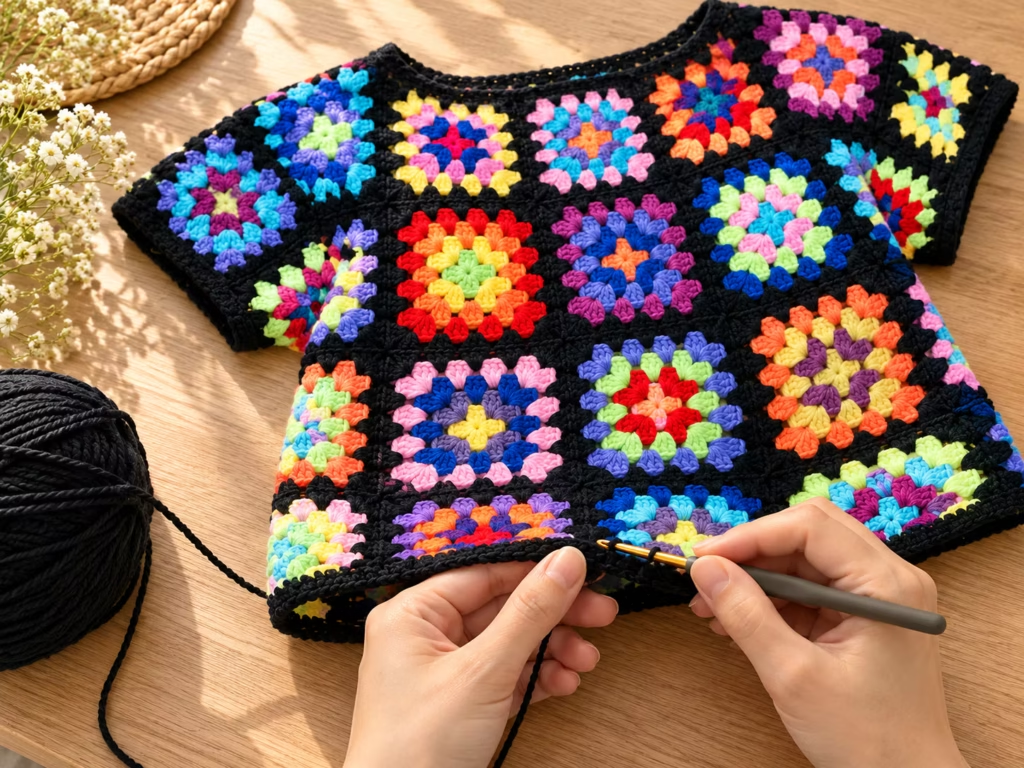
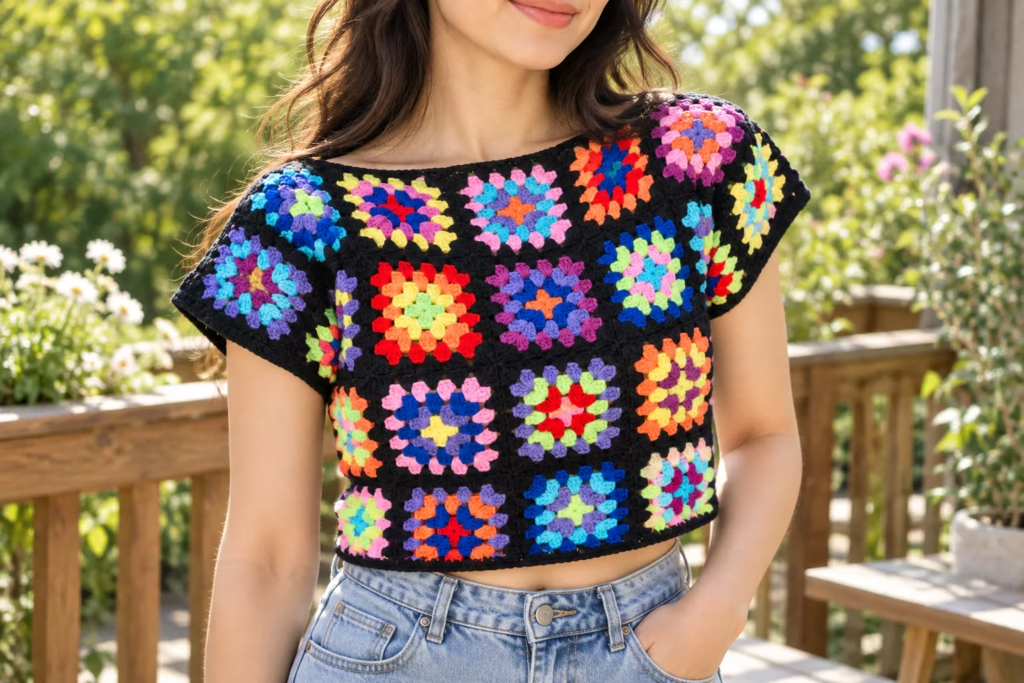
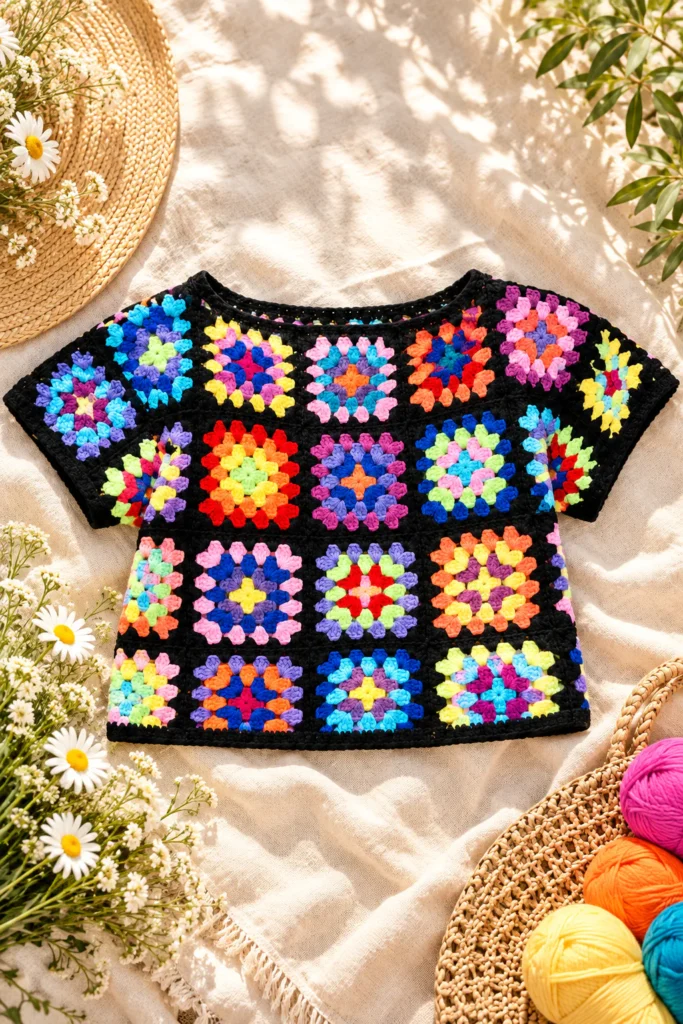
1. Classic Colorful Patchwork Crop Top
The classic patchwork crop top is an excellent starting point because it uses repeated granny squares instead of complicated garment shaping.
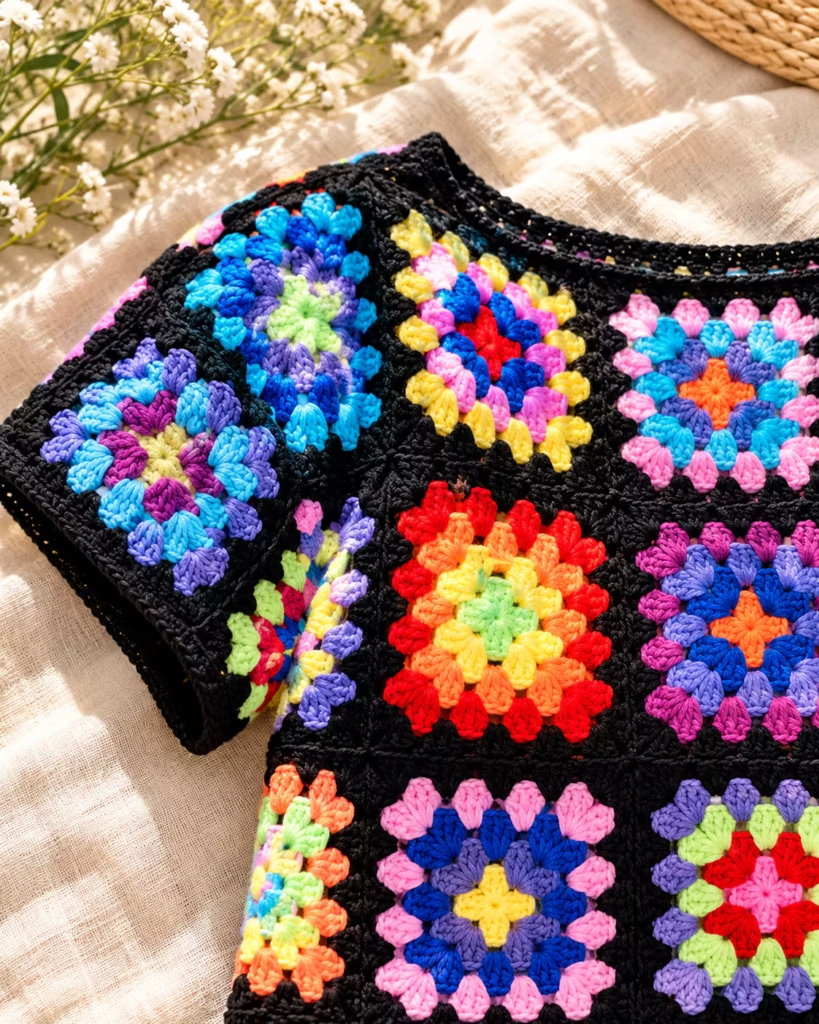
Arrange colorful squares into two matching rectangular panels, join the panels at the sides, and add shoulder straps. For a balanced look, choose three or four coordinating yarn colors. Repeat at least one color throughout the squares so the finished garment feels intentional.
Best for: Beginners learning garment construction.
Try this: Use a cream border around every square to bring several bright colors together.
2. Floral Granny Square Crop Top
Flower-centered granny squares create a softer, romantic style.
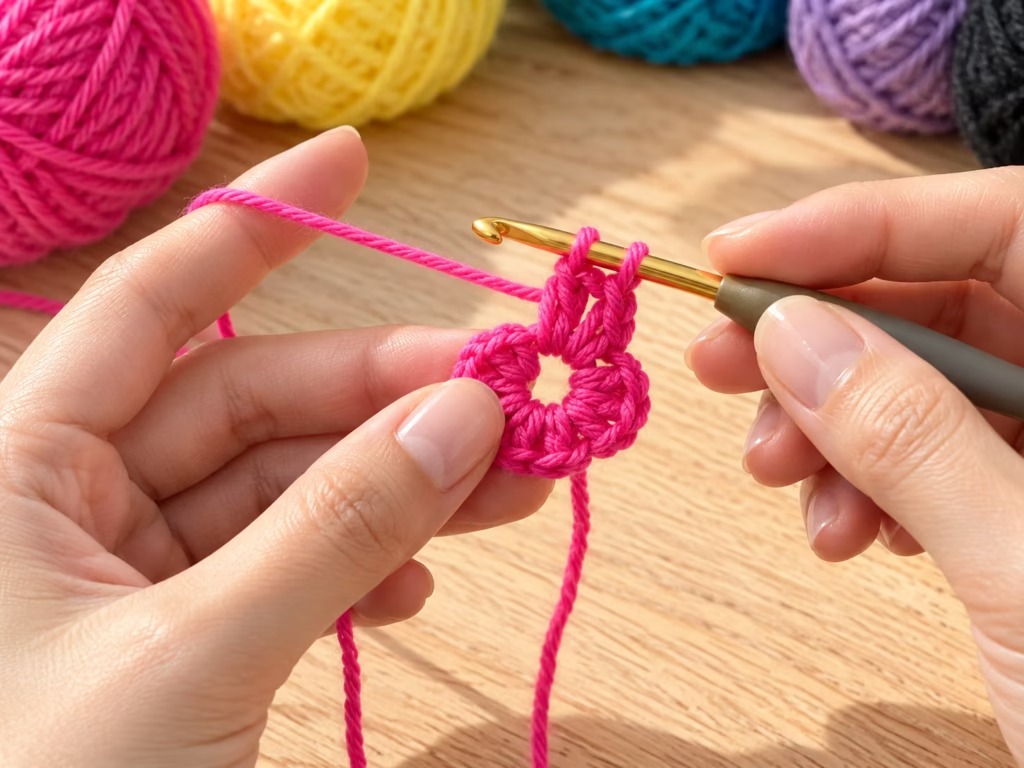
Many floral designs begin with a small circular flower motif surrounded by stitches that transform the shape into a square. The exact instructions depend on the chosen flower motif. Soft pink, butter yellow, lavender, and sage green work especially well together. For a wearable result, make sure every finished floral square has the same dimensions before joining.
Best for: Crocheters comfortable following motif instructions.
Style idea: Pair a pastel floral crop top with high-waisted denim or a flowing linen skirt.
3. Boho Granny Square Fringe Top
A fringe crop top adds movement without requiring an entirely different garment pattern.
Begin with the classic rectangular top, then attach fringe along the finished lower edge. Cut equal lengths of yarn, fold each strand in half, and pull the folded loop through a stitch or space at the hem. Draw the two loose ends through the loop and tighten gently. Remember that folded fringe hangs at roughly half the original strand length.
Best for: Festival-inspired and relaxed summer outfits.
Helpful tip: Finish the entire hem before attaching fringe, so the fringe sits evenly.
4. Minimalist Two-Color Granny Square Tank
A simple two-color design lets the square texture become the main feature.
Try ivory and beige, black and cream, or chocolate brown and pale pink. Keep the colors arranged symmetrically across the front and back. A contrasting final round around each square can create a subtle geometric grid.
Best for: Everyday outfits and crocheters who prefer understated color palettes.
5. Retro Sunflower Granny Square Top
Sunflower granny squares create a cheerful vintage-inspired design.
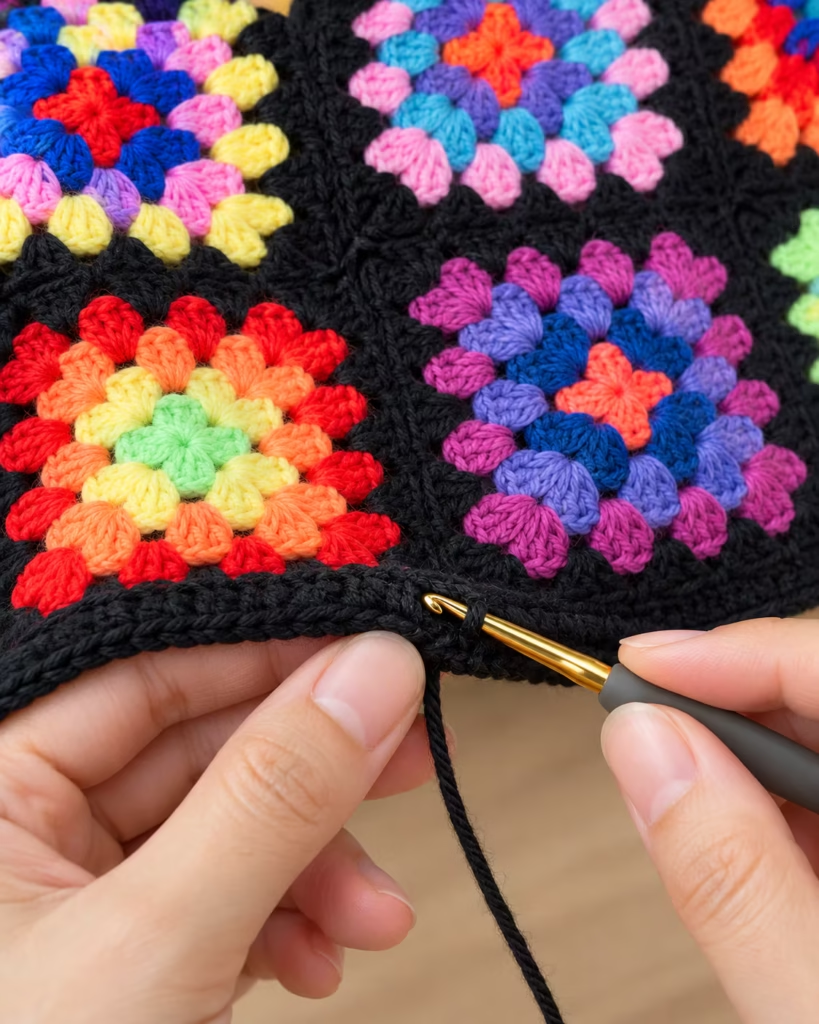
A common color combination uses a dark center, golden petals, and a green or cream square border. Sunflower motifs often involve more stitch changes than a traditional granny square. Choose a complete flower-square motif pattern, then use the same joining and sizing principles described below.
Best for: Intermediate crocheters who enjoy decorative motifs.
Design tip: Keep the joining color consistent to prevent the detailed flower centers from looking overly busy.
6. Granny Square Halter Crop Top
A halter-style crop top uses straps that connect behind the neck instead of running straight over the shoulders.
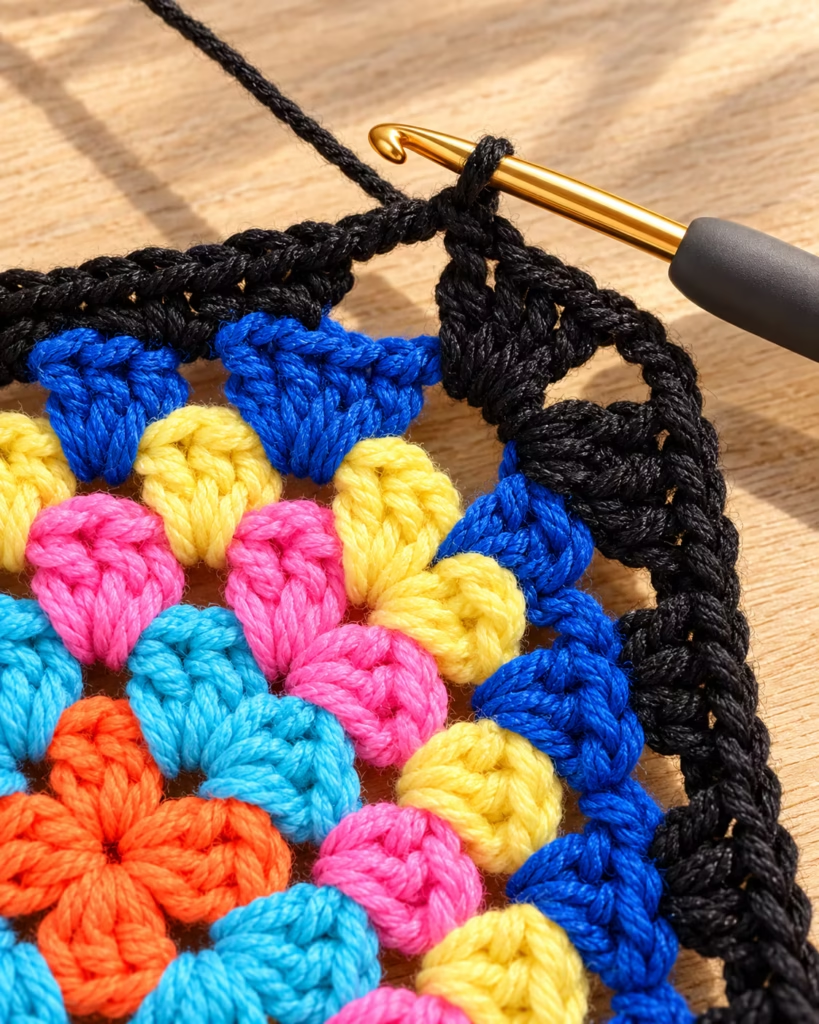
This design often needs additional shaping around the neckline and underarms, so it is better approached as a separate garment construction rather than simply moving the straps on a rectangular tank.
Best for: Confident beginners and intermediate crocheters.
Fit tip: Use a secure, comfortable neck tie and check that the top stays in place without placing excessive weight on the neck.
7. Longline Summer Granny Square Top
Prefer a little more coverage? Extend the classic design with an extra row of granny squares.
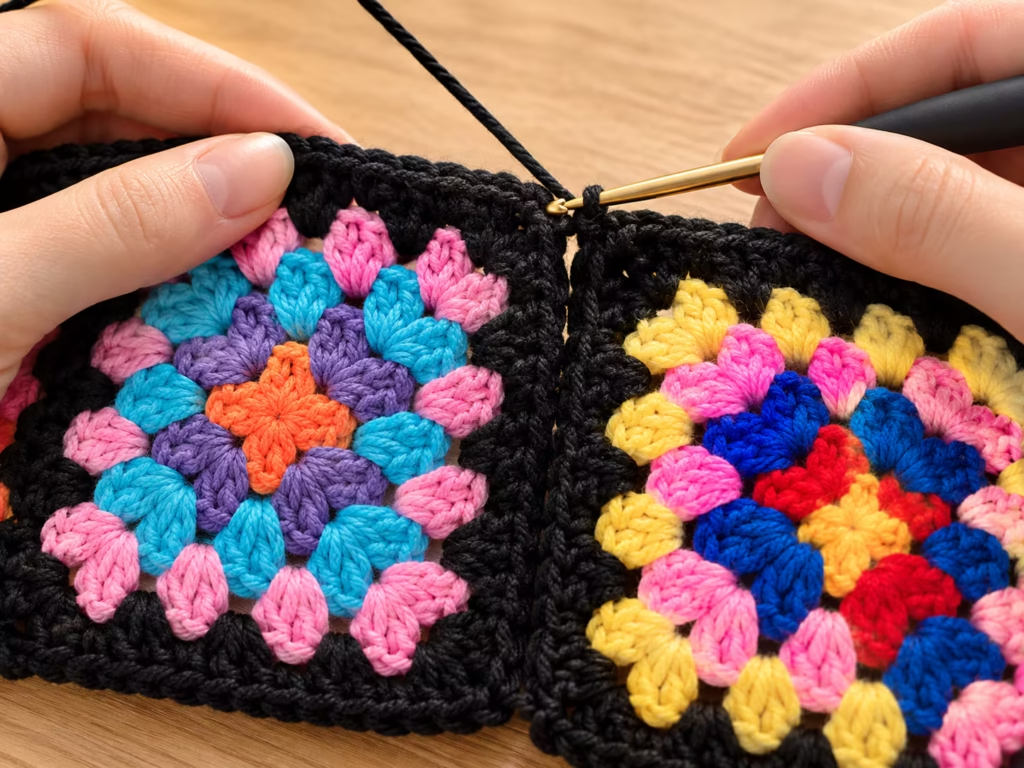
The finished top can sit closer to the waist instead of ending just below the bust. You can also work additional crochet rounds along the bottom edge for a less dramatic length change.
Best for: Crocheters who want an adaptable top that works with shorts, jeans, or skirts.
October styling idea: Wear a longer granny square top over a fitted long-sleeve shirt as a lightweight layered piece.
Project Overview: Classic Granny Square Crop Top
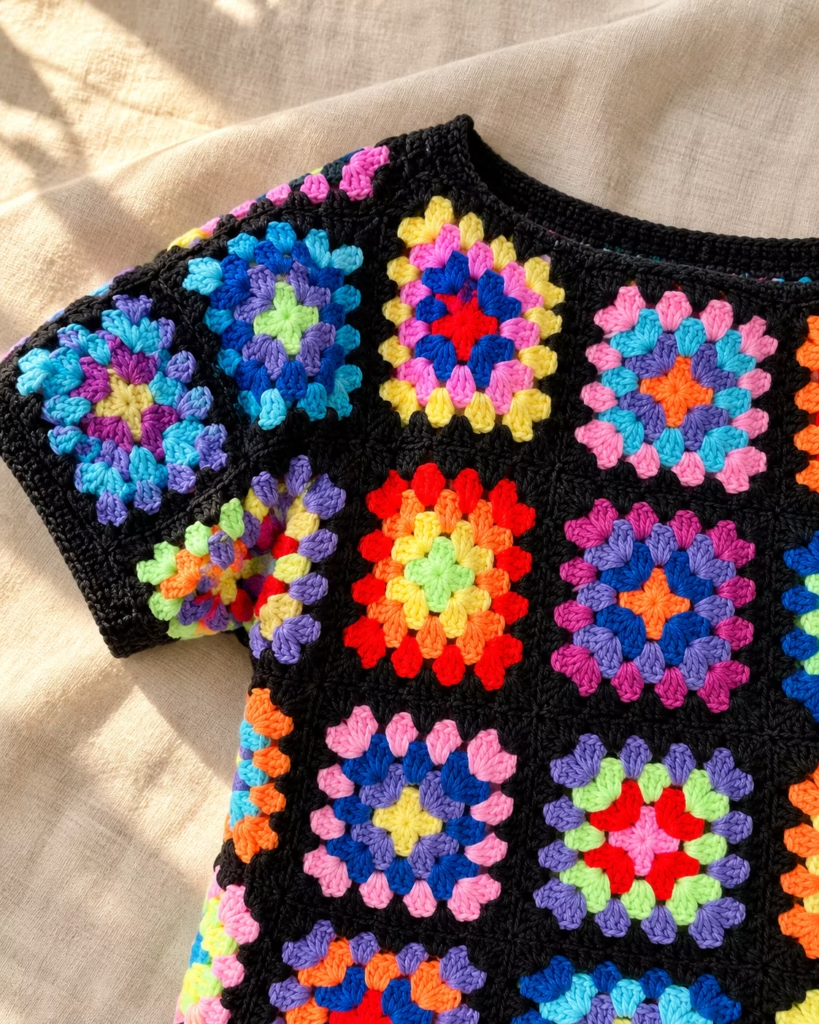
The following tutorial makes a sleeveless patchwork crop top from two rectangular panels joined at the sides and connected with adjustable shoulder straps.
| Project Detail | Description |
|---|---|
| Skill level | Confident beginner |
| Crochet terminology | US crochet terms |
| Main stitches | Chain, slip stitch, double crochet |
| Construction | Two square panels, side seams, shoulder straps |
| Example layout | 12 squares arranged in two panels |
| Example square arrangement | 3 squares wide × 2 squares tall per panel |
| Yarn | Smooth cotton or cotton-blend yarn |
| Hook | Appropriate to yarn label and desired fabric |
| Fit | Customized using finished square measurements |
| Difficulty focus | Consistent square sizing and comfortable straps |
The example dimensions below illustrate the sizing calculations. They are not measurements from a physically tested garment pattern.
| Item | Specification | Purpose | Alternative |
|---|---|---|---|
| Yarn | Smooth, lightweight cotton or cotton blend | Main garment | Breathable acrylic blend |
| Crochet hook | Size suited to yarn and gauge | Crocheting squares | Adjust size after swatching |
| Yarn needle | Blunt tapestry needle | Joining and weaving ends | Smaller yarn needle |
| Scissors | Sharp craft scissors | Cutting yarn | Yarn snips |
| Measuring tape | Flexible measuring tape | Checking fit | Sewing tape measure |
| Stitch markers | Removable markers | Identifying corners and joins | Contrasting yarn scraps |
Cotton provides structure and breathability, but dense cotton crochet can feel heavier than expected. A lightweight cotton blend may offer more drape. Choose a yarn that creates a comfortable garment fabric rather than a stiff, thick square. Make a practice swatch before buying the full quantity if possible.
How to Choose Your Size
<!– gap –>
The most useful measurement for a granny square crop top is the finished width of each blocked square. Unlike conventional fitted crochet patterns, this rectangular design can be resized by changing either the square dimensions or the number of squares across the garment.
Step 1 — Calculate Your Square Width
Measure around the fullest part of your bust or chest. For a relaxed fit, add approximately 2–4 inches to your body measurement as a starting point. This is a design recommendation, not a universal sizing rule.
For the example top, each panel is three squares wide. The front and back together have six square widths around the body.
Use this formula:
Target square width = (Body circumference + desired ease) ÷ total squares around the body
Example:
Body circumference: 36 inches Desired ease: 3 inches Total squares around body: 6
39 ÷ 6 = 6.5 inches
Each blocked square would therefore need to measure approximately 6.5 inches wide before allowing for the particular seams used. With two rows of squares, the panel body would be approximately 13 inches tall, excluding shoulder straps and any added edging. Seams can slightly change the final measurements. Always measure the assembled garment rather than relying on the calculation alone.
Step 2 — Choose the Right Layout
| Layout per panel | Total squares | Best use |
|---|---|---|
| 2 wide × 2 tall | 8 | Larger squares and shorter tops |
| 3 wide × 2 tall | 12 | Classic patchwork crop top |
| 3 wide × 3 tall | 18 | Longer patchwork top |
| 4 wide × 2 tall | 16 | Smaller squares across the body |
Choose your layout based on both circumference and desired length. More squares do not automatically mean a larger garment. Their actual blocked measurements determine the fit.
Step-by-Step Granny Square Crop Top Pattern
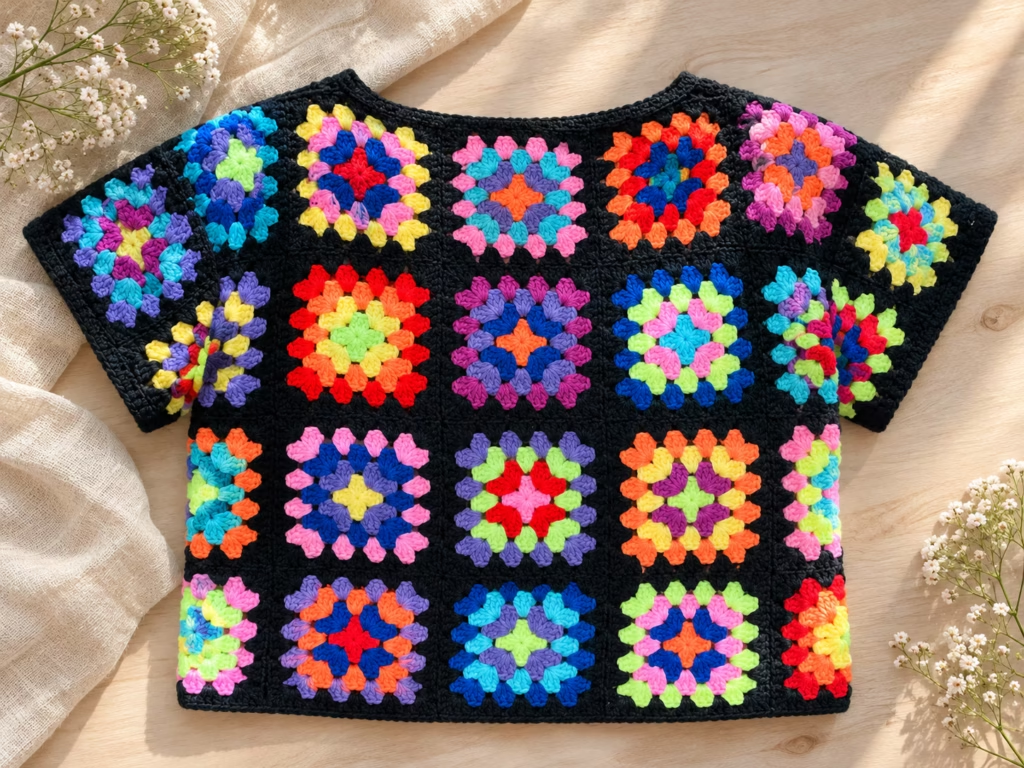
This tutorial uses the classic solid-cluster granny square, sometimes called the traditional granny square.
Step 3 — Crochet Abbreviations
- ch: Chain
- dc: Double crochet
- sl st: Slip stitch
- sp: Space
- ch-1 sp: Space created by one chain
- ch-2 sp: Corner space created by two chains
- RS: Right side
A traditional granny square consists of groups of three double crochets separated by chain spaces.
Step 1: Make the Center Ring
Make a slip knot and chain four. Insert the hook into the first chain and join with a slip stitch to create a small ring. Alternatively, use a magic ring if you already know that technique.
Visual check: You should have one small central opening with the working yarn attached.
Common mistake: Twisting the foundation chain before joining.
Fix: Lay the chain flat before inserting your hook into the first chain.
Expert tip: A chain-four ring is often easier for beginners to control than an adjustable magic ring.
Step 2: Crochet the First Granny Square Round
Work the following stitches into the center ring.
- Chain three. This counts as your first double crochet.
- Work two double crochets into the ring.
- Chain two to form the first corner.
- Work three double crochets into the ring.
- Chain two.
- Repeat the three-double-crochet group followed by chain two twice more.
- Join with a slip stitch into the top of the beginning chain three.
You should now have four groups of three double crochets and four chain-two corner spaces.
Visual check: The motif should resemble a small square with four evenly spaced corners.
Common mistake: Accidentally creating five clusters instead of four.
Fix: Count your groups before joining. Each corner should separate two neighboring groups.
Expert tip: Mark the first corner space until you become comfortable recognizing the square structure.
Step 3: Build the Granny Square Corners
The second round establishes the familiar granny square shape.
Start in any corner space. When beginning a new color, join the yarn in that corner. When keeping the same yarn, slip stitch to the next corner before starting.
In the starting corner:
- Chain three, counting as the first double crochet.
- Work two double crochets into the same corner.
- Chain two.
- Work three more double crochets into the same corner.
Chain one to travel toward the next corner.
In each remaining corner, work:
3 dc, ch 2, 3 dc
Chain one between neighboring corners. Join the round with a slip stitch. At the end of round two, you should have eight three-double-crochet clusters and four corner spaces.
Visual check: All four corners should contain two clusters separated by a chain-two space.
Common mistake: Working the entire corner increase into an ordinary side space.
Fix: Look for the larger chain-two opening at each corner before making the next pair of clusters.
Expert tip: Count the cluster groups at the end of every round. Catching an error early avoids unraveling several rounds later.
Step 4: Continue Until the Square Reaches Your Target Size
For round three and all following rounds, use the same basic structure:
- In every corner chain-two space, work three double crochets, chain two, and three double crochets.
- In each chain-one space along the sides, work three double crochets.
- Chain one between neighboring clusters.
- Join each round with a slip stitch.
The corners provide the increases that keep the square expanding.
A simplified construction diagram:
CORNER = 3 dc + ch 2 + 3 dc SIDE = 3 dc in each ch-1 space
Round 1: 4 clusters Round 2: 8 clusters Round 3: 12 clusters Round 4: 16 clusters
Each new round adds 4 clusters. Keep working until the square approaches your calculated target measurement. Do not assume a particular round count will produce a particular size. Yarn, hook, tension, and stitch height all influence the result.
Visual check: The square should lie reasonably flat with four defined corners.
Common mistake: The square begins to cup or ripple.
Fix: Confirm that every corner has the required two clusters and chain-two space, and that every side chain-one space has the correct cluster. If the stitch structure is correct, check your hook size and tension.
Expert tip: Stop after a full round and measure the square without pulling it into shape. This gives a more useful reading than stretching it while measuring.
Step 5: Make All the Squares
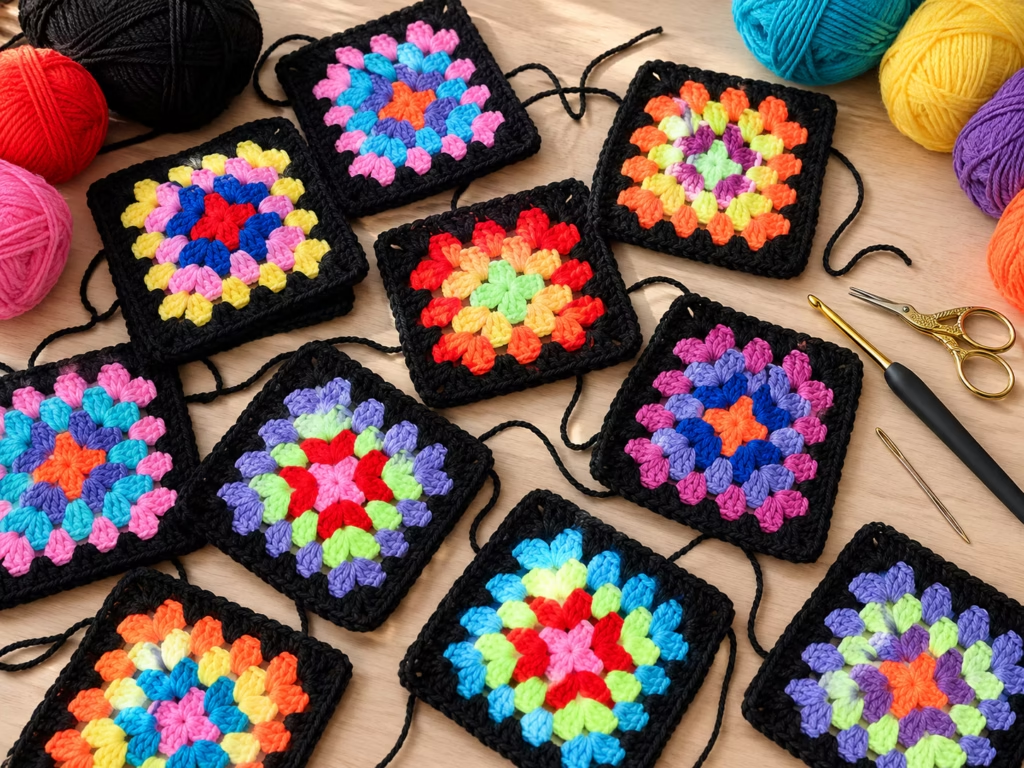
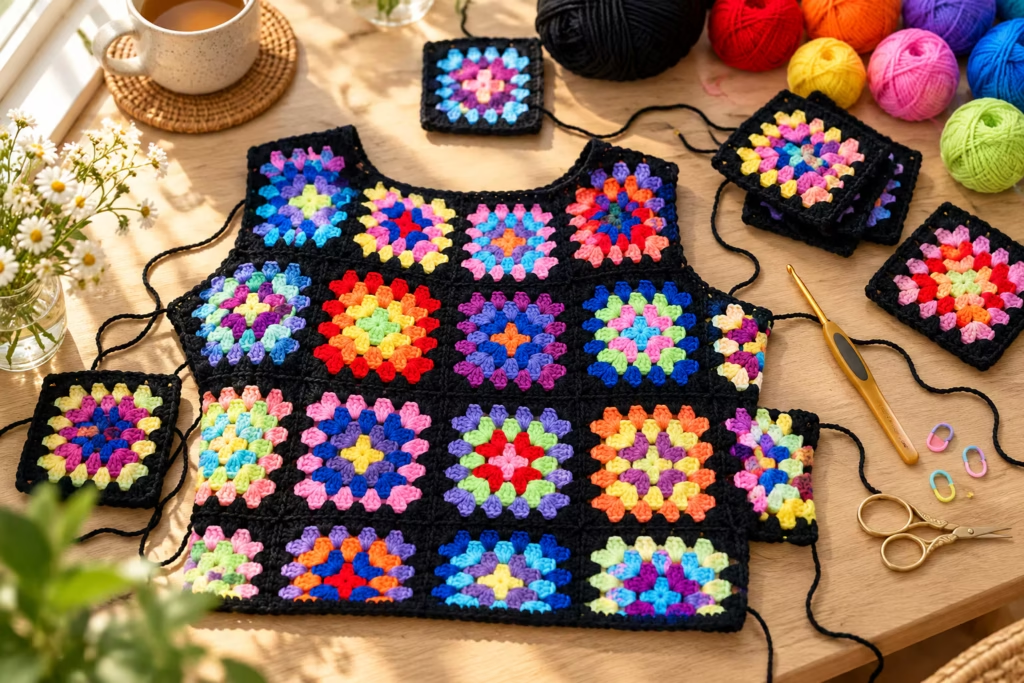
For the example 3-by-2 layout, crochet 12 matching squares. Every square should have the same number of rounds and the same stitch structure. You may change the color order, but use the same yarn weight and hook size throughout. Block one sample square, let it dry completely, and confirm its final size before producing the remaining pieces.
Visual check: Finished squares should be close enough in size that their corners and side stitch groups align naturally.
Common mistake: Joining squares made with noticeably different tension.
Fix: Rework any square that requires significant stretching to match its neighbors.
Expert tip: Weave in color-change ends as each square is finished. This makes the final assembly considerably easier.
Step 6: Arrange the Front and Back Panels
Place six squares in a rectangle for the front panel and six for the back. Each panel uses three squares across and two squares down.
Example layout:
FRONT PANEL BACK PANEL
[ A ][ B ][ C ] [ G ][ H ][ I ] [ D ][ E ][ F ] [ J ][ K ][ L ]
Top edges = neckline and strap area Bottom edges = hemline Outer edges = side seams
Lay the motifs on a flat surface with the right sides facing upward. Check that the colors balance across both panels before joining anything.
Visual check: Both rectangles should have matching widths and heights.
Common mistake: Accidentally rotating a directional flower motif.
Fix: Check the orientation of every square before joining.
Expert tip: Photograph the complete layout so you can recreate the arrangement if the squares are moved.
Step 7: Join the Granny Squares
A flat slip-stitch join creates a neat, relatively low-profile seam. Place two squares beside each other with their right sides facing upward. Join matching edge stitches with a slip stitch, working through corresponding loops on each square.
Keep the seam relaxed. If the joining stitches pull tightly, the panel will become smaller along the seam. Join the squares across each row, then join the two rows together. Repeat for the second panel.
The order is:
Individual squares ↓ Three squares joined into a row ↓ Two rows joined together ↓ One rectangular panel ↓ Repeat for the back panel
Visual check: The panel should lie flat without puckering at the joins.
Common mistake: The seam becomes shorter than the square edges.
Fix: Undo the tight section and work with slightly looser tension or a larger hook.
Expert tip: Use a consistent joining color across the garment to visually connect different motifs.
Assemble the Crop Top
Step 8: Join the Side Seams and Leave Armholes
Place the front and back panels together with the right sides facing inward. Align the bottom corners and side edges. Before sewing, decide how deep the armholes need to be.
Measure from your desired underarm seam endpoint upward toward the top edge, allowing enough room for comfortable arm movement. Mark that position on both sides. Join each side seam from the hem to its marked underarm point.
Leave the remaining upper section open for the armholes. Turn the garment right side out and try it on carefully.
Visual check: The top should fit around the torso without pulling at the side seams.
Common mistake: Joining the side seams too high, making the armholes uncomfortable.
Fix: Remove several joining stitches until the arm opening allows natural movement.
Expert tip: Use removable markers to test the seam height before permanently fastening off.
Step 9: Add Adjustable Shoulder Straps
This rectangular construction works well with simple, adjustable tie straps. Try the top on over a fitted shirt or place it against your body. Mark two balanced strap positions on the front upper edge, then mark the corresponding positions on the back.
Position the straps where they support the fabric without causing the neckline to sag or the outer upper corners to flare excessively. For each shoulder, make a front tie and a matching back tie.
To create each tie:
- Attach yarn securely at the marked position.
- Crochet a chain long enough to reach and tie comfortably over the shoulder.
- Work slip stitches back along the chain for a firmer strap.
- Fasten off and weave in the ends.
Repeat until you have four ties. Tie the front and back pairs together over each shoulder. The required chain length depends on your chosen neckline, shoulder position, and desired bow size, so measure against your body rather than following a fixed chain count.
Visual check: The front and back panels should hang evenly when the ties are secured.
Common mistake: Thin ties stretching under the weight of the garment.
Fix: Use a sturdier stitch pattern, work an additional row along the ties, or replace them with wider straps.
Expert tip: For a heavier cotton top, consider several rows of single crochet to form flat, reinforced straps instead of narrow chains.
Step 10: Crochet a Neat Edge
Work a simple single-crochet border around the neckline, armholes, and lower hem. Insert stitches evenly along the edges, adding or reducing stitches as needed to keep the fabric flat. Avoid forcing the same number of stitches into every type of edge. Granny square sides, corners, and seams may need different spacing.
Visual check: The finished edges should lie smoothly without ruffling or pulling inward.
Common mistake: Adding too many stitches around the hem and creating a wavy edge.
Fix: Remove the excess stitches and space them more evenly.
Expert tip: Use a hook one size smaller for the edging if the original edge is loose, but confirm that the smaller hook does not make the hem too tight.
How to Customize Your Granny Square Crop Top
One advantage of square-based crochet garments is that you can adjust the design without changing the fundamental stitch pattern.
Step 4 — Change the Color Story
Try one of these combinations:
| Palette | Suggested colors | Finished mood |
|---|---|---|
| Soft pastel | Lilac, cream, blush, pale yellow | Romantic and delicate |
| Retro summer | Orange, brown, mustard, ivory | Vintage-inspired |
| Coastal | White, sand, seafoam, blue | Relaxed and fresh |
| Botanical | Sage, olive, cream, terracotta | Earthy and natural |
| Monochrome | Black, charcoal, white | Modern and graphic |
Step 5 — Add Fringe or Decorative Trim
For a bohemian look, attach matching fringe around the lower hem. For a softer finish, crochet a decorative shell edging. For a minimalist appearance, keep the single-crochet border and let the square pattern take center stage.
Step 6 — Make the Top Longer
Add another horizontal row of granny squares to both panels, or extend the hem with carefully measured rounds of crochet. The extra fabric adds weight, so assess whether the straps need reinforcement.
Step 7 — Convert the Design Into a Vest
For a more structured layering piece, use the panels as the starting point for a sleeveless vest. An open-front vest requires a different front construction and neckline finish, but it can reuse the same square motifs.
Beginner-to-Pro Crochet Learning Ladder
| Experience | Technique to practice | What you gain |
|---|---|---|
| Beginner | Consistent basic granny squares | Reliable stitch counts |
| Developing | Color changes and flat joins | Cleaner patchwork |
| Intermediate | Accurate blocking and sizing | Better garment fit |
| Advanced | Custom neckline shaping and reinforced straps | More polished construction |
Start by perfecting one square before increasing the complexity. A consistent foundation makes the later steps much easier, especially when dozens of stitch groups need to line up across seams.
Common Crochet Problems and Fixes
| Symptom | Likely cause | Practical fix | Prevention |
|---|---|---|---|
| Squares curl inward | Tight tension or missing corner stitches | Correct stitch counts and adjust hook | Count corners every round |
| Corners ripple | Extra stitches or loose corner chains | Remove extra stitches and check gauge | Use the same corner formula |
| Joined panels pucker | Joining seam is too tight | Rework seam more loosely | Compare seam length to edge length |
| Top feels too small | Incorrect gauge or insufficient ease | Add width with additional construction or remake squares | Measure blocked squares first |
| Neckline stretches | Heavy fabric or weak edging | Reinforce with a firmer border | Test fabric weight early |
| Straps dig into shoulders | Narrow or short straps | Make wider, properly fitted straps | Test with garment weight |
| Armholes feel restrictive | Side seams joined too high | Lower the side seam endpoint | Fit before fastening off |
| Hem looks uneven | Inconsistent square sizes or edging | Reblock or correct affected pieces | Measure each square |
A useful rule: If one part of the garment is pulling another part out of shape, correct the underlying fit or construction issue before attempting to hide it with edging.
Which Granny Square Top Construction Should You Choose?
| Construction | Best for | Advantages | Limitations | Recommendation |
|---|---|---|---|---|
| Rectangular patchwork | Beginners | Easy to assemble and resize | Less tailored fit | Best first project |
| Flower motifs | Decorative tops | Distinctive texture | More complex stitching | Best after basic squares |
| Halter shaping | Open-shoulder styles | Adjustable styling | Needs careful neckline planning | Best with a dedicated pattern |
| Longline patchwork | Extra coverage | Simple length customization | Uses more yarn | Best for relaxed everyday wear |
| Fringe finishing | Boho styles | Quick visual transformation | Fringe requires care | Best as an optional finishing detail |
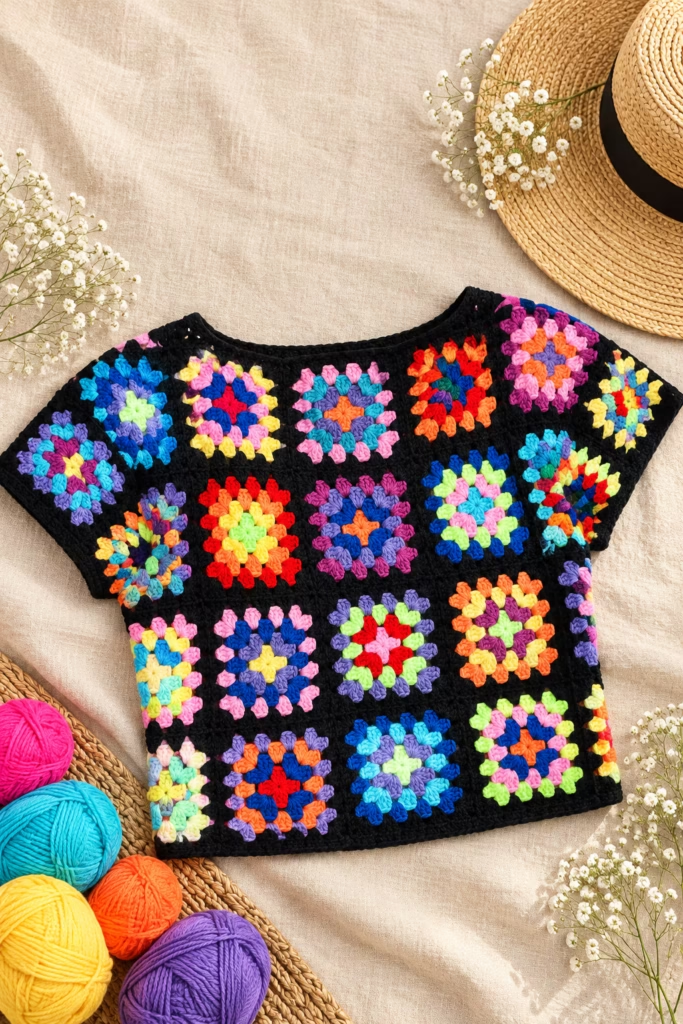
For your first wearable crochet garment, the rectangular patchwork design is usually the most approachable choice.
Three Details That Make a Homemade Top Look Better
1. Check Fit Before Final Assembly
<!– gap –>
Fit problems are easier to correct when your pieces are still separate. Before completing the side seams, use stitch markers or temporary ties to hold the panels together.
Check the following:
- The garment fits around the fullest part of your torso.
- The hem sits at your preferred height.
- The armholes provide comfortable movement.
- The neckline remains stable.
- The shoulder ties support the fabric without pulling.
A granny square crop top should feel secure enough for normal movement, even when the garment has a relaxed silhouette.
2. Block Every Square Consistently
<!– gap –>
Blocking helps even out the stitches and improve the finished shape. For cotton or a suitable cotton blend, lightly dampen the squares, arrange them to the required measurements, and allow them to dry completely. Follow the yarn manufacturer’s care guidance. Not every fiber responds to water, steam, or heat in the same way.
Use consistent measurements for each motif and avoid stretching a smaller square aggressively to match the others. Blocking can refine a square’s shape, but it cannot reliably repair major stitch-count mistakes.
3. Reinforce High-Stress Areas
<!– gap –>
Shoulder straps, side seams, and underarm edges experience more movement than the center of the squares. Use secure joins at strap attachment points. Weave yarn ends through several stitches, changing direction where practical, rather than trimming them close to a single knot.
For pieces that will be worn frequently, inspect the strap joins and underarm seams after the first few uses. These small finishing decisions can make the difference between a decorative craft project and a garment you feel comfortable wearing.
Final Quality Checklist
Before calling your granny square crop top finished, inspect the entire garment.
Correct construction:
- [ ] Every square has four clearly formed corners.
- [ ] Matching square edges align without stretching.
- [ ] Front and back panels have the intended dimensions.
- [ ] Side seams are secure and armholes feel comfortable.
- [ ] Shoulder straps sit evenly and hold the garment securely.
- [ ] Yarn ends are woven in thoroughly.
- [ ] Neckline and hem edging lie smoothly.
Acceptable variation: Slight differences in stitch appearance, especially with handmade yarn work, are usually harmless if the garment hangs and fits properly.
Correctable mistakes: Uneven edging, short straps, or a slightly tight joining seam can often be reworked without remaking the entire garment.
Mistakes that need reworking: Missing corner clusters, major square-size differences, unreliable strap attachments, or severe fit problems should be corrected before wearing.
How to Wash and Store Your Finished Crop Top
Handmade crochet tops benefit from gentle care, particularly when they contain multiple joins and decorative motifs. Check the yarn label before washing. When handwashing is appropriate for your chosen fiber, use cool water and a gentle detergent. Avoid twisting or wringing the wet garment.
Support the fabric when lifting it from the water, then gently press out excess moisture using a towel. Reshape and dry flat. Avoid hanging a heavy wet crochet top, as its own weight may stretch the straps and neckline.
For storage, fold the garment neatly rather than leaving it on a hanger for long periods. If the top has fringe, gently separate the strands after washing and straighten them while damp.
Frequently asked questions
Are granny square crop tops beginner-friendly?
Yes, especially when the design uses traditional granny squares arranged into rectangular panels. Beginners should first practice chaining, double crochet, slip stitches, and simple joining techniques. Once you can make several consistent squares, the garment assembly becomes much easier. More tailored styles, including shaped halter tops, generally require additional experience.
What yarn is best for a crochet granny square crop top?
Cotton and cotton blends are popular choices because they can provide a breathable, structured fabric. Lightweight yarn generally creates a more comfortable summer garment than very bulky yarn. However, the best choice depends on the design and desired drape. Always crochet and measure a swatch before committing to a full top.
How many granny squares do I need to make a crop top?
The number depends on the square size and garment layout. The example project in this guide uses 12 squares, with six for the front and six for the back. Larger squares may require fewer pieces, while smaller motifs may need more. Measure your body, calculate the required garment circumference, and plan the arrangement before crocheting.
Can I make a granny square crop top without sewing?
Yes. Crochet joining techniques, including slip-stitch joins and single-crochet joins, can connect your squares without conventional sewing. You may still want a yarn needle for weaving in ends. Some designs also use join-as-you-go methods that connect motifs during their final crochet rounds, although those require a different joining sequence.
How do I stop a granny square crop top from stretching?
Choose a yarn suitable for garments, avoid overly loose fabric, and reinforce stress points such as shoulder straps. Blocking can help establish an even shape, but it will not prevent every type of stretching. Store the garment folded and dry it flat after washing. Wider straps can also distribute weight more comfortably than narrow chain ties.
Can I turn a granny square crop top into a longer tank?
Yes. Add more rows of granny squares or extend the lower edge with additional crochet rounds. Measure the added length carefully so both panels remain balanced. Remember that increasing garment length may also increase its weight, which can affect how the straps and neckline behave when worn.
Are granny square crop tops suitable for cooler weather?
Absolutely, as layering pieces. A colorful granny square top can work over a fitted long-sleeve shirt, lightweight turtleneck, or simple dress. For October outfits, earthy colors such as rust, olive, cream, and chocolate brown pair well with denim, boots, and soft knit layers. Open-stitch crochet is not typically a substitute for insulating winter clothing.
Do I have to block granny squares before joining them?
Blocking is strongly recommended when you want consistent sizing and tidy joins, but the method depends on the yarn. It is especially helpful when squares vary slightly in shape. Measure them after blocking and drying, and correct significant differences before assembly. Joining pieces that are noticeably different sizes often creates puckered seams that are harder to fix later.
Your Next Granny Square Project
Once you’ve finished your first granny square crop top, you already know the foundation for several other wearable crochet projects. Try making a matching granny square tote bag, a lightweight summer vest, or a coordinating bucket hat using the same yarn colors.
For your next top, experiment with floral motifs, a new color layout, or a longer silhouette. Keep the measurement and joining techniques the same while changing one design detail at a time. Save this tutorial with your crochet pattern collection so you can return to the sizing formula, joining diagram, and finishing checklist whenever you’re ready to make another version.
Pin “Crochet Granny Square Crop Top Patterns You Need to Try 🧶” so you can find it when the yarn arrives.
Get the next free pattern first
One email a week. New patterns, no noise.
Yarn weights and hook sizes in this guide follow the Craft Yarn Council standards.