12 Personalized Crochet Granny Square Crop Top Ideas: Which Style Wins?
This guide explores 12 personalized designs and shows you how to plan, crochet, assemble, and finish a granny square crop top.

This guide explores 12 personalized designs and shows you how to plan, crochet, assemble, and finish a granny square crop top. You’ll also learn how to check your measurements, prevent uneven squares, and choose a construction method that suits your experience.
Crochet Granny Square Crop Top: Project Overview
The appeal of granny square clothing lies in its modular construction. Instead of making an entire garment in one continuous piece, you crochet smaller motifs and connect them to form a larger fabric.
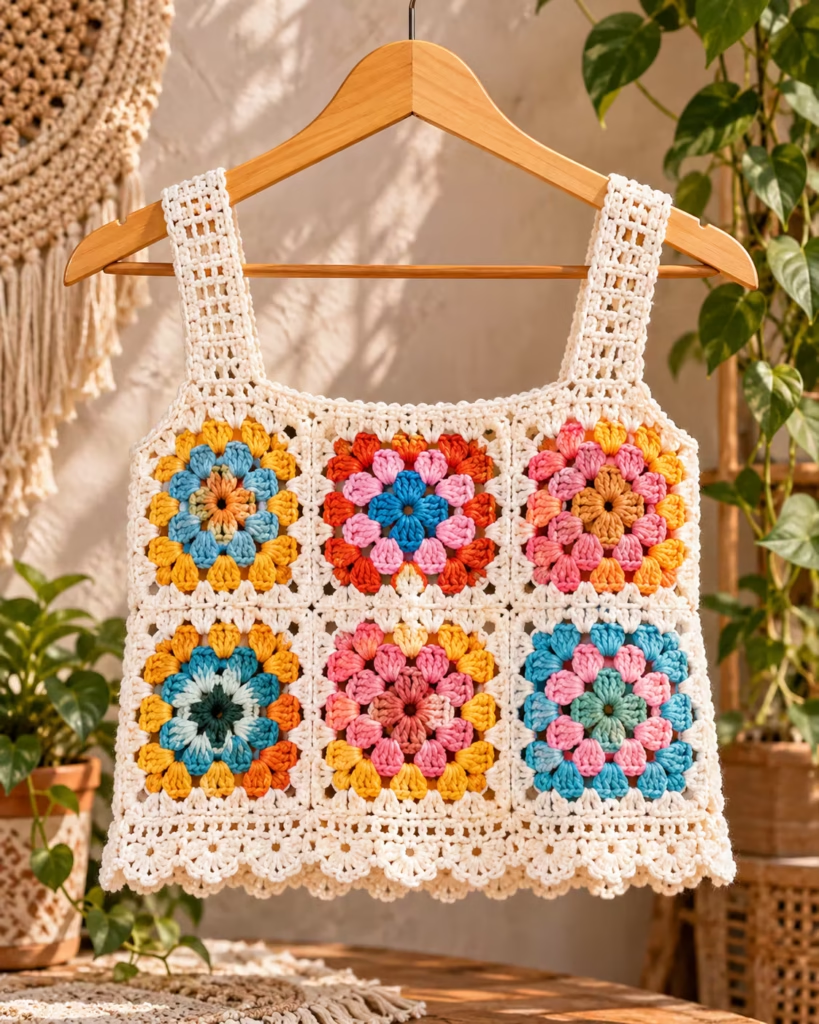
That gives you control over color placement, garment length, and decorative details before the entire top is assembled.
| Project Detail | Description |
|---|---|
| Project | Granny square crochet crop top |
| Skill level | Confident beginner to intermediate |
| Main stitches | Chain, slip stitch, double crochet, single crochet |
| Construction | Joined granny squares with straps and edging |
| Best yarn choices | Smooth cotton or a suitable cotton-blend yarn |
| Hook size | Based on yarn label and measured gauge |
| Sizing | Customized using body measurements |
| Main challenge | Achieving consistent square dimensions |
| Finishing | Seaming, edging, securing ends, and blocking |
The project can be adapted to different body measurements. The sample layout below uses six squares across the front, but the actual number required depends on your finished square dimensions and desired fit.
A crochet fabric typically has less predictable stretch than a knitted fabric, particularly when made with firm cotton yarn. Allow enough ease for movement and check the top against your measurements before completing the seams.
| Material | Specification | Purpose | Alternative |
|---|---|---|---|
| Yarn | Consistent weight across colors | Main body and motifs | Compatible cotton blend |
| Crochet hook | Size that achieves suitable gauge | Forming stitches | Different size after swatching |
| Tapestry needle | Blunt tip suitable for yarn | Joining and weaving ends | Smaller crochet hook for some joins |
| Scissors | Sharp craft scissors | Cutting yarn | Yarn snips |
| Measuring tape | Flexible | Body and panel measurements | Sewing measuring tape |
| Stitch markers | Removable | Marking corners and joins | Short contrasting yarn |
| Blocking supplies | Appropriate for fiber content | Evening motifs | Clean towel and flat surface |
Cotton is a practical option for crop tops because it creates defined stitches and a relatively breathable fabric. However, not all cotton yarn behaves identically. Some varieties feel firm, while softer cotton blends may drape more readily.
Choose yarn based on three considerations:
For a personalized color combination, select one main color and one or two supporting colors. A sage-green body with cream motifs is a restrained starting point. For a stronger contrast, try plum with pink or navy with ivory.
Planning Your Size and Granny Square Layout
Before crocheting the finished motifs, determine the width and length of the garment.
Take the essential measurements
Measure:
- Full bust circumference
- Underbust circumference, when relevant to the desired fit
- Desired crop-top length
- Shoulder strap length
- Distance between shoulder straps
- Desired finished garment circumference
Measure while wearing the type of undergarment you expect to use with the top.
A useful starting calculation is:
Desired garment circumference = body circumference + chosen wearing ease
Wearing ease is the difference between your body measurement and the garment measurement. Positive ease gives additional room; zero ease creates a closer fit. Crochet fabric behaves differently depending on yarn, stitch structure, and blocking, so verify your chosen ease against a swatch rather than relying on one universal number.
Calculate your square dimensions
Suppose you want a rectangular front panel made from three squares across and two rows down.
Your planning diagram is:
FRONT PANEL
+———+———+———+
| Square 1 | Square 2 | Square 3 |
|---|
+———+———+———+
| Square 4 | Square 5 | Square 6 |
|---|
+———+———+———+
3 squares across × 2 squares high
If each blocked square measures 4 inches, three squares have a combined nominal width of 12 inches before accounting for joins and edging. This is an illustration, not a universal garment size.
To calculate your actual panel width, measure a connected sample because different joining methods can add width or pull motifs closer together. The front and back must ultimately work together to fit the body. Six squares on the front alone do not establish the total circumference.
Prepare a gauge sample
Crochet one complete granny square using your intended yarn and hook. Measure it before and after blocking.
If your square measures differently from your planned size, change the hook size or adjust the motif rounds. Avoid stretching every square aggressively to reach the target. A consistent motif is more useful than a particular number of rounds.
How to Crochet a Granny Square Crop Top
The following construction method uses traditional granny clusters, joined rectangular panels, crocheted straps, and finishing edging.
The instructions provide a customizable method rather than a size-graded, physically tested pattern. Final stitch counts and garment dimensions must be established from your gauge and measurements.
Step 1: Make the center of your granny square
Begin with a foundation ring.
- Chain 4.
- Slip stitch into the first chain to form a ring.
- Chain 3, counting it as the first double crochet.
- Work 2 double crochet stitches into the ring.
- Chain 2 to form the first corner.
- Work 3 double crochet stitches into the ring.
- Chain 2.
- Repeat the three-double-crochet cluster and chain-2 corner sequence twice more.
- Chain 2 and slip stitch into the top of the beginning chain-3.
You should now have four granny clusters separated by four corner spaces.
Visual check: The center looks approximately square, with four distinct corners.
Common mistake: Missing a corner chain can distort the motif.
Solution: Count all four corner spaces before beginning another round.
Expert tip: Keep the foundation ring comfortably open until every cluster is completed. Tightening it prematurely can make the final clusters difficult to place.
Step 2: Build the outer rounds
For the second round, begin at a corner space.
Work:
- 3 double crochet
- Chain 2
- 3 double crochet
All six double crochet stitches are placed within the same corner space, separated by the corner chain. Chain 1 between adjacent groups where required by the traditional granny-square layout. In subsequent rounds, work corner groups into each corner chain space and a three-double-crochet cluster into each side space. Keep the number of corners at four.
Visual check: The motif grows outward evenly, with straight-looking sides and clearly identifiable corners.
Common mistake: Adding extra clusters in side spaces.
Solution: Count each chain space and follow the established round structure.
Expert tip: If your corners consistently curl, inspect stitch tension and confirm that each corner receives both clusters.
Step 3: Develop your personalized color pattern
Color placement creates the character of the finished design. For a green-and-cream floral effect, use green as the primary motif color and cream as a contrasting decorative round.
To change colors:
- Finish the previous stitch up to its final yarn-over.
- Complete that stitch with the new color.
- Continue working with the new yarn.
- Secure the unused tail for later weaving.
For neat motifs, follow the same color sequence on each square unless an alternating arrangement is intentional.
Visual check: Matching squares should have the same number of rounds and comparable dimensions.
Common mistake: Changing colors at inconsistent positions.
Solution: Mark the beginning of each round or follow a written color sequence.
Expert tip: Prepare a small color chart before starting. This reduces the chance of discovering mismatched motifs during assembly.
Step 4: Crochet the remaining granny squares
Make enough motifs for your planned front and back. Lay them flat and compare their sizes. Even when the stitch counts match, tension differences can produce variations in width. Check your squares against the same measurement after blocking.
If a square is significantly smaller, first check for missing stitches or incorrect round counts. If the construction is correct but the tension differs substantially, remaking it may be better than forcing it to stretch.
Visual check: All motifs lie flat with corners that align naturally.
Common mistake: Joining squares before checking their dimensions.
Solution: Measure, correct, and block them first.
Expert tip: Arrange the squares on a flat surface in their final order and take a reference photograph before joining.
Step 5: Join the granny squares
There are several reliable joining methods. A mattress stitch can create a relatively unobtrusive seam. A slip-stitch join creates a more visible crocheted ridge, depending on which side you work.
For a sewn join:
- Place two squares with the sides aligned.
- Thread a tapestry needle with matching yarn.
- Match corresponding edge stitches.
- Sew across the joined edges without pulling tightly.
- Check the seam after every few stitches.
- Secure the yarn ends.
Visual check: The motifs remain aligned and the seam lies comfortably.
Common mistake: Pulling the seam so tight that the joined edge puckers.
Solution: Relax the sewing tension and allow the seam to move with the fabric.
Expert tip: Test the join on two spare motifs before assembling the full garment. The seam changes the fabric’s flexibility and overall dimensions.
Step 6: Create the body panels
Connect your motifs into front and back panels according to your planned measurements. For a simple top, the assembled panels should provide enough width around the body and enough vertical coverage at the front and back.
If the granny squares do not provide the required length, add crochet rows along the panel edges. Single crochet or double crochet rows can help adjust the dimensions, but the exact number should be determined by measuring the garment.
Visual check: The front and back panels have compatible widths and the intended coverage.
Common mistake: Assuming identical motif counts will automatically produce the correct garment fit.
Solution: Measure the connected fabric and compare it with your garment plan.
Expert tip: Try the panels against the body before securing permanent side seams.
Step 7: Make the shoulder straps
Wide straps can provide comfortable support and visually balance the square motifs.
For each strap:
- Identify its front attachment position.
- Crochet a foundation of chains long enough for a measured strap sample.
- Work rows of single crochet to create the desired width.
- Continue until the strap reaches the required length.
- Check the strap position and fit.
- Attach the other end securely to the back.
Alternatively, straps can be crocheted directly from the garment edge.
Visual check: Both straps are equally positioned and feel comfortable without pulling the neckline.
Common mistake: Measuring straps while the fabric is stretched.
Solution: Check the garment while worn, allowing for the weight of the finished fabric.
Expert tip: Reinforce attachment areas by distributing joining stitches across several existing stitches rather than concentrating strain at one point.
Step 8: Add the lower border
A lower border gives the crop top a finished appearance and allows limited length adjustment. Work one or more rounds of single crochet around the bottom, keeping stitch spacing even. For a decorative scalloped hem, the border can be developed with shell groups.
One possible decorative repeat is:
- Skip 1 stitch.
- Work 5 double crochet in the next stitch.
- Skip 1 stitch.
- Work 1 single crochet in the next stitch.
Repeat only where the stitch count supports complete repeats, or distribute adjustments evenly.
Visual check: The shells curve evenly without pulling the bottom edge inward or creating excessive ruffles.
Common mistake: Forcing a shell repeat onto an incompatible stitch count.
Solution: Count the edging stitches first and use a small test section before completing the full border.
Expert tip: A plain foundation round makes decorative edging easier to control.
Step 9: Finish the neckline and underarms
Add a narrow crochet border around the neckline and arm openings. Keep the fabric relaxed.
A border that is too tight may cause the neckline to pull upward. An overly loose border can ripple. Use the stitch structure and your measurements to decide where modest increases or decreases are needed.
Visual check: Both arm openings appear balanced and the neckline lies naturally.
Common mistake: Working the same number of stitches along edges with different stitch densities.
Solution: Distribute edging stitches according to the actual fabric edge rather than using a rigid pickup ratio everywhere.
Step 10: Weave in ends and block the top
Weave yarn ends through the backs of several stitches, changing direction where appropriate to help secure them. Trim the ends only after they have been secured. Block the top according to the yarn’s care instructions.
Lay it flat in its intended shape, avoiding excessive stretching. Allow it to dry completely before wearing or storing it.
Visual check: Seams lie flat, the straps are balanced, and the bottom edge follows the intended line.
Common mistake: Trimming tails too close before securing them.
Solution: Leave enough yarn to weave through the fabric securely.
12 Personalized Granny Square Crop Top Ideas
Once the basic construction is understood, the same technique can produce many distinctive crop tops.
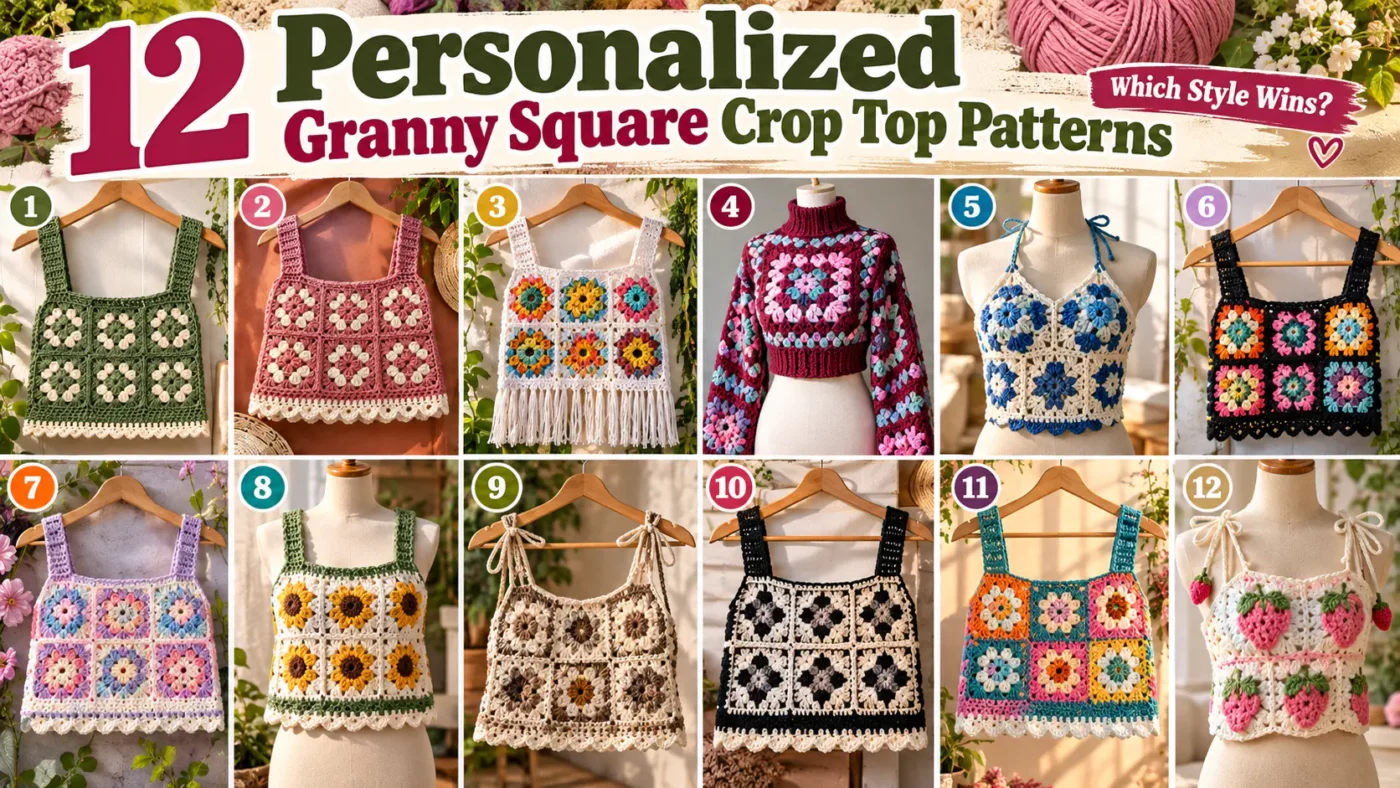
These are 12 design concepts rather than 12 separately tested, size-graded patterns. Each can be developed using the construction principles above, with additional shaping or different assembly methods where needed.
1. Sage Green and Cream Floral Crop Top
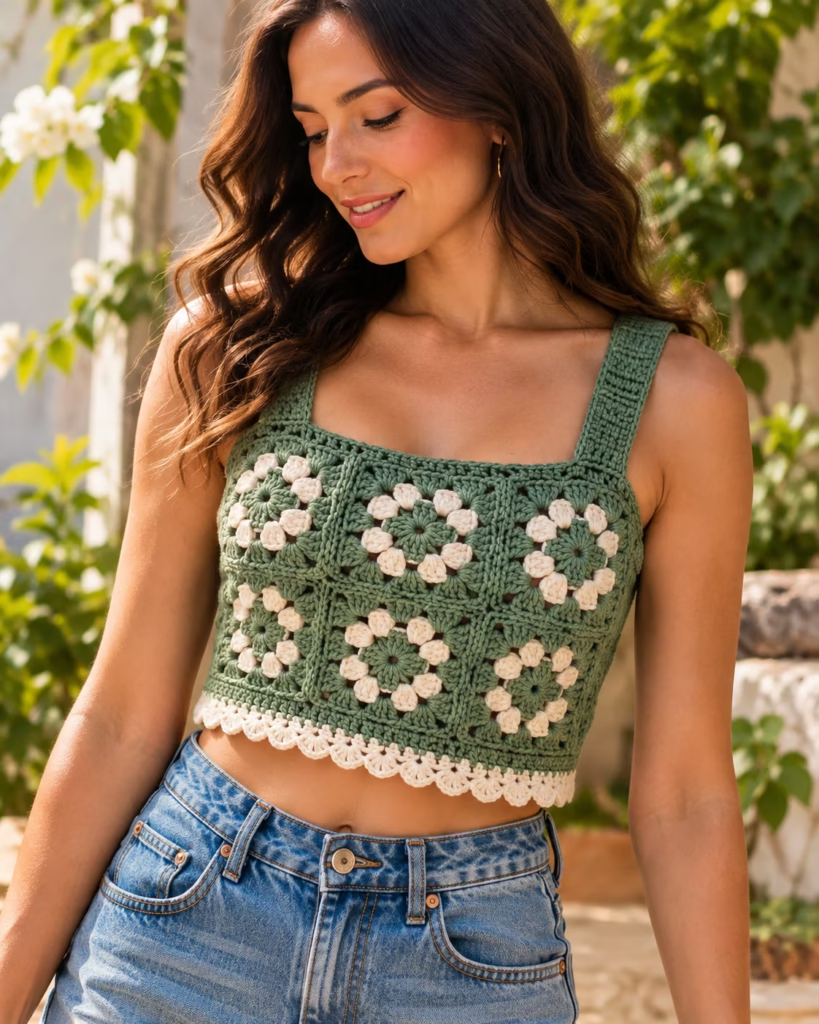
A restrained green-and-cream color scheme gives granny squares a soft floral appearance. Use sage green for the main body, cream accents in the motifs, and a contrasting cream lower border. This design works especially well with wide straps and a square neckline.
Best for: A subtle handmade style with visible crochet texture.
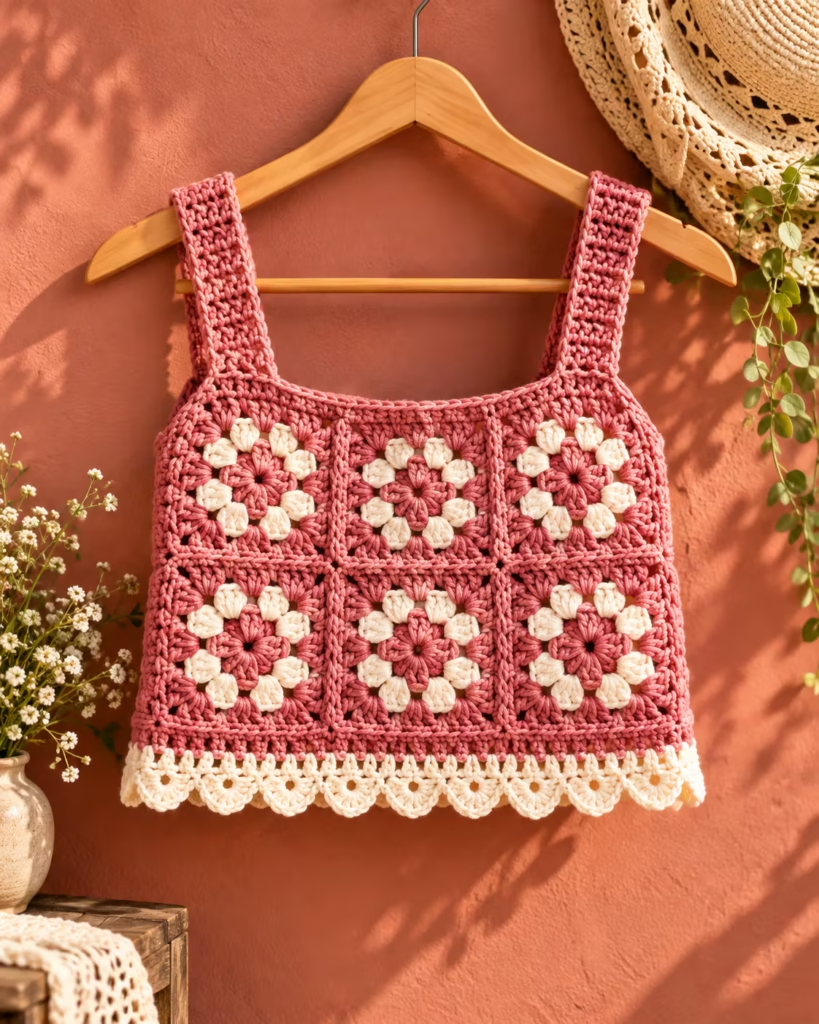
2. Dusty Pink Granny Square Crop Top
Dusty rose yarn creates a softer alternative to bright pink.
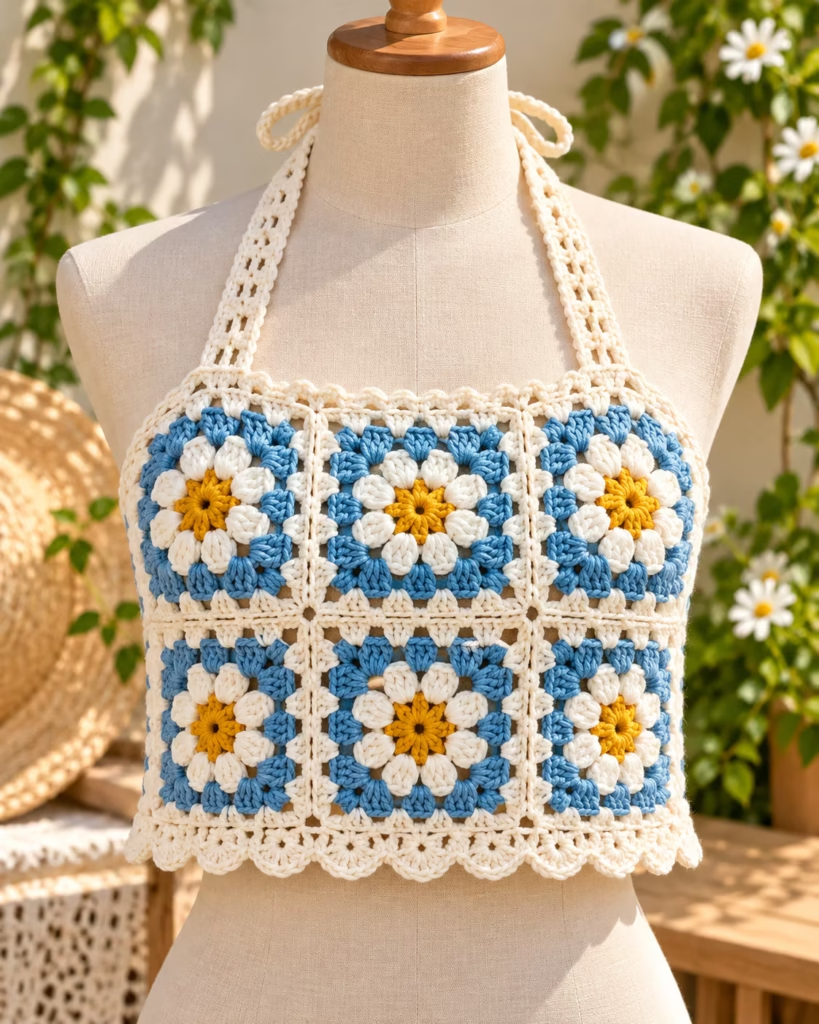
Pair it with ivory floral centers and a matching scalloped border. Keeping the straps and surrounding squares in the same pink shade helps unify the design.
Best for: A romantic color scheme with delicate contrast.
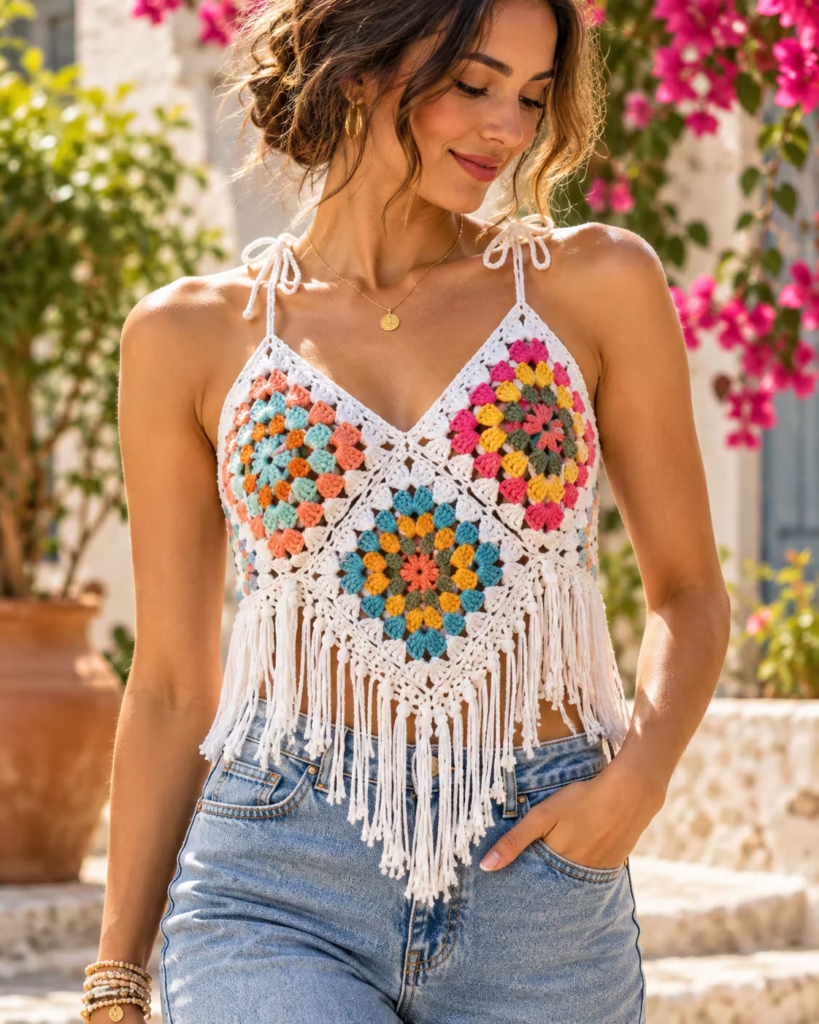
3. Colorful Patchwork Crop Top
Mix several coordinated colors rather than repeating one identical motif. A palette of coral, turquoise, yellow, cream, and green can create a playful summer look. Use a consistent joining color to prevent the patchwork from feeling visually disconnected.
Best for: Using compatible leftover yarn and creating a distinctive color arrangement.
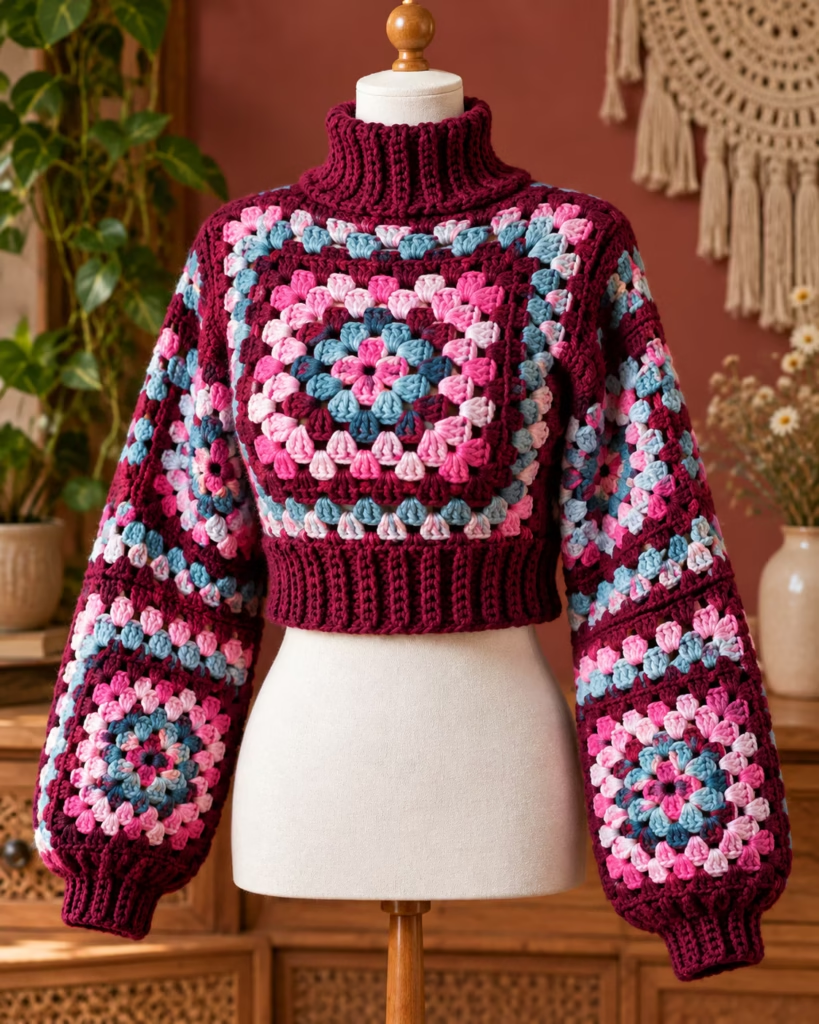
4. Burgundy and Pink Granny Square Top
Burgundy provides a striking background for pink and mint accents.
A fitted lower band gives the crop top a structured finish. For cooler-weather styling, the concept can be adapted into a longer garment, but sleeves and high collars require a separate construction plan.
Best for: Rich jewel tones and stronger visual contrast.
5. Minimalist Two-Color Crop Top
Use only two yarn colors throughout the garment. The first color forms the majority of each square; the second highlights the center or border. This method makes motif placement easy to organize and creates a clean repeated pattern.
Best for: Crocheters who prefer simple color planning.
6. Daisy-Inspired Granny Square Crop Top
Create motifs with cream petals around a contrasting center.
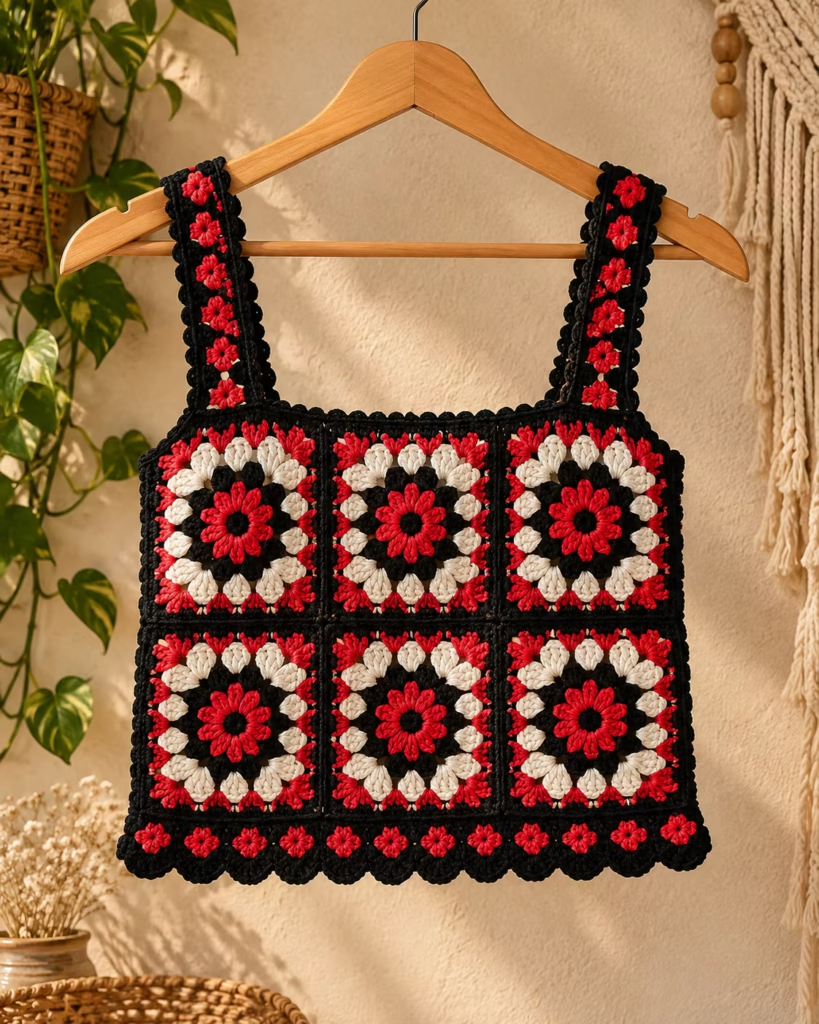
A dark green or soft yellow background can emphasize the flower shapes.
Note that daisy-style motifs use a different stitch structure from traditional granny clusters, so follow a verified flower-square pattern for the motif itself.
Best for: Floral crochet designs with recognizable decorative centers.
7. Square-Neckline Granny Crop Top
A square neckline complements the geometric arrangement of granny squares.
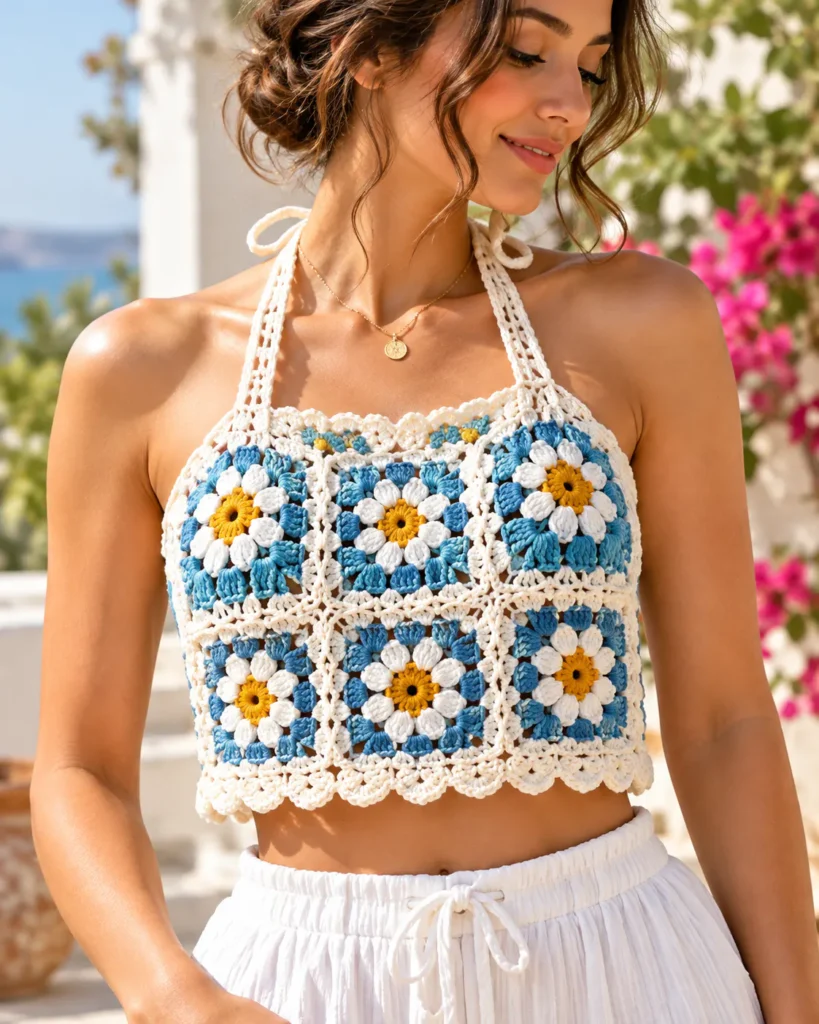
Use wide straps and carefully aligned upper panel edges. Measure the opening before attaching straps to confirm comfortable shoulder placement.
Best for: A structured-looking neckline.
8. Halter Granny Square Crop Top
A halter design uses straps or ties positioned toward the neck rather than standard shoulder straps.
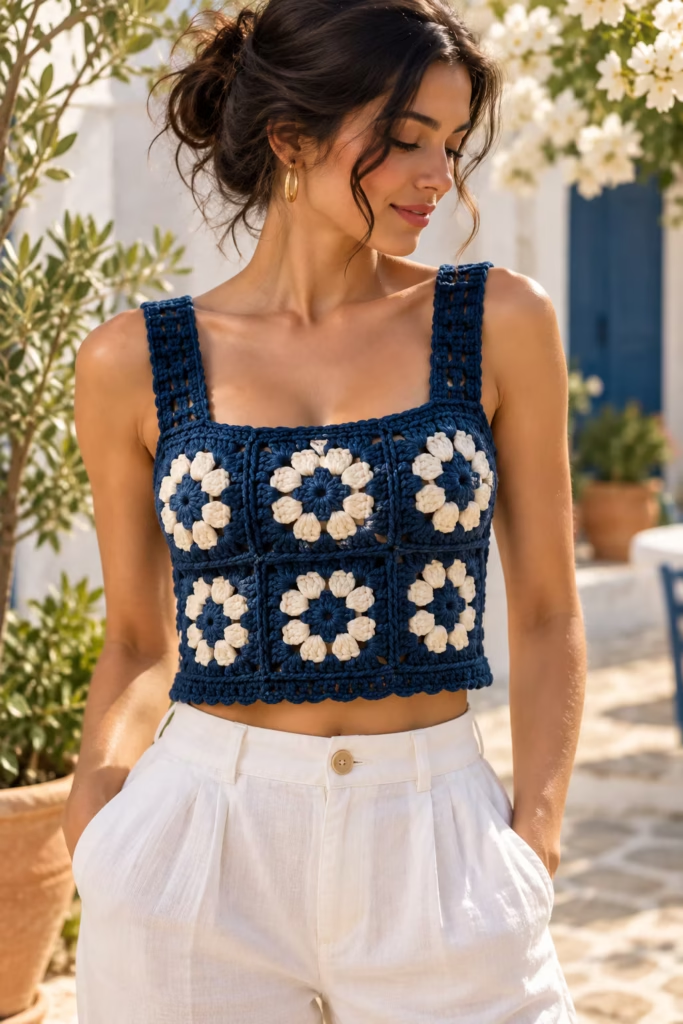
This changes the load distribution and requires thoughtful shaping. Avoid attaching narrow ties to only one weak stitch or corner.
Best for: A summer top with a different neckline silhouette.
9. Fringe-Trimmed Granny Square Crop Top
Add fringe to the lower border after completing the garment.
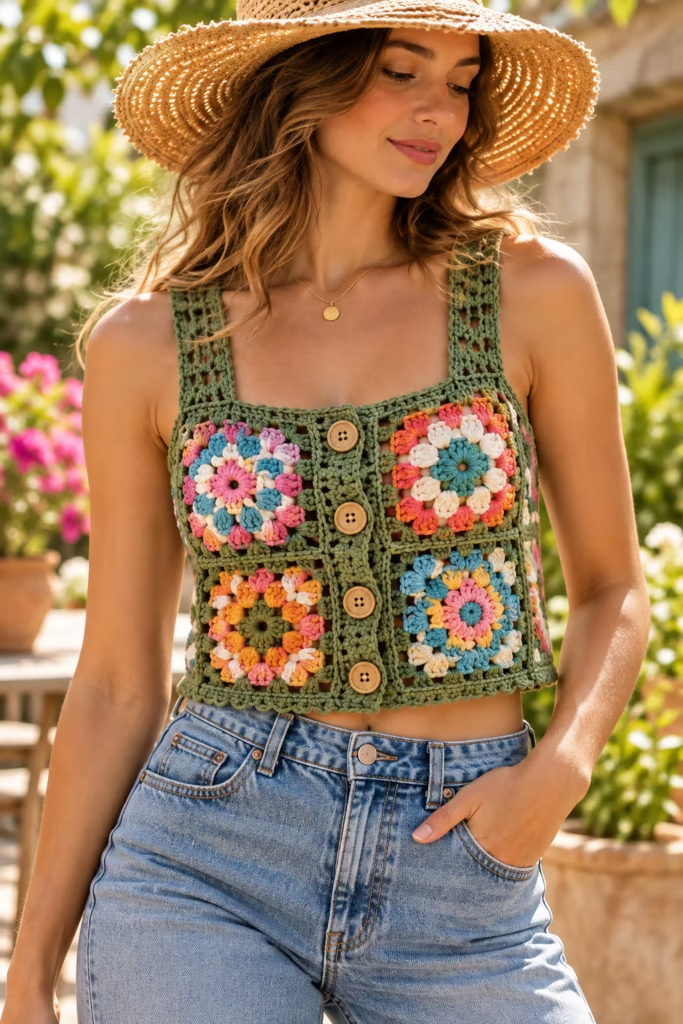
Cut strands to a consistent planned length, accounting for the fact that folded fringe becomes shorter. Attach each group securely through a suitable edge space and check that the fringe weight does not distort the hem.
Best for: A bohemian or festival-inspired look.
10. Pastel Granny Square Crop Top
Combine lavender, pale pink, light blue, and cream.
Repeat colors in a deliberate pattern to make the squares feel related. A neutral joining shade can separate neighboring pastel motifs.
Best for: Soft multicolor styling.
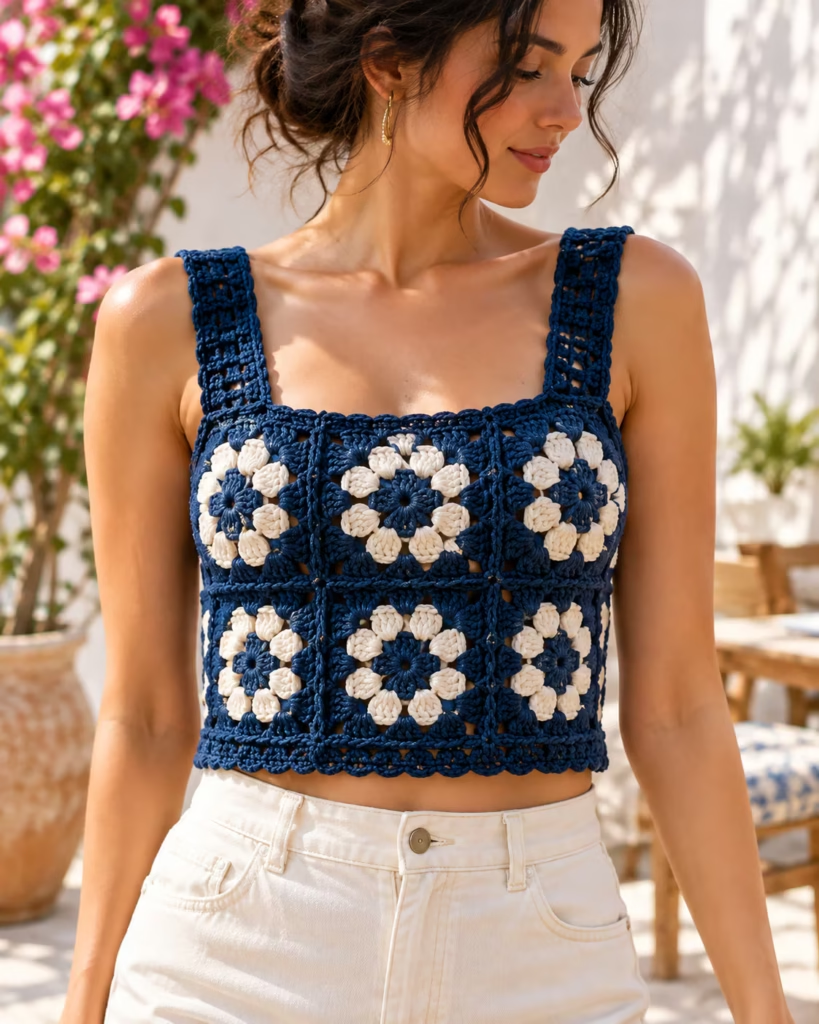
11. High-Contrast Graphic Crop Top
Pair a dark base such as navy or charcoal with light squares. Strong contrast highlights motif geometry and makes individual stitches easier to distinguish in photographs. Choose a border that visually connects the contrasting sections.
Best for: A bold and modern crochet statement.
12. Personalized Mixed-Motif Crop Top
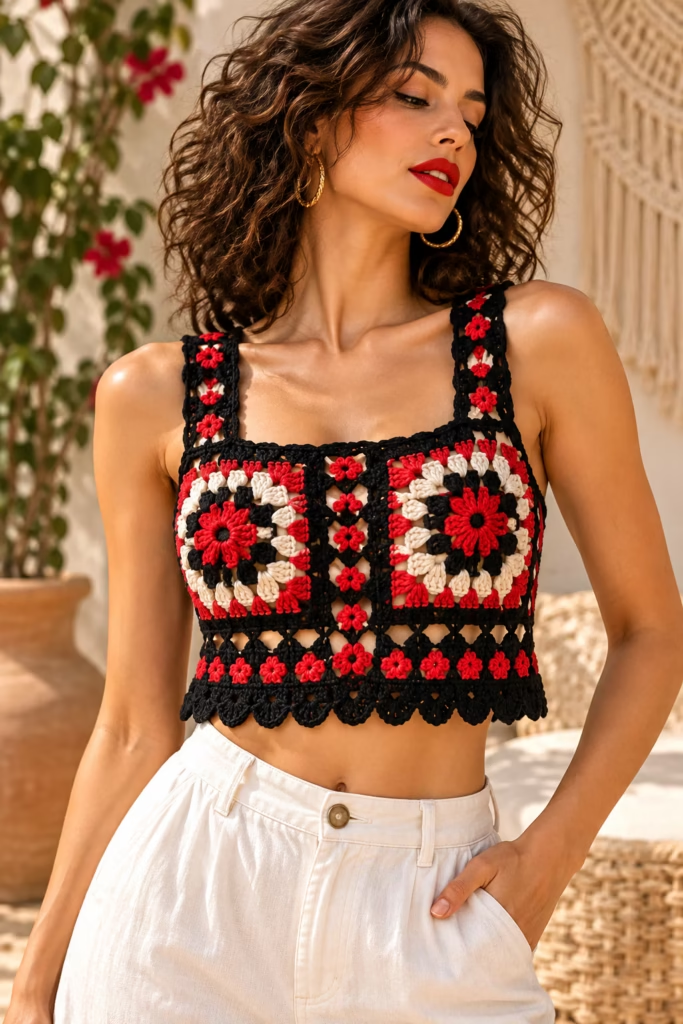
Combine compatible granny square motifs, such as traditional clusters, solid squares, and floral centers. All motifs must finish at matching dimensions. Different square patterns may have different stretch and fabric density, so test how they behave together before joining the garment.
Best for: Experienced crocheters who want more creative control.
Beginner-to-Advanced Crochet Skills
A granny square crop top can be approached at several skill levels.
| Level | Technique | Why It Helps |
|---|---|---|
| Beginner | Traditional granny squares | Builds confidence with clusters and corners |
| Beginner | Simple sewn seams | Makes construction easier to inspect |
| Intermediate | Crocheted joining methods | Adds control over seam appearance |
| Intermediate | Custom edging | Improves fit and design cohesion |
| Advanced | Mixed-motif construction | Allows more complex personalization |
| Advanced | Shaping and controlled gauge | Improves precision and wearability |
A practice exercise before starting
Make two matching squares. Measure both after blocking. Join them using your intended method, then measure the combined width.
Compare that with the sum of the individual widths. This exercise shows how joining affects your finished garment and may prevent sizing surprises later.
Troubleshooting Common Crochet Problems
| Problem | Likely Cause | Practical Fix | Prevention |
|---|---|---|---|
| Granny squares curl | Tension or corner construction | Check corner stitches and adjust hook if needed | Inspect each round |
| Squares differ in size | Inconsistent tension | Recheck stitch counts and remake mismatched motifs | Measure regularly |
| Seams pucker | Joining yarn pulled too tightly | Loosen or redo the join | Test the seam first |
| Crop top feels too tight | Insufficient garment ease | Add suitable width panels or reconstruct seams | Measure before assembly |
| Neckline ripples | Too many edging stitches | Remove excess stitches | Test pickup spacing |
| Straps stretch excessively | Yarn stretch or insufficient structure | Shorten or reinforce straps | Test strap stretch |
| Hem ruffles unexpectedly | Too many stitches or large shell repeats | Reduce stitches or revise repeat | Count the foundation round |
A frequent source of difficulty is inaccurate sizing rather than incorrect crochet technique. You can make perfectly formed granny squares and still finish with a top that does not fit. That’s why garment measurements and join testing are essential.
How to Style Your Finished Granny Square Crop Top
A personalized crop top can work with several outfits depending on its length and color.
Sage green and cream pair naturally with denim, white trousers, and neutral skirts. A brighter patchwork crop top can become the main visual element of an outfit when paired with simpler clothing. For cooler weather, a crochet crop top can be layered over a fitted shirt or worn beneath an open cardigan, provided the fit allows comfortable movement.
Frequently asked questions
Can a beginner crochet a granny square crop top?
A confident beginner who can chain, work double crochet stitches, join pieces, and count stitches can attempt a simple design. The granny squares themselves are relatively straightforward. The more demanding tasks are garment sizing, strap placement, and joining. Practicing with two squares before beginning the full project can make construction more manageable.
How many granny squares do I need for a crop top?
The number depends on the square dimensions, body measurements, neckline, and garment construction. A six-square front panel is one possible arrangement, not a universal requirement. Make a blocked sample, calculate the desired garment dimensions, and create a front-and-back layout before deciding how many motifs to crochet.
What yarn is suitable for a granny square crop top?
Smooth cotton and suitable cotton blends are common options because they offer stitch definition and can be comfortable for wearable crochet projects. The best yarn depends on the desired drape, garment weight, stretch, and care requirements. Always crochet a gauge sample to evaluate the fabric before committing to the full garment.
Can I make a granny square crop top without sewing?
Yes. Join-as-you-go crochet techniques can connect motifs during the final rounds instead of requiring separate sewn seams. However, this method requires careful planning because motifs must be arranged correctly as they are joined. Beginners may find separately joining completed squares easier to inspect and adjust.
How do I make my crochet crop top larger?
Possible adjustments include using larger motifs, adding additional squares, or inserting crochet extension panels. The most appropriate method depends on where additional width or length is needed. Increasing the number of motifs without considering neckline and strap placement can alter the garment’s proportions.
Why does my granny square crop top stretch after wearing?
Stretch can result from yarn characteristics, stitch density, garment weight, and construction. Cotton crochet may grow under its own weight, particularly in loosely worked fabric. Evaluate a washed gauge sample, make secure joins, and avoid overly long or narrow straps when the garment requires additional support.
How do I prevent granny square seams from showing?
Choose matching yarn and a joining method suited to the desired appearance. Mattress stitch can produce a relatively discreet seam when worked consistently. Keep corresponding stitches aligned and avoid pulling the joining yarn too tightly. If you prefer visible texture, a decorative crochet join may be more appropriate.
Can I mix different granny square patterns in one top?
Yes, provided the motifs are compatible in size, thickness, and stretch. A floral square and a traditional granny square may require different numbers of rounds to reach the same dimensions. Block and measure each motif type, then join a small sample to check that the combined fabric hangs evenly. —
Which Construction Method Is Best?
| Method | Best For | Advantages | Limitations |
|---|---|---|---|
| Sewn granny squares | Beginners | Easy to inspect individual joins | Requires additional sewing |
| Slip-stitch joins | Decorative texture | Distinct seam appearance | Can create noticeable ridges |
| Join-as-you-go | Experienced crocheters | Reduces later assembly | Requires careful motif planning |
| Square panels with crochet extensions | Custom sizing | Easier length adjustments | Needs measurement checks |
| Mixed-motif panels | Personalized designs | More creative variation | Different motifs may behave differently |
For a first crop top, separately crocheted squares with sewn joins are a practical choice. More experienced crocheters may prefer join-as-you-go techniques after verifying how their chosen motifs and yarn behave.
Three Details That Improve the Finished Garment
1. Verify the fit before completing the seams
A crochet garment should be measured at more than one stage. Measure the original gauge square, the joined panel, and the garment before final edging. This reveals changes caused by seams and fabric weight.
Place temporary stitch markers along the side seams and try the top on carefully before securing the final join. Pay particular attention to underarm comfort and strap placement.
2. Reinforce high-stress areas
Shoulder straps and upper side seams experience more movement than the decorative center of a granny square. Inspect these attachment points for loose stitching. Where appropriate, use additional joining stitches distributed across the edge to spread strain. Avoid excessive reinforcement that makes the area stiff or uncomfortable.
3. Care for the finished crochet top correctly
Follow the yarn manufacturer’s washing instructions. A cool, gentle wash may suit many cotton yarns, but the fiber label should determine the actual care method. Support the garment when lifting it while wet.
Reshape it and dry it flat when appropriate. Avoid hanging a heavy wet crochet top by the straps because the fabric may stretch.
Final Quality Checklist
Before calling the project complete, inspect the garment carefully.
- [ ] Every granny square has the intended stitch count and corner structure.
- [ ] The joined motifs lie reasonably flat.
- [ ] Front and back dimensions match the garment plan.
- [ ] The top fits comfortably around the body.
- [ ] Shoulder straps sit securely.
- [ ] Seams are strong without puckering.
- [ ] The neckline and arm openings do not pull.
- [ ] The lower edging is even.
- [ ] All yarn ends are securely woven in.
- [ ] The garment has been blocked appropriately.
Small variations in handmade stitch tension are normal. However, missing structural stitches, poorly secured straps, and a garment that is substantially too tight should be corrected before regular use.
Make Your Own Personalized Granny Square Crop Top
The most successful personalized crochet projects begin with a clear garment plan.
Choose a color combination you genuinely want to wear, crochet one accurate sample square, and use its finished dimensions to calculate your panel layout. Build the motifs consistently, test the joins, and check the fit before finishing.
For a first project, a two-color square-neck crop top with wide straps and a simple lower border offers a manageable construction method. Once you’ve completed it, experiment with contrasting colors, floral motifs, or decorative scalloped edges to create a design with a completely different character.
Save this guide as a reference for planning your motif dimensions, assembling the panels, and checking the finished fit. Your next granny square project can build on the same construction skills while introducing a new color palette or motif arrangement.
Save this for later
Pin “12 Personalized Crochet Granny Square Crop Top Ideas: Which Style Wins?” so you can find it when the yarn arrives.
Get the next free pattern first
One email a week. New patterns, no noise.
Yarn weights and hook sizes in this guide follow the Craft Yarn Council standards.
Keep going: How Long Does a Beginner-Friendly Crochet Granny Square Crop Top Really Take? · 8 Crochet Granny Square Crop Top Patterns You Need to Try · You Need to Try This Crochet Granny Square Crop Top Patterns