How Long Does a Beginner-Friendly Crochet Granny Square Crop Top Really Take?
Granny square: But how long does it actually take? The answer depends on your crochet experience, the size of your squares, the number of motifs, and the…

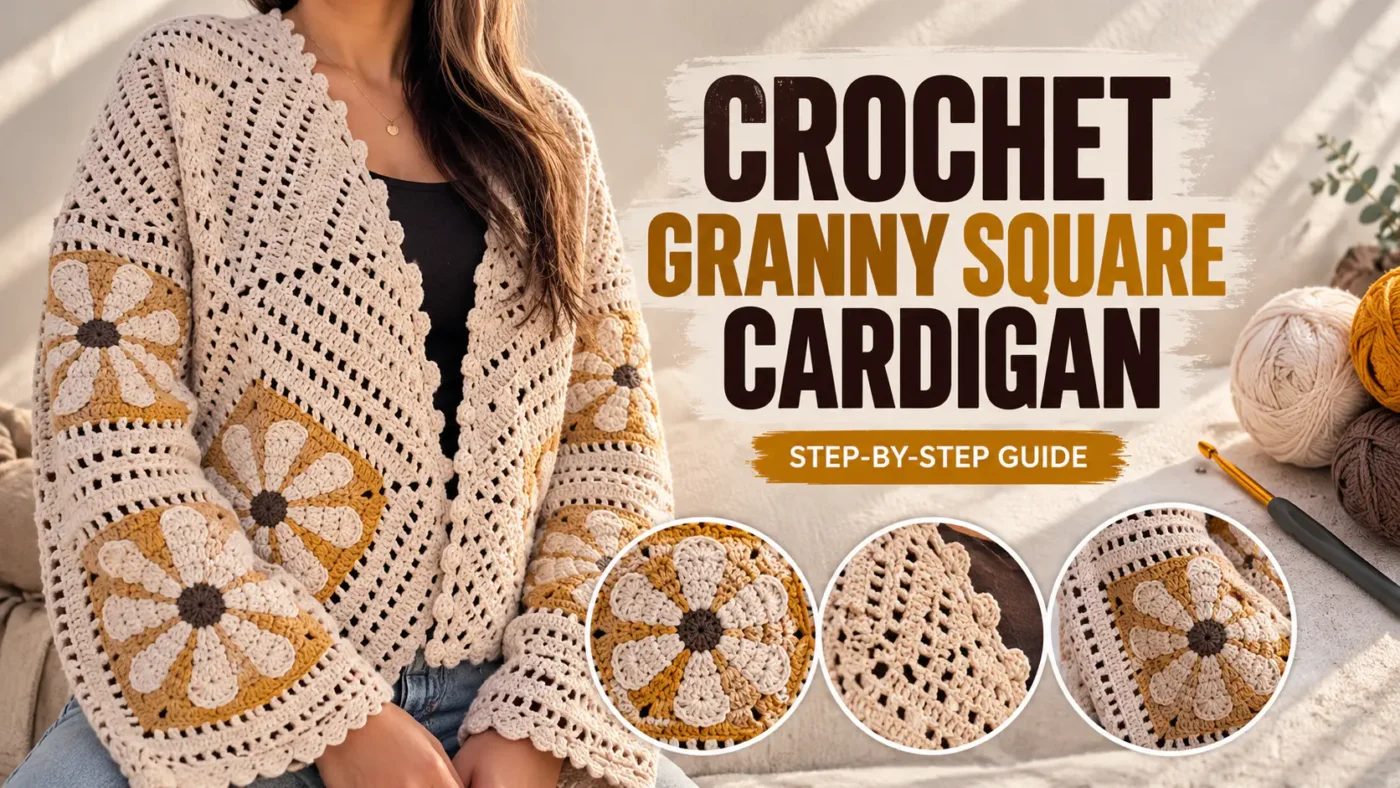
But how long does it actually take? The answer depends on your crochet experience, the size of your squares, the number of motifs, and the finishing details you choose.
This guide explains realistic time estimates, materials, sizing calculations, and a complete beginner-friendly construction method. You’ll also learn how to avoid common mistakes, create neat joins, and make a crop top that fits comfortably.
How Long Does a Crochet Granny Square Crop Top Take?
The time needed to crochet a granny square crop top depends largely on the complexity of the squares and your familiarity with the stitches.
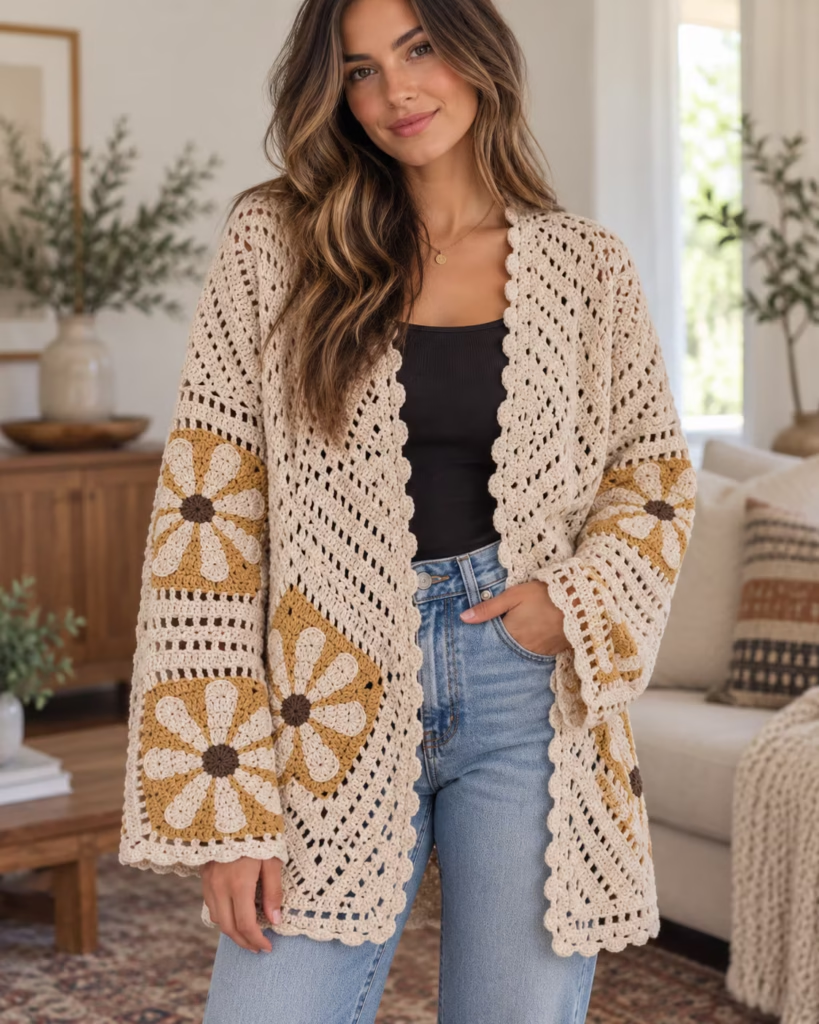
A simple design made from traditional granny squares is generally quicker than a floral design involving raised petals, color changes, decorative seams, or lace edging. Here are reasonable planning ranges for a small-to-medium project. These are illustrative estimates rather than timed results from a tested sample.
| Experience | Approximate Active Time | What Takes the Most Time |
|---|---|---|
| Complete beginner | 12–20+ hours | Learning stitches, counting, correcting mistakes |
| Confident beginner | 8–14 hours | Making consistent squares and joining |
| Intermediate crocheter | 5–10 hours | Motifs, assembly, and finishing |
| Experienced crocheter | 4–8 hours | Stitch complexity and customization |
These ranges assume a straightforward design and may increase considerably for a larger garment or intricate floral motifs.
Where Does the Time Go?
A typical project includes several separate stages.
| Stage | Example Time |
|---|---|
| Measuring and planning | 20–40 minutes |
| Practicing and measuring a square | 30–60 minutes |
| Crocheting all motifs | 4–12+ hours |
| Joining squares | 1–3 hours |
| Making straps and edging | 45–120 minutes |
| Weaving ends and blocking | 45–90 minutes of active work |
Blocking adds drying time, which is not included in active crochet hours. The most useful time-saving technique is to make and measure one complete square before producing the rest. This prevents hours of work with motifs that turn out too large or too small.
Project Overview
This tutorial uses a simple modular construction: traditional granny squares form the front and back of a cropped top, and crocheted straps connect the upper sections. The sample construction method is designed for customization rather than one fixed clothing size.
| Project Detail | Description |
|---|---|
| Skill level | Confident beginner |
| Construction | Individual squares joined into panels |
| Main stitches | Chain, slip stitch, double crochet |
| Yarn | Cotton or cotton-blend yarn |
| Suggested starting yarn weight | Category 3 DK or category 4 worsted |
| Hook | Size appropriate to yarn and desired fabric |
| Fit | Adjustable through square count and dimensions |
| Finishing | Seaming, straps, optional edging |
| Estimated time | Approximately 8–14 hours for a confident beginner |
| Exact yarn amount | Determined by swatch weight and motif count |
The time estimate is a planning guide, not a guarantee. Exact finished dimensions and yarn quantity must be calculated from your own swatch.
Materials and Tools for a Crochet Granny Square Crop Top
Choosing the right yarn matters as much as choosing the square pattern.
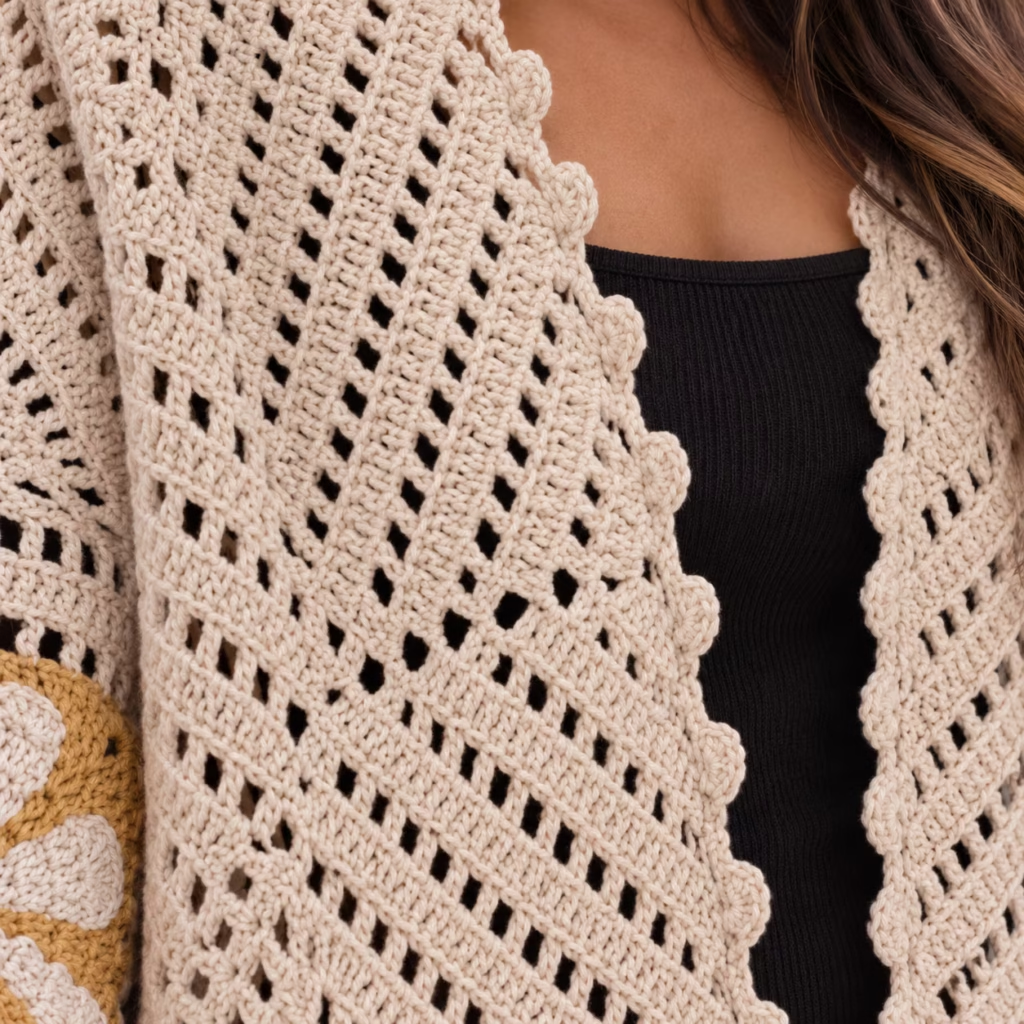
For a warm-weather crop top, cotton and breathable cotton blends are practical options because they create defined stitches and are generally comfortable against the skin.
Essential Materials
| Item | Specification | Purpose | Alternative |
|---|---|---|---|
| Yarn | DK or worsted cotton/cotton blend | Main garment fabric | Smooth lightweight acrylic blend |
| Crochet hook | Appropriate to yarn label and swatch | Making stitches | Adjust size to obtain suitable fabric |
| Yarn needle | Blunt tapestry needle | Joining and weaving ends | Larger-eye finishing needle |
| Scissors | Sharp craft scissors | Cutting yarn | Thread snips |
| Measuring tape | Flexible | Checking body and garment size | Flexible sewing ruler |
| Stitch markers | Removable | Marking corners and joins | Contrasting scrap yarn |
Optional Tools
A blocking mat, rust-resistant pins, and a notebook can help improve consistency. A kitchen scale is especially useful when calculating how much yarn a full garment requires.
How Much Yarn Will You Need?
Exact yarn consumption depends on square size, yarn weight, stitch density, and the number of motifs. A more accurate approach than guessing from clothing size is to weigh one finished square.
For example, if one square uses 12 grams and the garment requires 16 squares:
16 × 12 = 192 grams
Then add yarn for straps, joining, edging, and a reasonable allowance.
If you add 20%:
192 × 1.20 = approximately 230 grams. This example is a calculation method, not a verified quantity for the garment shown. Different yarns can have very different lengths per gram, so check both weight and yardage.
Understanding Granny Squares Before You Begin
A traditional granny square is made in rounds rather than rows.
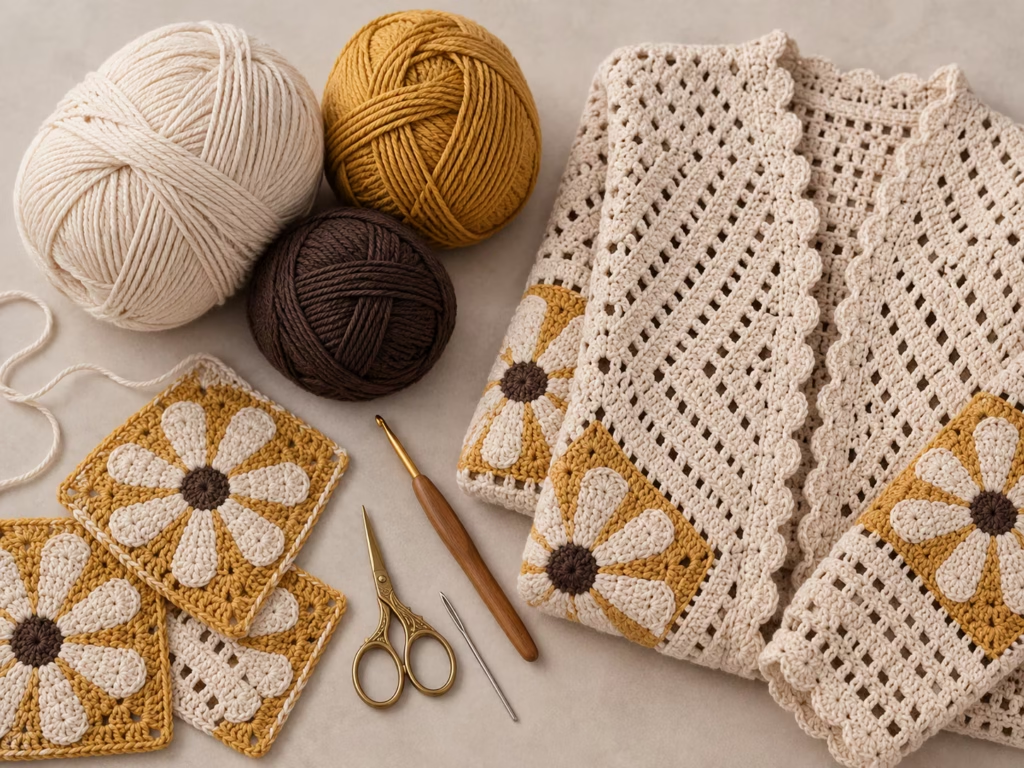
Each round expands around the previous one, with extra space created at the corners. The most common stitch group is a cluster of three double crochet stitches.
Essential Crochet Abbreviations
All terminology in this article uses US crochet terms.
| Abbreviation | Meaning |
|---|---|
| ch | Chain |
| sl st | Slip stitch |
| sc | Single crochet |
| dc | Double crochet |
| st | Stitch |
| sp | Space |
| rep | Repeat |
| RS | Right side |
| WS | Wrong side |
A double crochet in US terminology corresponds to a treble crochet in UK terminology.
How the Square Grows
A traditional granny square has four corner spaces. Every new round places two groups of three double crochet stitches at each corner. Between corners, additional three-double-crochet groups fill the spaces from the previous round. The result is a square that expands evenly.
Why Stitch Consistency Matters
If your tension changes noticeably between squares, the pieces may not line up during assembly. That can create puckered seams, uneven edges, and a garment that twists. Practice until your squares have reasonably consistent dimensions before beginning the full collection.
Measuring and Planning Your Granny Square Crop Top
The best way to achieve a comfortable fit is to work from measurements instead of assuming a particular square count equals a standard size.
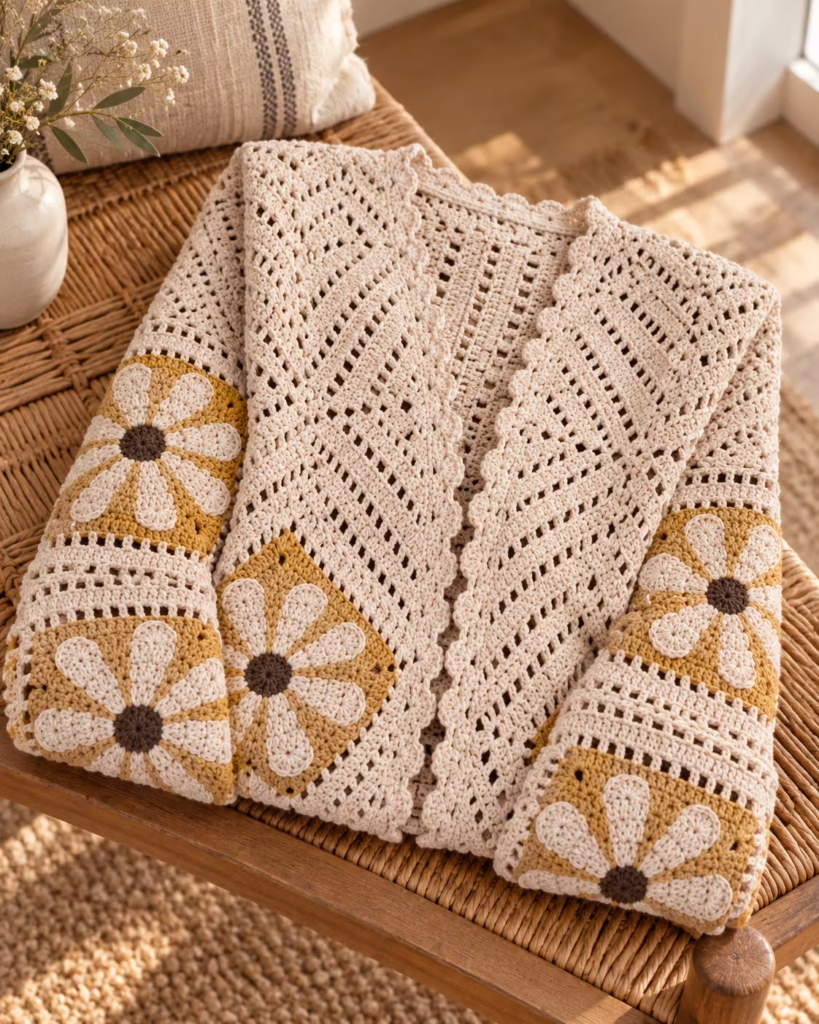
Step 1: Take Your Measurements
Measure:
- Full bust circumference
- Desired finished circumference
- Desired crop-top length
- Distance between strap attachment points
- Desired strap width and length
Measure over the kind of undergarment you intend to wear with the finished top. For a fitted cotton top, avoid adding more ease than your fabric needs. For a relaxed design, choose a slightly larger finished circumference.
Step 2: Crochet a Complete Sample Square
Make one square using the yarn, hook, and number of rounds you plan to use. Measure it after treating it the same way you intend to finish the garment. For example, if the square measures 4 inches across after blocking, four squares across will produce approximately 16 inches before accounting for seams and any changes made during joining.
Step 3: Calculate Your Square Layout
Suppose you want a finished circumference of approximately 32 inches.
If each square contributes 4 inches to the finished width:
32 ÷ 4 = 8 squares around the garment.
You could arrange these as:
Front: 4 squares across Back: 4 squares across
If the top is two squares tall, the main body requires:
8 × 2 = 16 squares.
This is a simplified planning example. Joining techniques can change the final dimensions, and you must account for the neckline, arm openings, and desired coverage.
Important Fit Consideration
A flat rectangle of squares does not automatically create a well-fitting top. The body panels must leave appropriate room for the arms and allow straps to attach securely.
For a simple sleeveless crop top, you can join the lower side edges and leave the upper sides open for armholes. A fitted silhouette may require smaller squares, different panel widths, or additional shaping.
Complete Step-by-Step Crochet Granny Square Crop Top Tutorial
The following method uses standard granny squares to create an approachable sleeveless crop top.
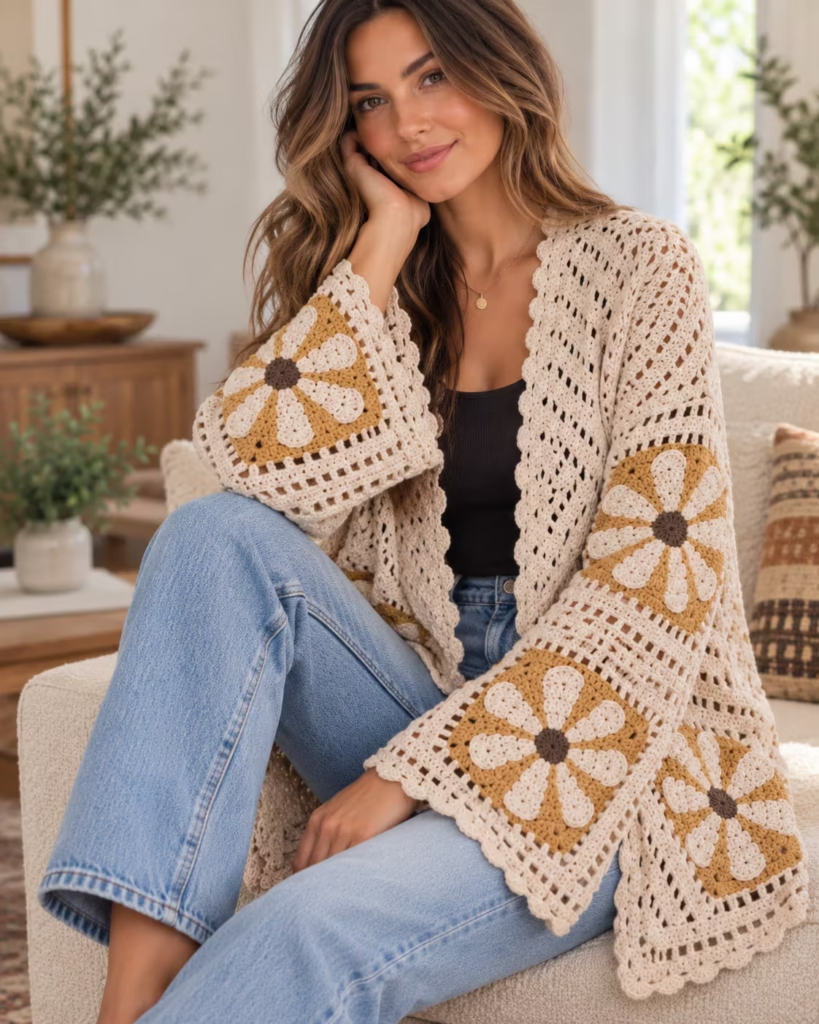
It is a customizable construction method rather than a tested graded pattern with fixed sizing for every body type.
Step 1: Make the Center Ring
Make a slip knot and chain 4. Join the fourth chain to the first using a slip stitch to form a ring. Alternatively, use a magic ring if you already know the technique.
Visual check: You should have a small, clearly visible center opening.
Common mistake: Tightening the beginning chains so much that the hook cannot pass into the ring.
Fix: Loosen your tension and remake the chain.
Expert tip: A chain ring is easy to handle and avoids the extra learning curve of a magic ring.
Step 2: Crochet the First Round
Work the following into the center ring.
- Chain 3. This counts as the first double crochet.
- Work 2 double crochet into the ring.
- Chain 2.
- Work 3 double crochet into the ring.
- Chain 2.
- Repeat the 3-double-crochet group followed by chain 2 twice more.
- Join with a slip stitch to the top of the starting chain 3.
You now have four groups of three double crochet stitches, separated by four corner spaces.
Visual check: The motif should resemble a small square with four clearly defined corners.
Common mistake: Making only three corners or adding too many groups.
Fix: Count four three-stitch groups and four chain-2 spaces before moving on.
Step 3: Crochet the Second Round
Slip stitch across the remaining stitches of the first cluster and into the next corner space.
Into that corner space, work:
Chain 3, 2 double crochet, chain 2, 3 double crochet. This forms the first complete corner.
Chain 1.
In the next corner space, work:
3 double crochet, chain 2, 3 double crochet. Chain 1 and repeat in the remaining corners. After the fourth corner, chain 1 and join to the top of the beginning chain 3.
Visual check: Each corner should contain two clusters with a chain-2 space between them.
Common mistake: Placing both clusters into different spaces instead of the same corner.
Fix: Insert the hook into the corner opening for both three-stitch groups.
Expert tip: Keep the chain-2 spaces consistent to maintain square corners without excessive stretching.
Step 4: Build the Third Round
Slip stitch to the nearest corner space.
Make the beginning corner as before:
Chain 3, 2 double crochet, chain 2, 3 double crochet.
Chain 1.
Work 3 double crochet in the side chain-1 space from the previous round.
Chain 1.
Work a full corner in the next chain-2 space:
3 double crochet, chain 2, 3 double crochet. Continue around, placing one cluster in each side space and two clusters separated by chain 2 in each corner. Chain 1 between adjacent clusters. Join the round with a slip stitch.
Visual check: Each side now has one cluster between its two corners.
Common mistake: Accidentally skipping the middle space.
Fix: Identify all four corner spaces before starting each round.
Step 5: Continue Until the Square Reaches the Planned Size
Continue working rounds using the same structure.
At every corner:
3 dc, ch 2, 3 dc.
In every side chain-1 space:
3 dc.
Chain 1 between clusters. Each new round adds another side cluster between the corners. Stop when the square approaches your target measurement.
Construction Checkpoint
Lay the square flat without pulling it.
Check that:
- All four corners are visible.
- Opposite sides are similar in length.
- The square lies reasonably flat.
- The motif has no unexpected increases.
- The fabric has the drape you want.
A slightly uneven square may improve with blocking, but serious stitch-count errors should be corrected before continuing.
Step 6: Make All the Required Squares
Once your sample square is approved, make the remaining motifs using the same hook and tension.
For the earlier 16-square example, you need:
8 front squares and 8 back squares if each panel is four squares wide and two squares tall. You can make all the squares in one color or alternate different combinations.
A Simple Floral-Inspired Palette
For a warm, vintage appearance, consider:
- Cream for the main rounds
- Mustard yellow for selected rounds
- Dark brown as a small central accent
A traditional granny square will retain its geometric cluster structure. A true raised-petal flower square requires a different motif pattern and must be measured separately before replacing these squares.
Keeping Squares Consistent
Measure every few completed squares. A small size variation can usually be managed during joining. However, if some squares are significantly larger, joining them may create uneven tension.
Expert tip: Finish all color changes in the same round positions to create a balanced design.
Step 7: Arrange the Front and Back Panels
Place your completed squares on a flat surface. Arrange four across and two down for each panel in the example layout. Check the finished dimensions against your measurements. Do not seam the panels yet if they are noticeably too wide or too narrow.
Basic Assembly Diagram
Front Panel:
[A] [B] [C] [D] [E] [F] [G] [H]
Back Panel:
[I] [J] [K] [L] [M] [N] [O] [P]
Each letter represents one finished square. Join neighboring squares horizontally and vertically within each panel.
Then:
- Position front and back with their lower edges aligned.
- Join the lower side seams.
- Leave the upper sides open for arm movement.
- Add shoulder straps to connect the upper front and back edges.
The exact side-seam height and strap placement must be established by trying the pinned or temporarily joined panels on the intended wearer.
Why the Layout Matters
If you place different-sized squares beside each other, the fabric may pull diagonally. If your color placement is inconsistent, the finished top may look visually unbalanced. Take a photograph of your preferred arrangement before you begin joining.
Step 8: Join the Granny Squares
One beginner-friendly joining method is a slip-stitch seam.
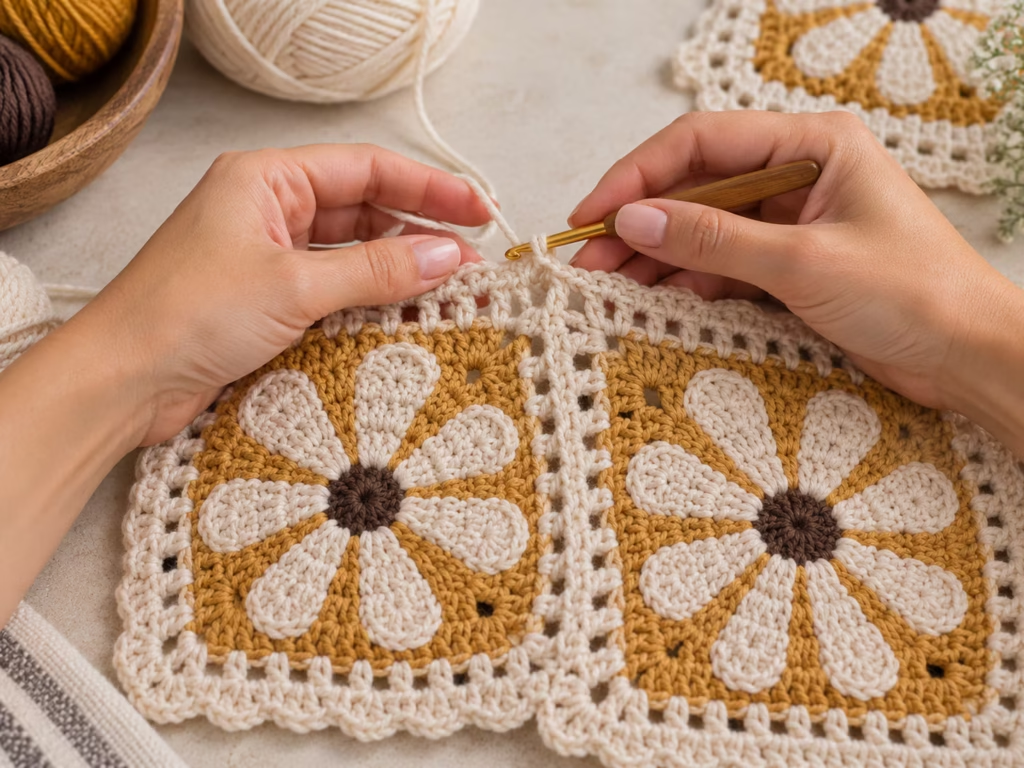
Place two squares with their right sides facing each other. Align corresponding edge stitches and corners. Using your hook and joining yarn, work slip stitches through corresponding loops along the matched edges. Keep the seam relaxed.
Visual check: The seam should lie flat when the squares are opened.
Common mistake: Pulling the joining yarn too tightly.
Fix: Undo the tight section and rework with looser tension.
Expert tip: Join long rows first, then connect the rows into panels. This keeps the construction organized.
Alternative Joining Methods
A whipstitch seam made with a yarn needle creates a flexible join. A single crochet join produces a more visible raised seam. A flat slip-stitch join can provide a relatively unobtrusive finish. Your choice affects both appearance and finished garment measurements.
Step 9: Shape the Crop Top and Leave Arm Openings
Before permanently sewing the front and back together, compare the panel dimensions with your body measurements. The joined panels should fit around the torso without needing excessive stretching. Position the panels together and temporarily secure the side edges. Try the garment against the body or on a correctly sized dress form.
Check the Armholes
The upper side openings need enough room to move the arms comfortably. If the openings are too small, reduce the length of the side seam. If they expose more than intended, extend the seam slightly. For safety and comfort, never make the arm opening so tight that it restricts movement.
Visual check: Both armholes should be approximately symmetrical unless intentionally designed otherwise.
Common mistake: Seaming the entire side edge closed.
Fix: Leave the planned upper armhole section open.
Expert tip: Try on the garment after temporarily securing the joins, before weaving away the joining yarn tails.
Step 10: Crochet the Shoulder Straps
The shoulder straps connect the front and back upper edges. Their length depends on the wearer’s body measurements and the depth of the neckline.
For a simple strap:
- Chain enough stitches to match your planned strap width.
- Work single crochet stitches across the chain.
- Chain 1 and turn.
- Continue single crochet rows until the strap reaches the measured length.
- Make a matching second strap.
- Attach the straps securely to the front and back upper edges.
For a stronger strap, work several rows rather than using only a chain.
Strap Strength Check
Hold the strap at both ends and apply gentle tension. The stitches should remain stable without opening excessively. Cotton straps may relax with wear, so test the fit before permanently sewing them.
Step 11: Add a Clean Edging
A border can make the neckline and armholes look more finished. Use single crochet stitches around exposed edges. Work evenly without forcing too many stitches into one area.
At curves or corners, adjust placement gradually to avoid puckering. If the border waves outward, you may have added too many stitches. If it pulls inward, you may need more stitches or looser tension.
Optional Decorative Finish
A simple scalloped border can soften the appearance. However, decorative edging changes the dimensions and may stretch differently from the main fabric. For a first crop top, a plain single crochet edging is usually easier to control.
Beginner-to-Pro Crochet Learning Ladder
A granny square crop top can be approached at different skill levels.
Beginner: Focus on Repetition
Use one square pattern, one yarn weight, and a consistent hook size. Practice the same stitches until your tension becomes predictable. Choose simple joining and plain edging. Your priority is a garment that fits and holds together securely.
Intermediate: Improve Construction
Experiment with color placement, flatter seams, and different neckline depths. Compare your measurements before and after blocking. Try more deliberate strap placement rather than relying only on the corners of the squares.
Advanced: Refine the Fit
Experienced crocheters can use partial motifs, additional rows, or modified panel layouts to create a closer fit. They can also explore integrated straps, shaped necklines, and more intricate lace details. Any change to the square design requires a new gauge check because the dimensions may differ.
Common Granny Square Crop Top Problems and Solutions
Even carefully planned projects can encounter issues.
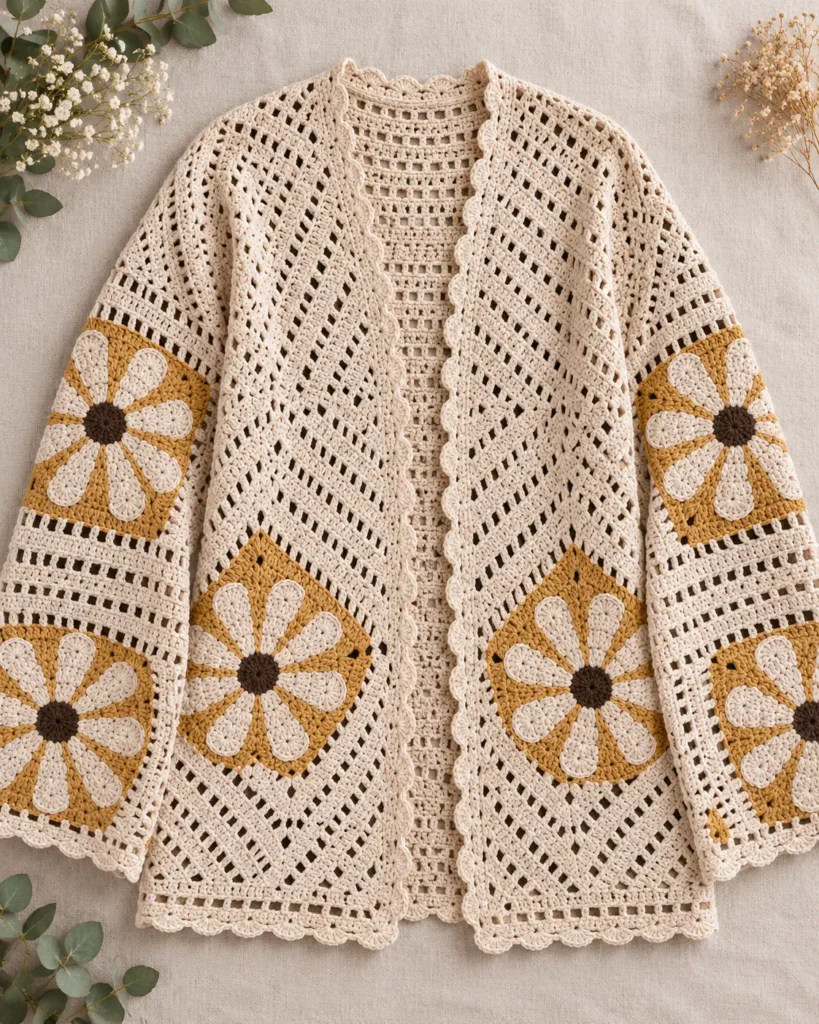
The most consequential problems involve square consistency, joining tension, and garment fit.
| Problem | Likely Cause | How to Fix It | Prevention |
|---|---|---|---|
| Squares are different sizes | Inconsistent tension | Rework noticeably mismatched squares | Measure regularly |
| Square edges curl | Tight stitches or too few increases | Check stitch placement and hook size | Count corners and side spaces |
| Squares become wavy | Loose tension or excess stitches | Correct stitch count and reassess hook | Use consistent clusters |
| Seams pucker | Joining too tightly | Undo and remake seam | Keep joining stitches relaxed |
| Top is too wide | Panel measurements incorrect | Adjust square count or motif size | Plan using finished dimensions |
| Armholes are too small | Side seams extend too high | Open more of the upper seam | Test fit before sewing |
| Straps stretch | Insufficient structure or unsuitable yarn | Reinforce or remake straps | Use firm rows and test fit |
| Neckline becomes loose | Border tension too relaxed | Rework edging | Check neckline during assembly |
Can Blocking Fix Every Problem?
No.
Blocking can improve the appearance of slightly uneven fabric, but it cannot reliably correct missing clusters, major sizing errors, or incorrectly placed joins. For structural mistakes, reworking the affected area is the better choice.
Comparing Crochet Granny Square Crop Top Styles
Different constructions suit different preferences.
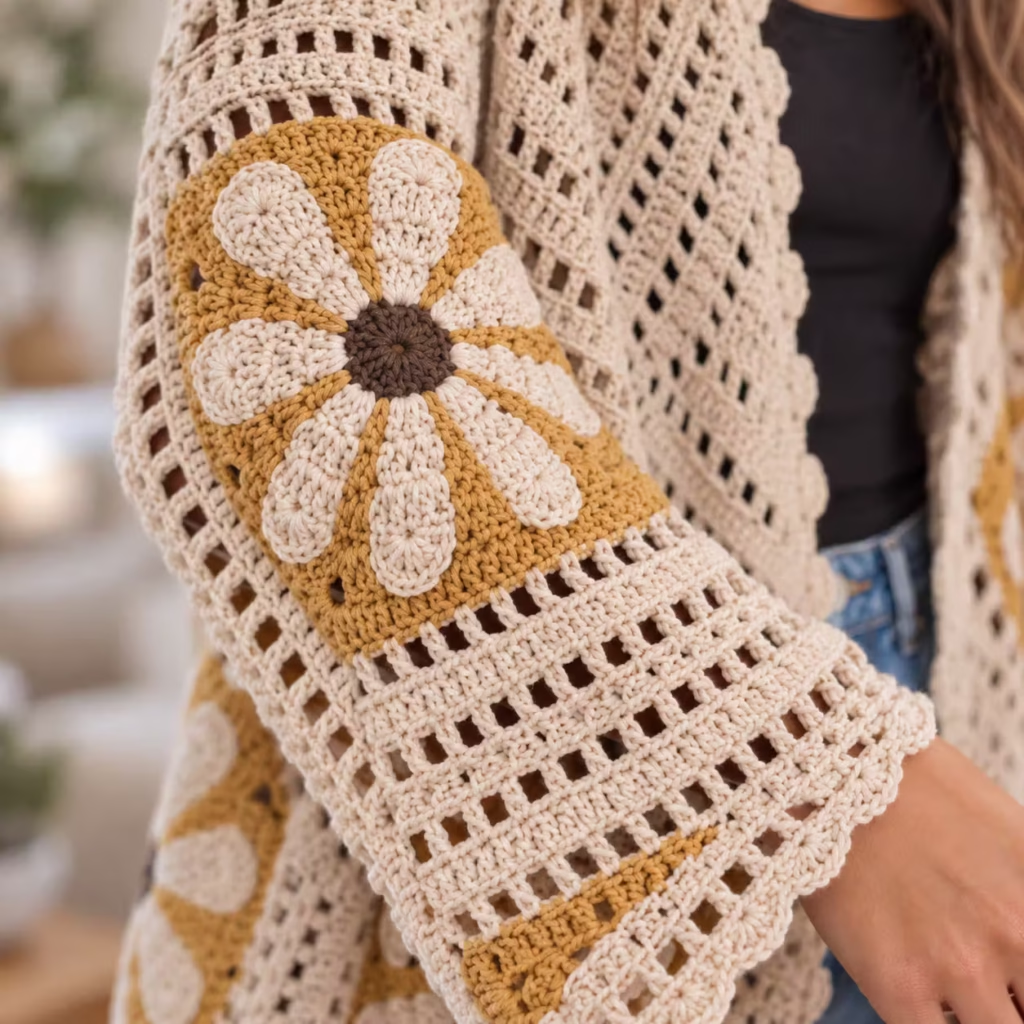
| Style | Best For | Advantages | Limitations | Recommendation |
|---|---|---|---|---|
| Classic granny square crop top | Beginners | Repetitive construction | Boxier silhouette | Start here |
| Floral granny square crop top | Decorative detail | Distinctive motifs | More complex stitches | Use after mastering basics |
| Lace granny square crop top | Airy appearance | Lightweight visual texture | May require layering | Choose for decorative wear |
| Halter-style granny top | Adjustable neckline | Fewer shoulder attachments | Requires secure neck ties | Check comfort carefully |
| Fitted modular crop top | Customized fit | More shaping control | More planning required | Suitable for experienced crocheters |
Which Style Should You Choose?
Choose the traditional granny square version if your priority is learning garment assembly. Choose a floral variation when you are comfortable reading more complex stitch instructions and want a decorative finish. For a closer fit, plan your finished measurements carefully before deciding on the motif count.
<!– gap –>
Getting the Fit Right Before Final Assembly
Sizing is one of the most valuable skills in garment crochet. A garment can contain beautifully executed stitches and still be uncomfortable if the proportions are wrong.
Check Four Key Measurements
Measure the laid-flat garment.
- Width across the front.
- Width across the back.
- Length from neckline or upper panel to lower hem.
- Distance from front strap attachment to back strap attachment over the shoulder.
Compare the measurements with the intended wearer’s body.
Understanding Ease
Ease is the difference between body measurements and garment measurements. Positive ease means the garment is larger than the body.
Negative ease means it is smaller and depends on fabric stretch. Because traditional granny squares have open spaces and variable stretch, do not assume that a tightly fitted design will behave like a knitted stretch top.
A Practical Fitting Test
Temporarily secure the panels and straps. Wear the garment over a suitable base layer. Move your arms forward, sideways, and overhead.
Check whether the top rides up excessively or pulls across the chest. Adjust before securing the final joins.
<!– gap –>
How to Make Your Crochet Crop Top More Durable
A handmade crop top should be able to handle normal movement without its seams or straps coming apart. The most important areas to reinforce are the side seams, shoulder-strap attachments, and yarn ends.
Step 1 — Reinforce High-Stress Areas
When attaching straps, distribute the stitching across several secure edge stitches rather than attaching each strap at a single loose loop. Use matching yarn and a yarn needle to create a strong connection. Avoid large knots that feel uncomfortable against the skin.
Step 2 — Weave in Ends Properly
Thread the yarn tail onto a tapestry needle. Weave through the backs of several stitches, change direction, and weave again where the fabric structure permits. Trim only after the tail feels secure. A single short pass through open crochet fabric may not hold well during washing or wearing.
Step 3 — Washing and Storage
Follow the yarn manufacturer’s care instructions. If the garment can be hand washed, use gentle handling and avoid stretching the wet fabric. Reshape it and dry flat. Store folded rather than hanging for long periods, especially if the yarn or openwork construction tends to stretch.
<!– gap –>
Customizing Your Crochet Granny Square Crop Top
Once you understand the basic construction, small changes can create noticeably different results.
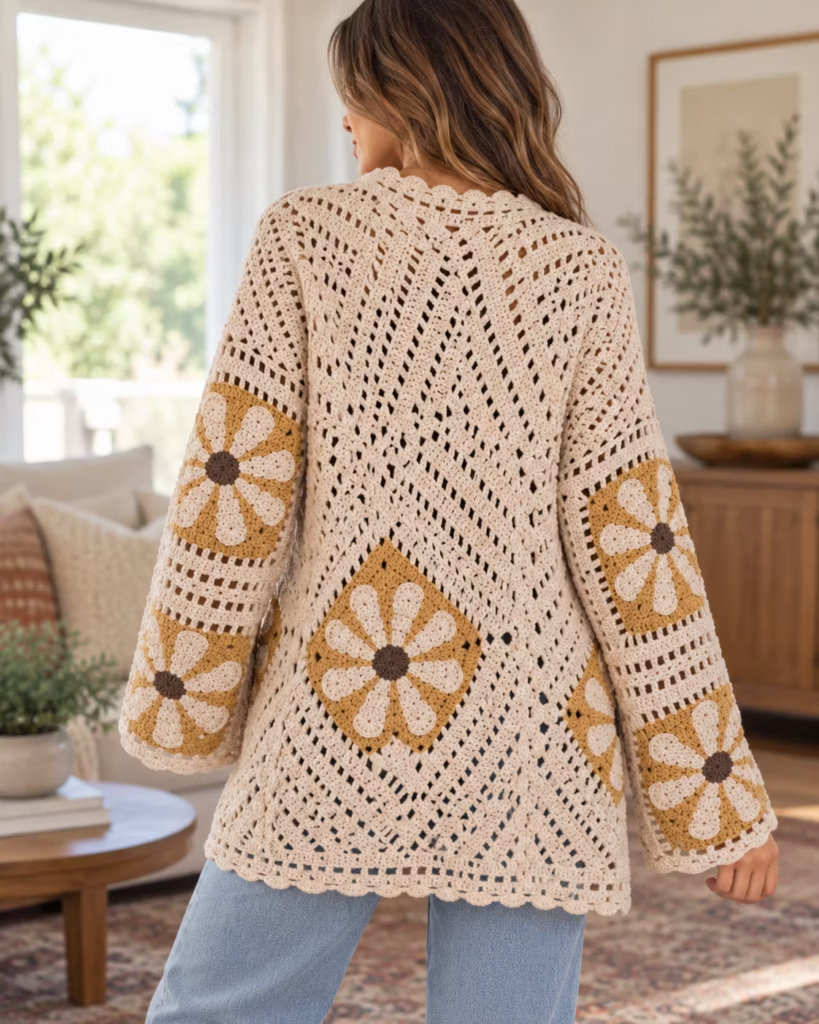
1. Change the Color Placement
Use one color for the centers and another for the outer rounds. A cream body with mustard accents creates a warm, vintage-inspired appearance. For a quieter look, use different shades from the same color family.
2. Adjust the Length
To create a longer top, add an extra row of squares or a carefully measured crocheted lower border. Remember that a longer garment requires more yarn and additional construction time.
3. Experiment With Straps
Wider straps can spread pressure more comfortably across the shoulders. Narrow straps create a lighter appearance but may need more careful reinforcement.
4. Add a Decorative Border
Use a subtle scalloped edging or a contrasting single crochet border. Test the border on a sample first to check that it remains flat.
5. Create a Matching Piece
Leftover granny squares can become part of a coordinated accessory, such as a small pouch or headband. This is a practical way to use remaining yarn without changing the construction of the crop top itself.
Final Quality Checklist
Before calling your crochet granny square crop top complete, inspect the project carefully.
Stitch Quality
- [ ] All squares have the intended number of rounds.
- [ ] Corner spaces are correctly positioned.
- [ ] Stitch tension is reasonably consistent.
- [ ] No accidental holes or dropped stitches are present.
Construction
- [ ] Front and back dimensions match the intended fit.
- [ ] Joined edges are secure.
- [ ] Side seams do not restrict movement.
- [ ] Armholes are comfortable.
- [ ] Shoulder straps are firmly attached.
Finishing
- [ ] Yarn ends are woven in securely.
- [ ] Edges lie reasonably flat.
- [ ] The garment has been blocked appropriately for the yarn.
- [ ] The finished piece has been tried on and adjusted.
Small differences in handmade stitch tension are normal. A slightly imperfect visual edge is usually acceptable if the fabric lies comfortably. However, unsecured straps, failing seams, or significant sizing problems should be corrected before wearing the garment.
Frequently asked questions
1. Is a Crochet Granny Square Crop Top Good for Beginners?
Yes, especially if you already know how to make chains, double crochet stitches, and slip stitches. Traditional granny squares use repetitive stitch groups that become easier with practice. The more challenging part is often sizing and assembling the garment. Making one complete practice square before beginning the top can help prevent avoidable mistakes.
2. How Many Granny Squares Do You Need for a Crop Top?
The number depends on the width of each finished square, your body measurements, and the desired length. A sample design might use 16 squares arranged as two panels of eight, but this is not a universal requirement. Measure a blocked square, calculate your panel width, and adjust the layout before committing to the full project.
3. Can You Crochet a Granny Square Crop Top in One Day?
An experienced crocheter might finish a simple, small design during a long crafting day. A complete beginner will usually need more time, especially when learning stitches or correcting mistakes. A realistic plan is to divide the work into measuring, making motifs, joining, and finishing. Remember that blocking also requires drying time.
4. What Is the Best Yarn for a Granny Square Crop Top?
Cotton and cotton blends are useful choices for warm-weather tops because they provide clear stitch definition and a comfortable fabric. Lightweight yarn may create a softer drape, while heavier yarn can produce a more structured result. Always make a swatch because different fibers and yarn weights affect fit, weight, and stretch.
5. How Do You Stop Granny Squares From Curling?
First check whether you have worked the correct number of clusters and corner spaces. Tight tension, an unsuitable hook size, or stitch-placement mistakes can cause curling. If the stitch structure is correct, gentle blocking may improve the shape. Severe distortion usually requires correcting the crochet rather than forcing the square flat.
6. How Do You Make a Granny Square Crop Top Fit Better?
Start by measuring your body and the finished square dimensions. Plan the front and back widths before assembly. Temporarily attach the panels and straps, then test the fit while moving your arms. If the garment is too large or small, adjusting the square layout or construction is usually more reliable than trying to stretch the finished top into shape.
7. How Do You Join Granny Squares Without Bulky Seams?
A relaxed slip-stitch seam or a carefully worked whipstitch seam can create a relatively flat join. Align the squares accurately and avoid pulling the joining yarn too tightly. Test a short seam before connecting an entire panel. Different joining methods affect the look, flexibility, and final dimensions of the garment.
8. Do Crochet Granny Square Crop Tops Need Blocking?
Blocking is often helpful, particularly when individual squares vary slightly in shape or the garment needs more even edges. The correct method depends on the yarn fiber and its care instructions. Blocking does not replace accurate sizing or fix incorrect stitch counts. Check the finished dimensions after the fabric is completely dry. —
Your Next Crochet Project Starts With One Square
A beginner-friendly crochet granny square crop top becomes much easier to manage when you treat it as a series of small, measurable tasks. Start with one correctly made square. Measure it, calculate the number of motifs your garment needs, and complete the remaining squares with consistent tension.
Before assembly, lay out the entire design and check the dimensions. Join the panels carefully, leave comfortable arm openings, reinforce the straps, and finish the edges neatly.
The most reliable way to save time is not to crochet faster. It is to avoid making an entire collection of squares before discovering that the measurements are wrong. Once you have completed a traditional granny square crop top, consider experimenting with floral motifs, contrasting colors, or lace-inspired details.
Save this tutorial as a reference for your next crochet project, especially the square-sizing calculation, joining instructions, and final quality checklist. Those three steps make the difference between a collection of attractive crochet motifs and a comfortable handmade garment you can wear.
Pin “How Long Does a Beginner-Friendly Crochet Granny Square Crop Top Really Take?” so you can find it when the yarn arrives.
Get the next free pattern first
One email a week. New patterns, no noise.
Yarn weights and hook sizes in this guide follow the Craft Yarn Council standards.
Keep going: 8 Crochet Granny Square Crop Top Patterns You Need to Try · Crochet Granny Square Crop Top Patterns You Need to Try 🧶 · Crochet Granny Square Crop Top Patterns You Need to Try 🧶