9 Cute Crochet Bat Patterns to Try This Halloween
Crochet bat: This guide will help you choose a project, understand how its pieces fit together, avoid common construction mistakes, and finish your work…

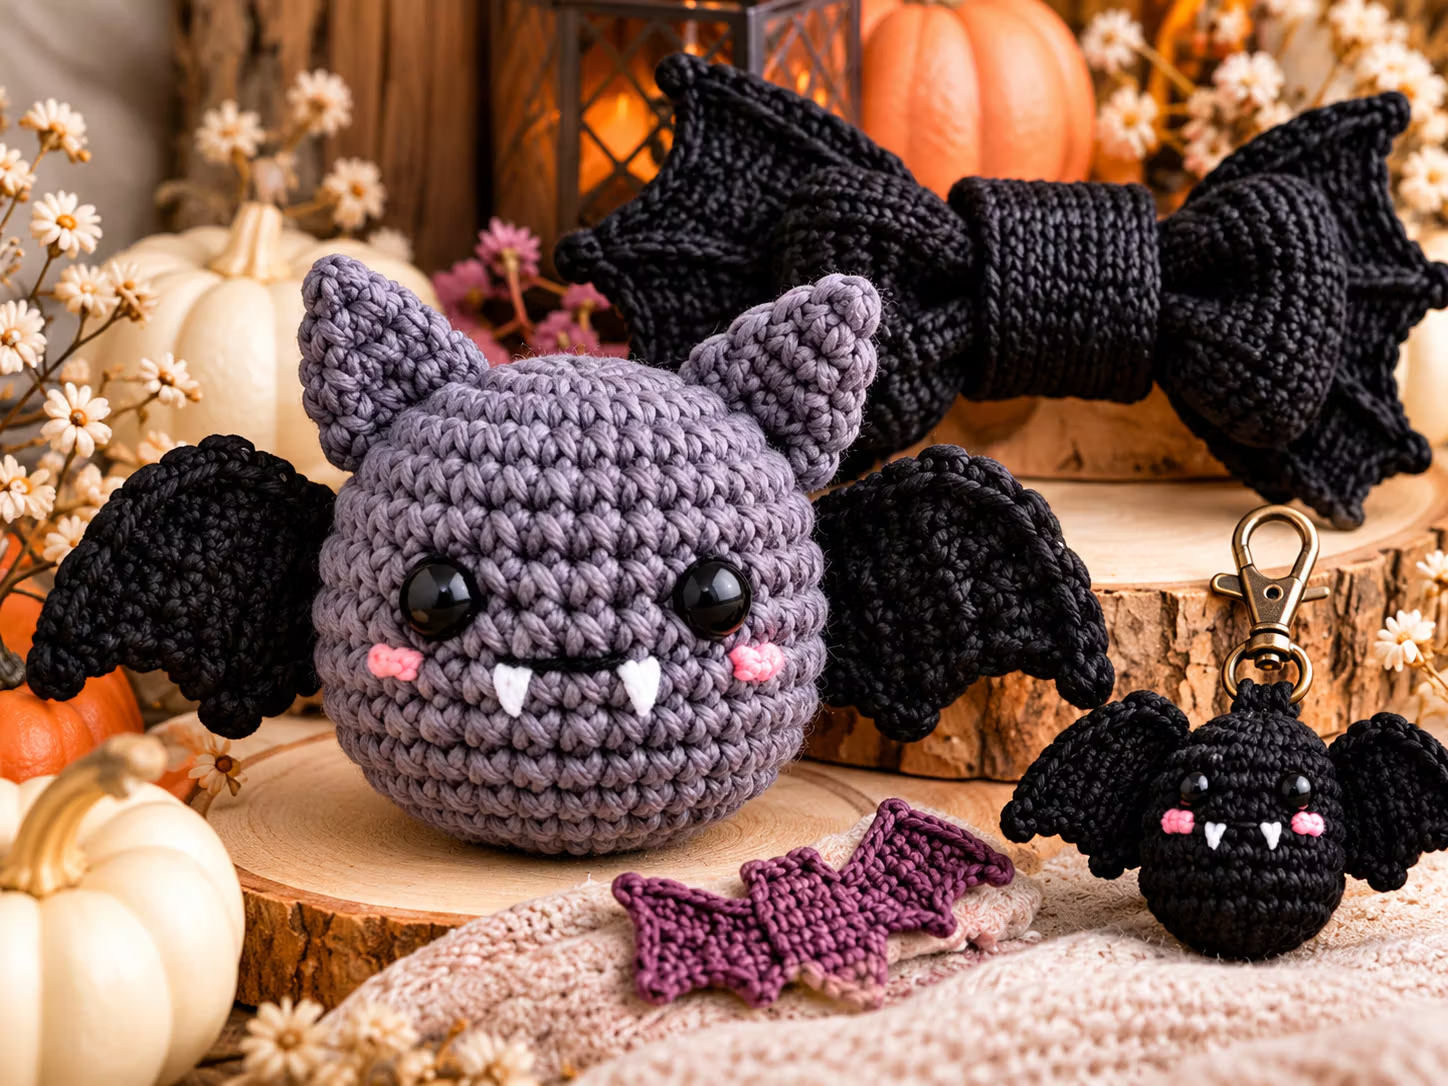
This guide will help you choose a project, understand how its pieces fit together, avoid common construction mistakes, and finish your work neatly. Some ideas suit beginners who know basic stitches, while others require shaping, sewing, or careful assembly.
The nine designs below are project concepts rather than nine independently tested, stitch-by-stitch patterns. Exact stitch counts, hook sizes, and finished measurements must come from the pattern you choose.
Project Overview
Halloween crochet projects offer plenty of room for creative expression without requiring a large finished object. A crochet bat might have a stuffed body, flat wings, pointed ears, embroidered features, or a decorative bow-shaped center.
Your choice of design determines the materials and techniques you need.
| Project Feature | What to Expect |
|---|---|
| Craft | Crochet |
| Main theme | Halloween bats |
| Project types | Amigurumi, appliqués, accessories, ornaments |
| Skill levels | Beginner to intermediate, depending on the pattern |
| Common techniques | Chain, single crochet, increases, decreases, slip stitch |
| Construction | Worked flat, in rounds, or as separate joined pieces |
| Yarn weight | Follow the selected pattern |
| Hook size | Follow the selected pattern |
| Finished size | Depends on yarn, gauge, and design |
| Assembly | Optional or required depending on construction |
A flat appliqué generally has fewer shaping and assembly requirements than a three-dimensional stuffed bat. If you are new to crochet, selecting a project with a small number of components can make it easier to understand the construction.
Materials and Tools
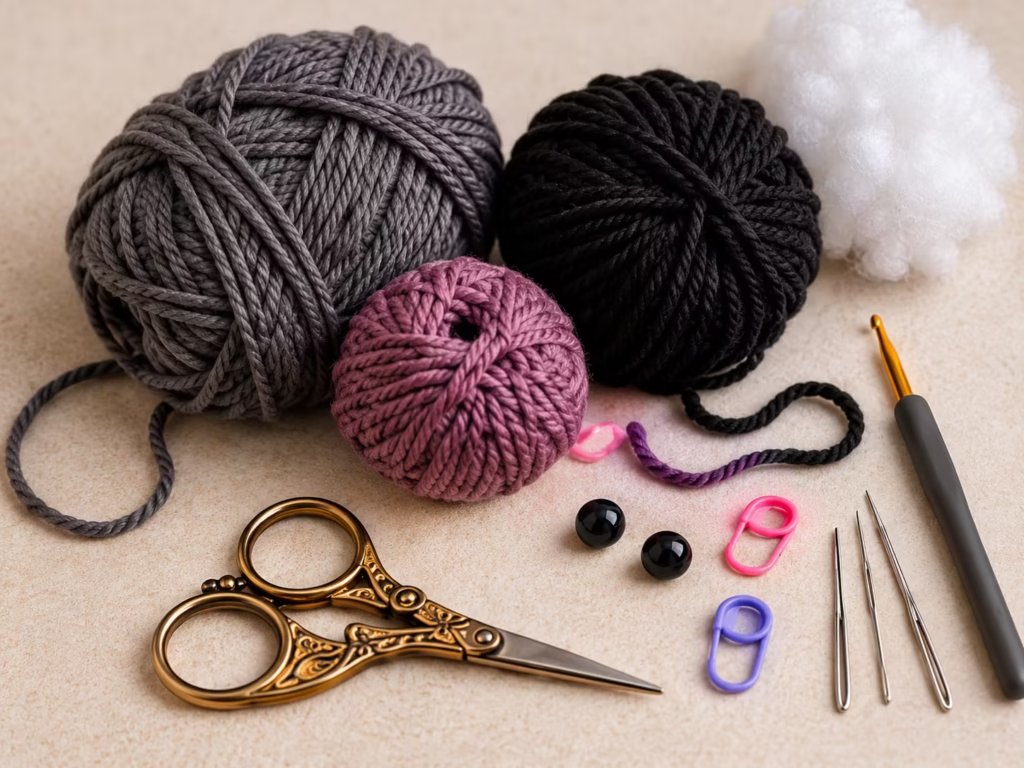
Before you begin, check the supply list for your chosen design. A stuffed amigurumi bat and a flat bat-wing bow will not necessarily require the same materials.
Essential Supplies
| Item | Specification | Purpose | Alternative |
|---|---|---|---|
| Yarn | Weight specified by the pattern | Main crochet fabric | Another yarn of suitable weight, with gauge checked |
| Crochet hook | Size specified by the pattern | Forms stitches | Different size if needed to achieve the required fabric |
| Tapestry needle | Suitable for the yarn | Weaving ends and sewing components | Blunt yarn needle |
| Scissors | Sharp enough for yarn | Cutting yarn tails | Yarn snips |
| Stitch markers | Removable markers | Tracking rounds and placement | Contrasting scrap yarn |
| Pattern | Complete instructions for chosen design | Provides stitch counts and construction order | Verified instructions for an equivalent construction |
Optional Supplies
For stuffed bats, you may need polyester fiberfill, safety eyes, and embroidery floss.
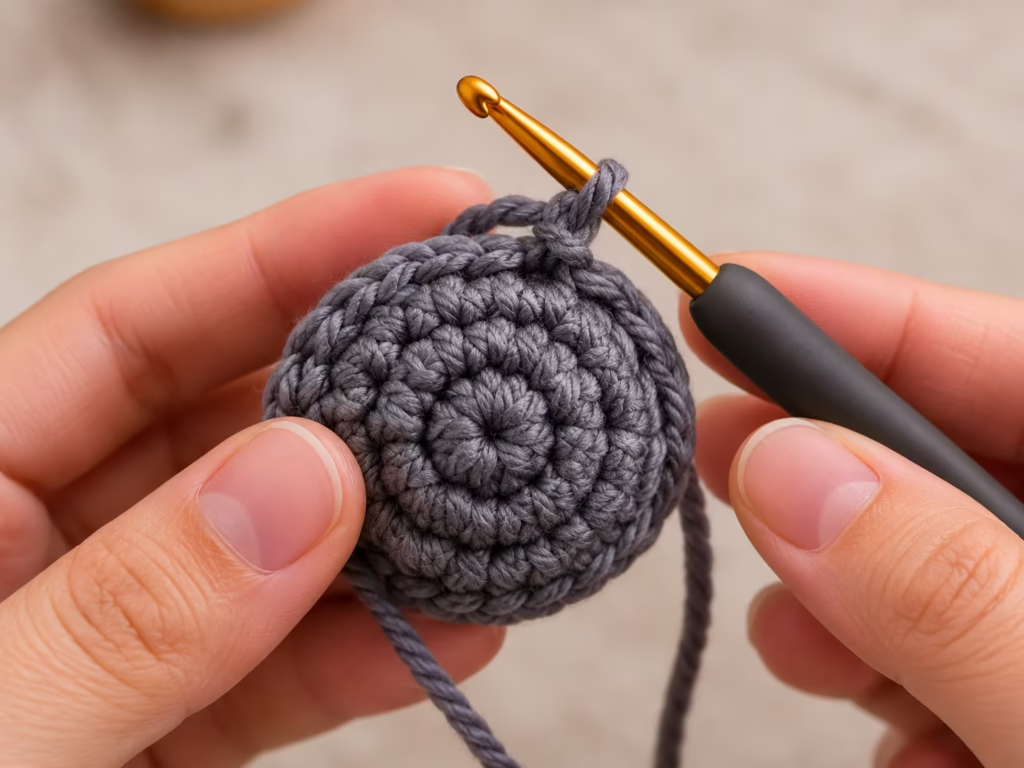
For wearable bows or bag charms, you may need a hair clip, pin backing, hanging cord, or suitable attachment hardware.
Choose hardware according to how the finished item will be used. Small detachable components should not be used on toys intended for infants or young children. Embroidered facial features avoid the risks associated with detachable plastic eyes.
Choosing Yarn Colors
Traditional Halloween choices include black, charcoal gray, purple, and deep burgundy. Softer cottagecore-inspired versions can use muted plum, dusty lavender, warm gray, or cream. Color changes the mood, but yarn structure affects the result more directly.
Smooth yarn makes individual stitches easier to inspect. Fuzzy yarn can create a soft finish, although it makes counting and identifying stitch placement more challenging.
Getting Ready to Crochet
Successful crochet bats begin with careful preparation.
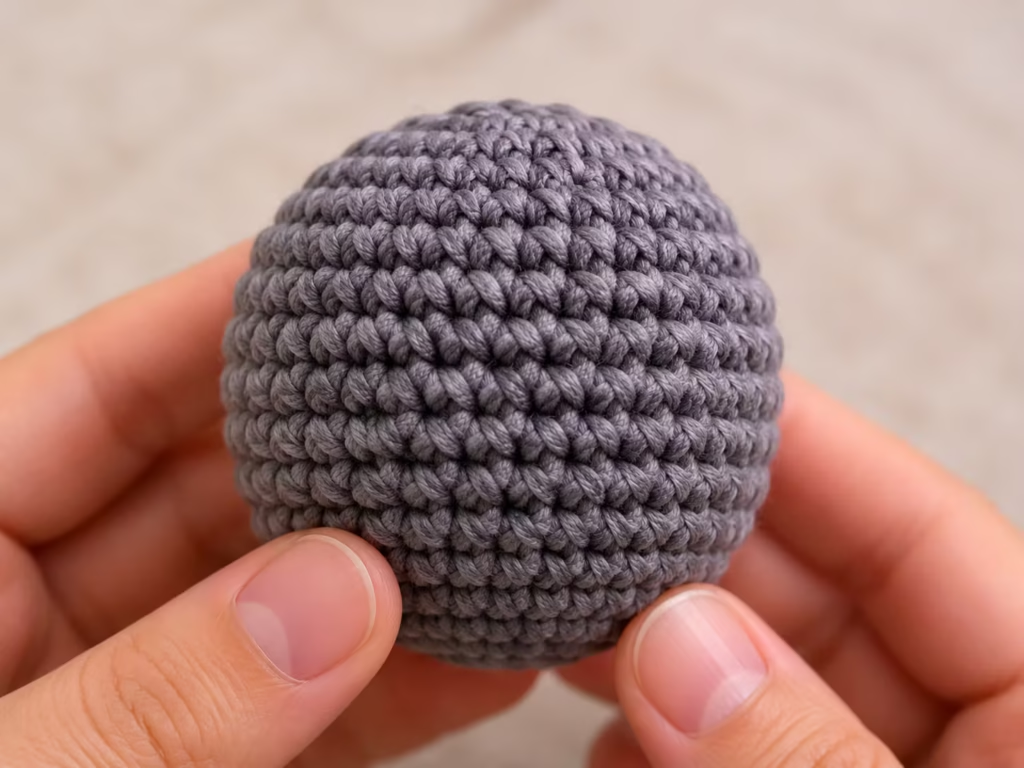
Understand the Basic Stitches
Most crochet bat projects rely on a short list of common US crochet abbreviations.
| Abbreviation | Meaning |
|---|---|
| ch | Chain |
| sc | Single crochet |
| inc | Increase, usually two single crochets in one stitch |
| dec | Decrease |
| sl st | Slip stitch |
| st | Stitch |
| rnd | Round |
| BLO | Back loop only |
| FLO | Front loop only |
Check the pattern’s terminology before beginning. US and UK crochet terms can describe different stitches. For example, US single crochet corresponds to UK double crochet.
Prepare Your Workspace
Choose a comfortable area with enough light to distinguish individual stitches. Keep your working yarn accessible, place a stitch marker nearby, and leave room for completed components. Before starting the finished piece, practice a chain, a short row of single crochet, and a decrease.
Visual check: Stitches should look reasonably even, without unusually large gaps or severe bunching.
Common error: Pulling each stitch too tightly makes it difficult to insert the hook on the following row.
Solution: Relax your grip and keep your loop size consistent.
Experienced-maker tip: A small practice swatch helps reveal whether a yarn-and-hook combination produces fabric suitable for the design. For stuffed amigurumi, the fabric should be dense enough to keep stuffing from showing through.
9 Crochet Bat Patterns and Ideas
Each design below offers a different way to interpret the Halloween bat theme. Choose the shape and intended use first, then select a complete crochet pattern that supports the construction.
1. Mini Amigurumi Crochet Bat
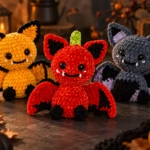
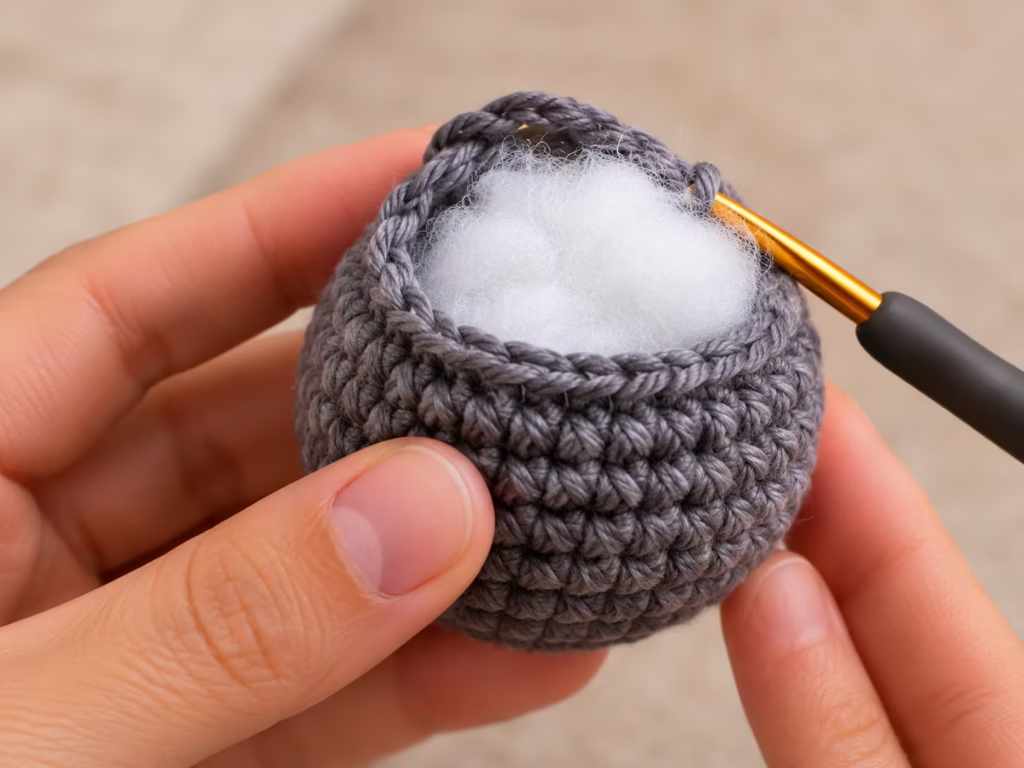
A miniature amigurumi bat is a charming starting point for Halloween crochet. Its rounded head and body create a soft shape, while two pointed ears and a pair of wings make the animal recognizable. A typical construction approach begins with a stuffed body worked in rounds. Ears and wings may be made separately and sewn in place.
Construction sequence
- Make the body using the round-by-round instructions in your selected pattern.
- Track the beginning of each round with a stitch marker.
- Add stuffing before the opening becomes too small.
- Close the body using the specified decrease sequence.
- Crochet or prepare the ears and wings.
- Attach components securely.
- Add embroidered facial details or suitable eyes.
Visual check: The stuffed body should maintain its intended rounded shape without large gaps.
Common error: Overstuffing can stretch the stitches and make stuffing visible.
Solution: Add small amounts of stuffing gradually and redistribute it before closing.
Expert tip: Shape the body with your fingers during stuffing rather than forcing a large amount into one area.
A mini amigurumi bat works well as a shelf decoration, gift accent, or seasonal collectible.
2. Crochet Bat-Wing Bow
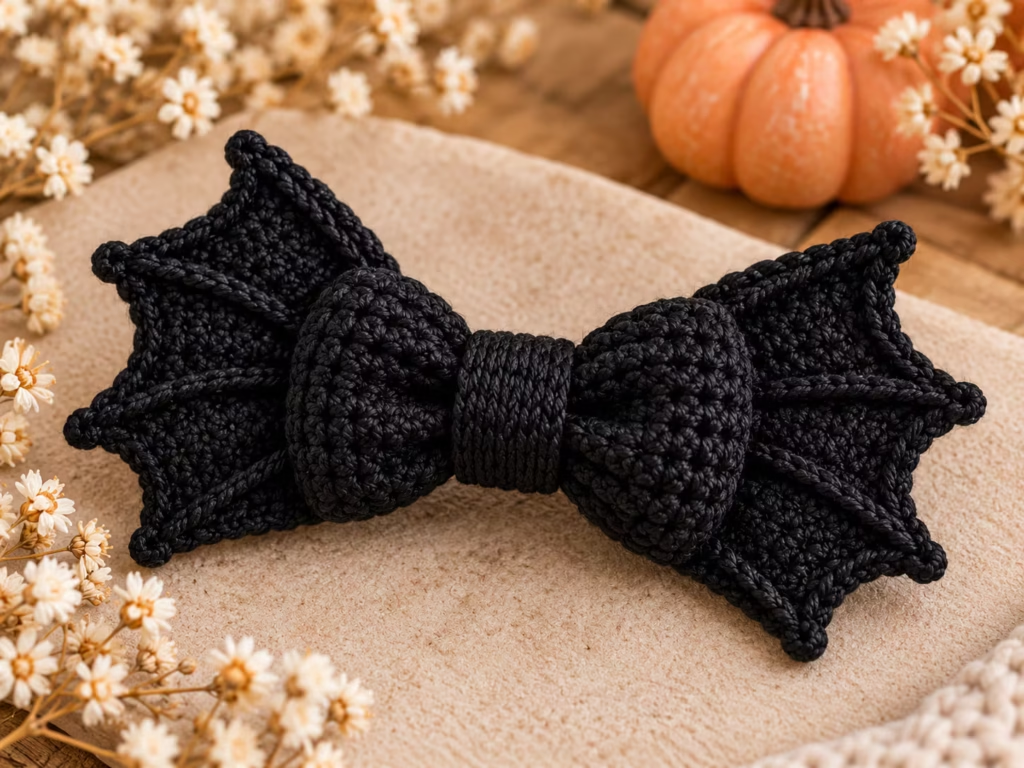
A bat-wing bow combines a conventional central bow shape with dramatic pointed wings. Rather than representing a whole bat with a face and rounded body, this accessory emphasizes the silhouette of open wings. It can make a distinctive Halloween hair accessory, decorative pin, or bag embellishment.
The critical technique is shaping the outer edges. A pattern may use chains, changes in stitch height, increases, or decreases to form the wing points. Follow its exact instructions rather than improvising stitch counts.
Construction sequence
- Crochet the specified wing sections.
- Complete their shaped outer edges.
- Prepare the central bow section.
- Arrange the pieces symmetrically.
- Join the components according to the pattern.
- Secure the chosen attachment on the reverse.
Visual check: Both wings should open outward without twisting the center.
Common error: Tight sewing across the middle can distort the wing edges.
Solution: Position and pin the pieces before sewing, then use only the stitches required for a secure join.
Expert tip: Weave loose ends away from the wing tips, where extra thickness can spoil the silhouette.
For a more understated look, use a single dark yarn color and let the stitch texture create visual interest.
3. Tiny Crochet Bat Keychain
A crochet bat keychain turns a seasonal motif into a small accessory.
The most useful designs are compact, lightweight, and securely constructed. A keychain may use a small stuffed bat or a flatter bat motif. For a stuffed version, finish the body before attaching the hanging hardware. For a flat version, consider whether two joined layers would make the piece more durable.
Visual check: The charm should hang from its intended top attachment without pulling the body out of shape.
Common error: Attaching a metal ring directly through one loose crochet loop can cause stretching.
Solution: Use a reinforced attachment point that distributes the pull across several stitches.
Expert tip: Inspect the attachment under gentle hand tension before using the keychain.
Remember that miniature crochet details can become difficult to see. Simple facial embroidery is often clearer than multiple tiny decorative elements.
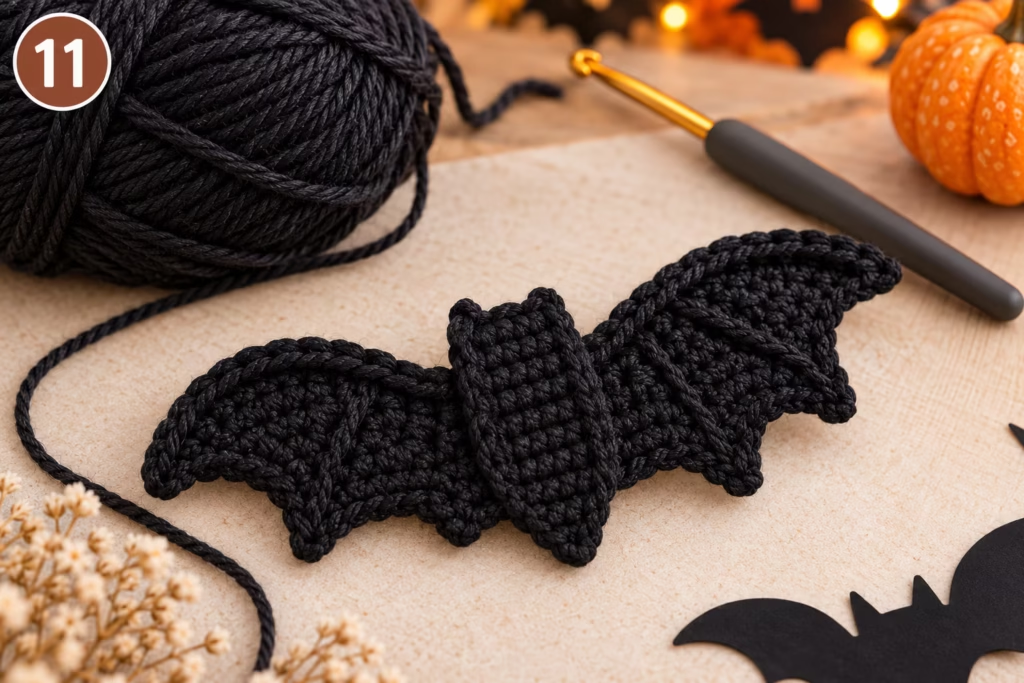
4. Flat Crochet Bat Appliqué
A flat bat appliqué is useful for decorating fabric accessories, seasonal bunting, or a handmade Halloween project. Unlike a stuffed toy, the appliqué needs little or no dimensional shaping. The essential challenge is keeping the silhouette recognizable.
Construction sequence
- Follow the pattern’s foundation stitches.
- Form the central section.
- Work the first wing according to the instructions.
- Complete the second wing.
- Finish the outer edge.
- Weave in loose yarn ends.
- Attach the appliqué to the intended surface if desired.
Visual check: Both wings should spread naturally when the piece rests flat.
Common error: Uneven tension may pull one wing inward.
Solution: Check stitch counts and gently reshape the finished piece using a blocking method appropriate for the fiber.
Expert tip: Position the appliqué with removable pins before sewing so that the center does not shift.
For accessories that will be washed, select yarn and attachment materials compatible with the base item.
5. Hanging Crochet Bat Ornament
A hanging bat ornament is a versatile project for Halloween displays.
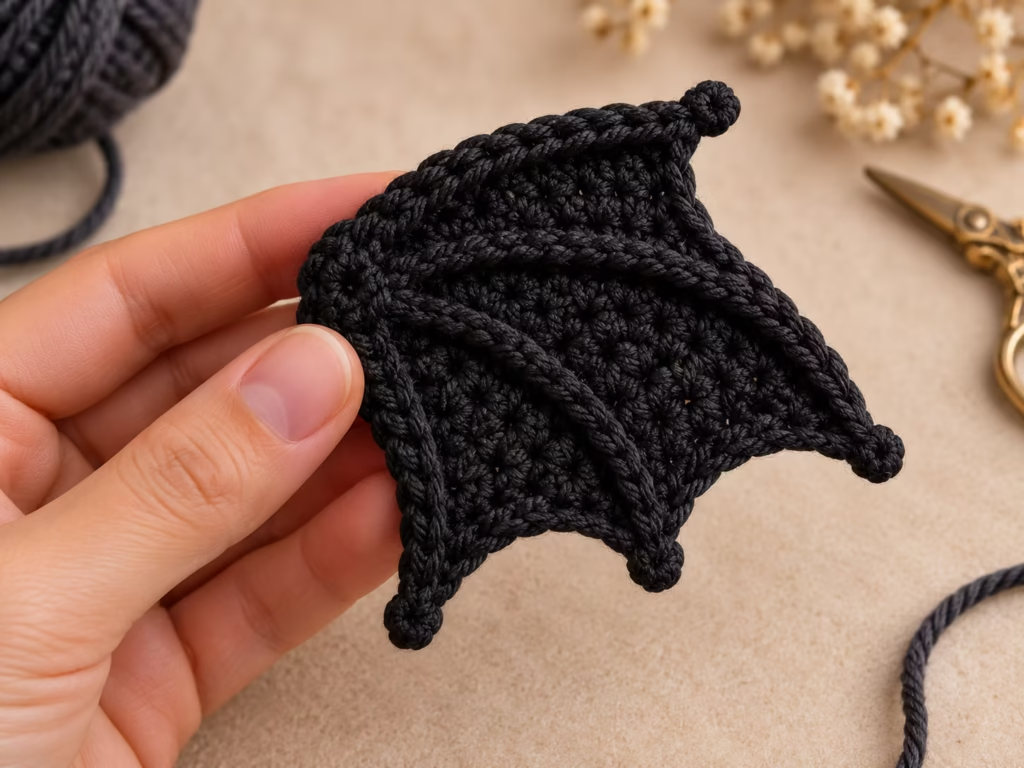
It can be suspended from a decorative branch, a seasonal garland, or another secure display point. The hanging loop is the defining construction detail. A loop can be made from a crocheted chain, a length of yarn, or another suitable cord. Its attachment needs to support the complete weight of the ornament.
Visual check: The ornament should hang in the intended orientation rather than tipping sharply forward.
Common error: Placing the loop too far behind the center of balance makes the bat lean.
Solution: Test placement temporarily before securing the loop.
Expert tip: A small amount of stuffing adjustment can sometimes improve the way a three-dimensional ornament hangs.
Hanging crochet decorations should be positioned away from flames and other heat sources.
6. Kawaii Crochet Bat With Embroidered Face
A kawaii-inspired bat uses simplified proportions and expressive facial details. A large rounded body, small ears, and soft-looking wings can create a friendly Halloween character. The facial placement is especially important because even a small change can alter the character’s expression. Use the pattern’s placement guidance for the eyes and mouth.
Construction sequence
- Complete the body as directed.
- Identify the front center.
- Mark the planned facial positions.
- Embroider the eyes and mouth.
- Secure yarn tails inside the body where possible.
- Attach the remaining components.
Visual check: Facial features should sit in their intended positions without pulling the surrounding stitches inward.
Common error: Tight embroidery tension creates dents in the face.
Solution: Pull the embroidery thread only until the stitches lie against the surface.
Expert tip: Test the feature positions with removable thread before making the final embroidery.
Embroidered eyes are particularly useful when avoiding detachable plastic components.
7. Cottagecore Crochet Bat in Muted Colors
A cottagecore-inspired bat keeps the familiar shape but introduces softer colors and restrained decorative details. Dusty lavender, muted moss, warm gray, and faded plum are possible color directions. The construction may be identical to another amigurumi design; the styling makes this version distinct.
Choose yarns that behave similarly when following a single pattern. Different fiber types or yarn thicknesses can create visibly different stitch sizes, even when the same hook is used.
Visual check: Joined components should appear proportionate to the body.
Common error: Substituting significantly thicker yarn for the wings can make them disproportionately large.
Solution: Make a small sample and compare its gauge with the body fabric.
Expert tip: Test a new color combination by arranging yarn strands together before beginning the project.
The result can be a subtle Halloween decoration that works with a softer handmade aesthetic.
8. Crochet Bat Garland
A bat garland uses repeated small bat motifs connected to a cord.
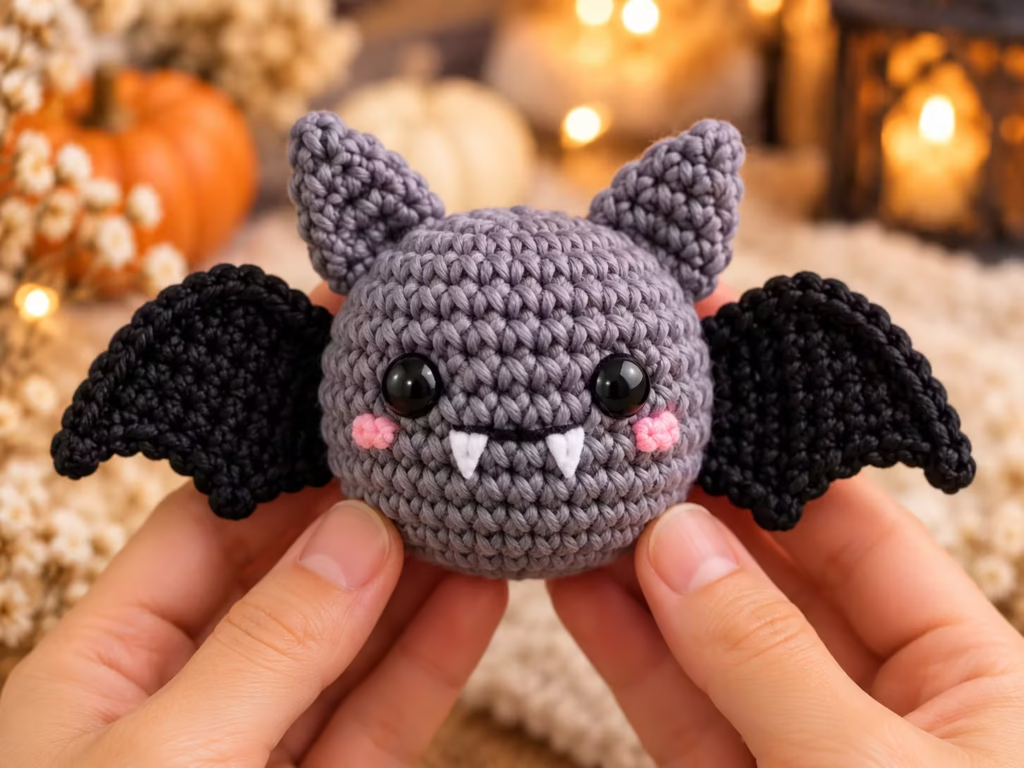
This approach works particularly well with flat appliqués because their low weight makes hanging and spacing easier. A finished garland can decorate a mantel, shelf, or Halloween display area.
Construction sequence
- Select a verified flat bat motif pattern.
- Crochet the number of motifs needed for the desired display.
- Weave in all loose ends.
- Prepare a suitable connecting cord.
- Arrange the bats before attachment.
- Attach each motif securely.
- Hang the garland and check its overall balance.
Visual check: Individual bats should remain visible rather than rotating unpredictably or overlapping excessively.
Common error: Uneven attachment points can make the motifs hang at different angles.
Solution: Mark consistent placement positions on the motifs before joining.
Expert tip: Lay out the entire garland on a flat surface before making permanent connections.
Keep decorative garlands out of reach of young children and away from open flames.
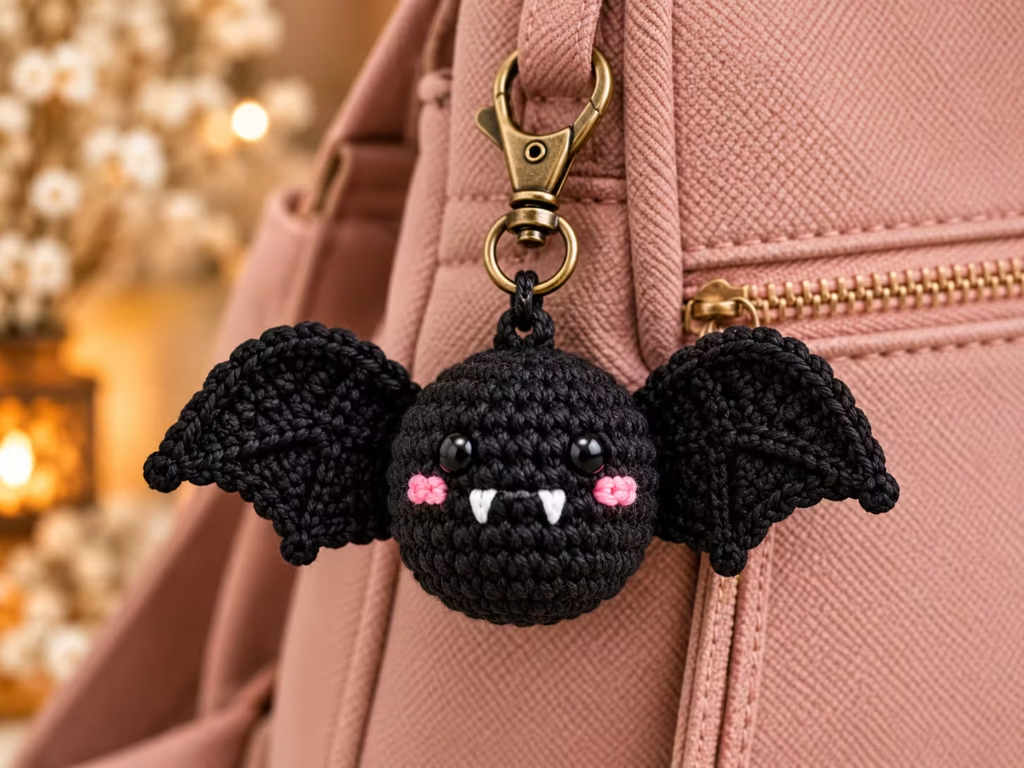
9. Crochet Bat Bag Charm
A crochet bat bag charm can add a seasonal detail to a backpack, tote, or purse. Unlike an ornament that remains mostly stationary, a bag charm may experience repeated movement and friction. Its construction therefore needs special attention. A compact bat motif, securely embroidered features, and reinforced hanging point make sensible design choices.
Construction sequence
- Complete the chosen bat pattern.
- Secure all separate components.
- Finish facial details.
- Weave in and secure yarn ends.
- Attach a reinforced loop or suitable hardware.
- Check the attachment and seams before use.
Visual check: The finished charm should maintain its shape when hanging.
Common error: A long, loosely attached hanging cord can stretch or snag.
Solution: Follow a secure attachment method and inspect the cord regularly.
Expert tip: Consider how the charm will rub against the bag. Raised details and delicate decorative loops may be more vulnerable to wear.
How to Assemble a Crochet Bat
Although the nine ideas differ, many three-dimensional crochet bats share a general assembly sequence. The diagram below is a construction overview, not a substitute for a specific pattern’s stitch instructions.
Step 1 — General Assembly Diagram
BODY | |– Work and shape body |– Insert stuffing if required |– Close opening | v COMPONENTS | |– Prepare left wing |– Prepare right wing |– Prepare ears if used | v PLACEMENT | |– Identify body center |– Mark attachment positions |– Check symmetry | v ASSEMBLY | |– Attach ears |– Attach wings |– Secure yarn ends | v FINISHING | |– Add facial details |– Attach optional hanging hardware |– Inspect seams and shape
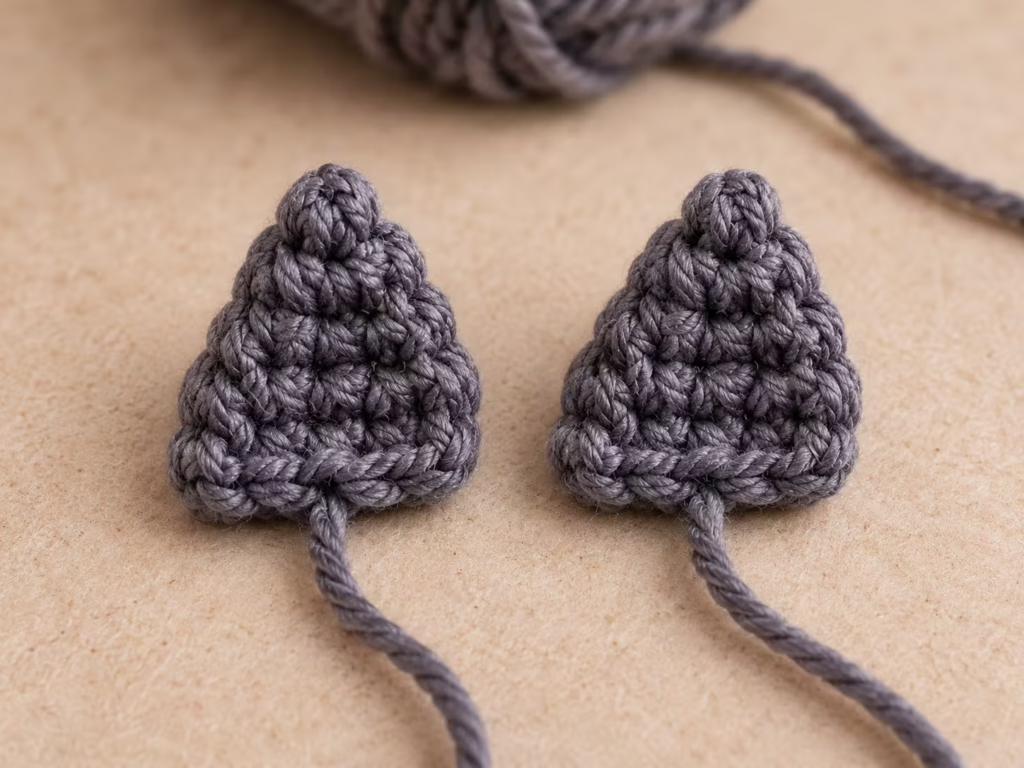
Some patterns require facial embroidery before the body is stuffed and closed. Always follow the chosen pattern’s construction order when it differs from this overview.
Step 2 — Sewing Wings Neatly
Place the first wing against the body and mark its attachment points. Repeat on the opposite side. Before sewing, view the bat from the front, back, and above. This helps reveal differences in wing height or angle.
Use the designated sewing tail or suitable matching yarn to attach each wing securely. The reverse of the bat is worth examining. Secure seams should not depend on one loose strand, and knots or tails should not create distracting bumps.
Beginner-to-Advanced Techniques
Crochet bats provide a natural progression from basic stitch practice to more controlled shaping and finishing.
| Skill Level | Technique | What It Improves |
|---|---|---|
| Beginner | Stitch counting with markers | Consistent body construction |
| Beginner | Even single crochet tension | Smoother fabric |
| Intermediate | Shaping with increases and decreases | More controlled forms |
| Intermediate | Symmetrical component placement | Balanced wings and ears |
| Advanced | Invisible finishing and carefully planned seams | Cleaner presentation |
Beginner: Concentrate on Stitch Counts
Mark the start of each round and count stitches before moving on. If a round has the wrong number of stitches, identify the discrepancy early rather than continuing through several more rounds.
Intermediate: Improve Shaping
Increases add stitches and generally make a section wider. Decreases reduce stitches and help narrow a shape. Their placement determines the final form.
For a rounded stuffed body, follow the pattern’s distribution of increases and decreases exactly. For flat wings, the stitch height and shaping instructions can be equally important.
Advanced: Refine the Finishing
Small projects reward careful details.

Match your sewing yarn to the main fabric where possible. Position seams strategically, avoid bulky knots, and weave ends through several existing stitches. Check the finished object under natural light. This makes loose fibers, uneven joins, and visible stuffing easier to identify.
Troubleshooting Common Crochet Bat Problems
Even a small crochet project can develop construction issues. The most effective approach is to identify the problem before adding more stitches or attaching additional components.
| Symptom | Likely Cause | Practical Fix | Prevention |
|---|---|---|---|
| Stuffing shows through | Fabric is too open or overstuffed | Reduce stuffing or remake with denser fabric | Check fabric density before stuffing |
| Wings curl unexpectedly | Uneven tension or shaping error | Recheck stitch counts and blocking suitability | Count each shaping row |
| Body becomes uneven | Missed or extra stitches | Return to the incorrect round when possible | Use a round marker |
| Ears sit at different heights | Inconsistent placement | Remove and reposition one ear | Mark both attachment points |
| Face looks distorted | Embroidery pulled too tightly | Loosen or redo affected stitches | Use gentle embroidery tension |
| Bat hangs sideways | Off-center loop | Reposition attachment | Test balance before securing |
| Sewing seams look bulky | Excessive yarn or oversized knots | Redo the join with controlled tension | Use the correct needle and sewing yarn |
| Finished size differs | Gauge or yarn substitution | Compare gauge with the pattern | Make a sample before starting |
When Should You Undo Your Work?
Minor differences in handmade stitch tension are often acceptable. However, errors that affect construction deserve attention.
If an increase was missed and the body is significantly misshapen, correcting the relevant round usually gives a better result than trying to hide the issue with stuffing. The same principle applies to wings. An incorrect shaping row can noticeably change the outline, so checking early saves effort.
Choosing the Right Bat Design
The best project depends on what you want the finished bat to do.
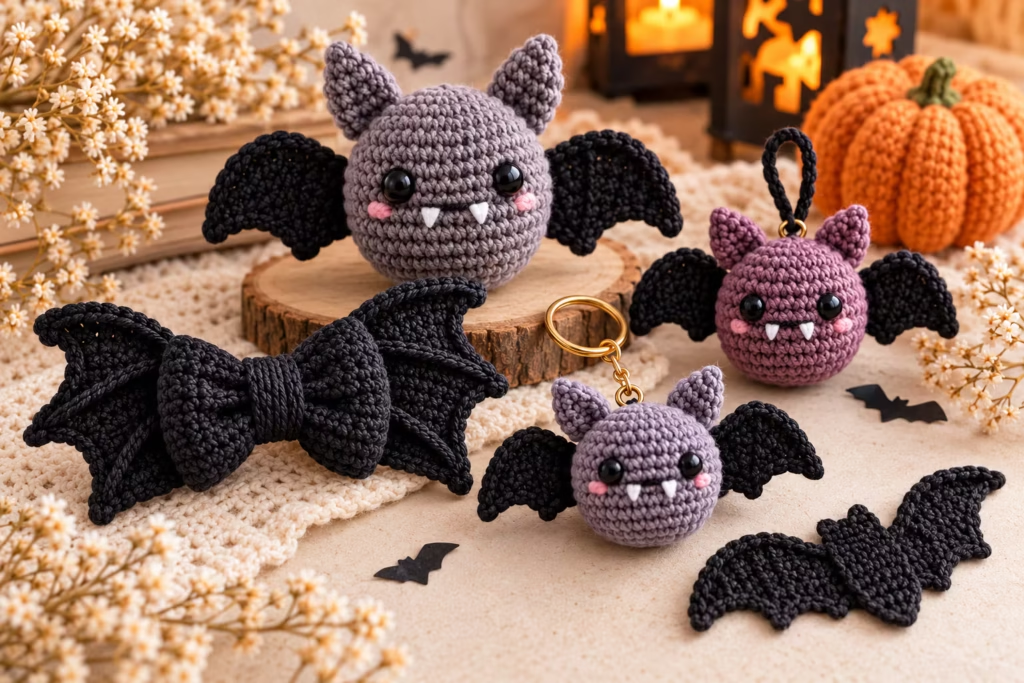
| Option | Best For | Advantages | Limitations | Recommendation |
|---|---|---|---|---|
| Mini amigurumi bat | Shelf decoration | Soft, dimensional result | Requires shaping and possibly sewing | Choose for a plush character |
| Bat-wing bow | Halloween accessories | Distinctive silhouette | Wing shaping needs care | Choose for wearable decoration |
| Bat keychain | Small accessories | Portable and compact | Attachment durability matters | Choose for everyday use |
| Flat appliqué | Fabric embellishment | Lightweight and versatile | Less dimensional detail | Choose for simpler construction |
| Hanging ornament | Seasonal displays | Easy to position decoratively | Requires balanced hanging point | Choose for stationary decor |
| Kawaii bat | Character-inspired projects | Expressive face | Facial positioning matters | Choose for a playful look |
| Cottagecore bat | Soft seasonal styling | Flexible colors | Yarn substitutions affect gauge | Choose for understated decor |
| Bat garland | Larger displays | Repeated motifs create impact | Requires multiple consistent pieces | Choose for decorating a wider area |
| Bat bag charm | Personal accessories | Decorative and portable | More wear and friction | Choose when securely constructed |
A beginner may prefer the appliqué, while someone comfortable with crocheting in rounds may enjoy the amigurumi version. If you want a project with a particularly recognizable silhouette, the bat-wing bow offers an interesting alternative to the traditional stuffed bat.
Finishing, Durability, and Care
The last stage of a crochet project can determine how well it holds up over time. The following details are useful across many Halloween crochet designs.
<!– gap –>
Check Size and Proportions Before Assembly
A finished component can look correct by itself but appear oversized when placed against the body.
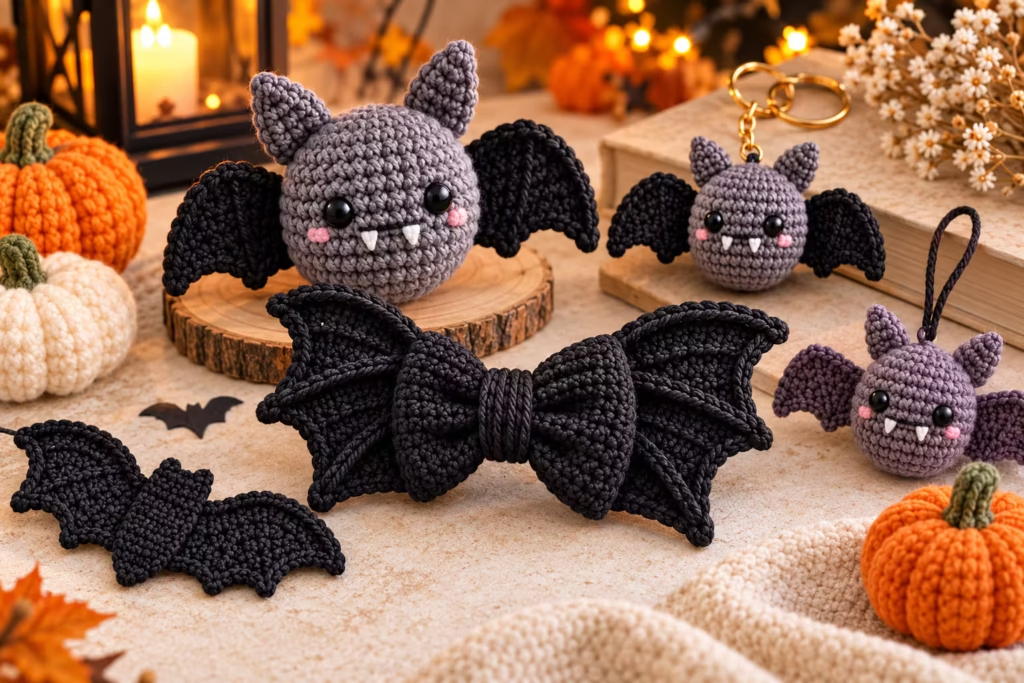
Before joining pieces, arrange them on a flat surface. Compare the wings, ears, and body against the selected pattern’s reference images. If the pattern provides measurements, measure your own work using the same method.
Do not assume that using a matching hook size guarantees identical dimensions. Individual tension and yarn characteristics can change the finished result. If one wing differs visibly from the other, count the rows and stitches before sewing.
<!– gap –>
Reinforce Components That Experience Movement
A bat attached to a bag or keyring faces different forces from a decoration sitting on a shelf. Repeated movement can stress seams and hanging loops. For accessories, inspect all joining points and consider whether the hardware could pull through the fabric.
A reinforced connection should distribute tension through a secure section rather than depending on one isolated stitch. For a decorative appliqué attached to clothing, use an attachment method suitable for laundering and normal wear. Avoid small detachable parts on projects intended for young children.
<!– gap –>
Store Your Crochet Bats Properly
Crochet fabric can become misshapen if stored under pressure for long periods. Clean and dry the item according to its yarn-care instructions before storage. Avoid packing delicate wings tightly against heavier objects.
For stuffed bats, protect pointed ears and wings from being permanently compressed. If a flat motif curls after storage, reshape it gently using a blocking method compatible with the yarn. Check fiber-care labels before applying heat or steam, especially with synthetic yarns.
Final Quality-Control Checklist
Before using or displaying a finished bat, inspect the following:
- [ ] The stitch counts match the selected pattern where specified.
- [ ] The body has the intended shape.
- [ ] Stuffing is distributed evenly if used.
- [ ] Wings are attached securely.
- [ ] Ears are positioned consistently.
- [ ] Facial embroidery is secure and not overly tight.
- [ ] Loose yarn ends are woven in.
- [ ] Hanging loops or hardware are appropriately reinforced.
- [ ] The finished piece is suitable for its intended use.
Acceptable variation: Slight differences in stitch tension, minor handmade asymmetry, and subtle variations in stuffing.
Correctable mistakes: Uneven wing placement, loose yarn ends, and minor shaping differences that can be adjusted without compromising construction.
Failures requiring repair or remaking: Weak attachment points, major stitch-count errors that distort the design, and insecure small components.
Frequently asked questions
1. What is the easiest crochet bat project for a beginner?
A flat crochet bat appliqué is often a practical starting point because it may require fewer components and does not need stuffing. Look for a complete pattern that explains every shaping row and provides clear stitch counts. If you are comfortable working in rounds, a simple amigurumi bat can also be an approachable next project.
2. Can I crochet a bat without sewing?
Yes, some patterns use continuous construction or join components as the main body is crocheted. These are commonly described as no-sew or low-sew designs. The term does not always mean that absolutely no finishing is necessary. You may still need to weave ends, embroider details, or secure an attachment.
3. What yarn is best for crochet bats?
The best yarn depends on the design and the pattern’s recommended gauge. Smooth yarn usually makes stitches easier to identify, while plush or fuzzy yarn creates a different texture. For stuffed bats, use a yarn-and-hook combination that produces fabric dense enough to hold the stuffing without large visible gaps.
4. How do I stop crochet bat wings from curling?
First, check the pattern’s stitch counts and shaping instructions. Incorrect stitch placement or inconsistent tension can cause unexpected curling. Some designs intentionally curve. If the wings are supposed to lie flat, gentle blocking may help, provided the yarn can tolerate it. Avoid forcing a shaped wing into an unnatural position.
5. Are safety eyes suitable for crochet bats?
Safety eyes can be suitable for certain decorative projects when installed correctly, but they are not recommended for toys intended for infants or young children because detachable parts present a choking hazard. Embroidered eyes are a useful alternative. Always consider the recipient, intended use, and relevant toy-safety requirements.
6. Can I use a different yarn weight from the pattern?
You can substitute yarn, but it may change the finished dimensions, stitch definition, and fabric density. A larger yarn weight does not automatically work with the original hook size. Make a sample and assess the fabric before committing to the full project. If precise sizing matters, follow the pattern’s gauge guidance.
7. How can I make a crochet bat look more professional?
Pay attention to consistent tension, accurate stitch counts, neat joins, and carefully placed features. Mark attachment positions before sewing and examine the bat from several angles. Weave yarn ends securely and avoid bulky finishing knots. These details often influence the result more than decorative additions.
8. Can I turn a crochet bat into a keychain or bag charm?
Many small crochet bats can be adapted into charms if their construction is durable enough. Add an appropriate reinforced attachment rather than relying on a loose surface loop. Consider the weight of the finished piece and the amount of movement it will experience. Inspect the join regularly for wear.
Make Your Halloween Crochet Collection Your Own
These nine crochet bat patterns and ideas show how one recognizable Halloween shape can become several useful handmade projects.
A rounded amigurumi bat makes a charming decoration. Flat appliqués and garlands work well for seasonal displays. A bat-wing bow offers a more distinctive accessory, while miniature bats can become ornaments or bag charms.
Start with the design that matches your current skills and intended use. Choose a complete pattern, check its materials and stitch counts, and pay particular attention to shaping and assembly. After finishing, inspect the seams, adjust the shape, and make sure the item is suitable for its purpose.
If you want to build a matching collection, repeat your favorite bat design in complementary colors or explore a related Halloween motif, such as a pumpkin or ghost. Save this guide as a reference for your next Halloween crochet project.
Pin “9 Cute Crochet Bat Patterns to Try This Halloween” so you can find it when the yarn arrives.
Get the next free pattern first
One email a week. New patterns, no noise.
Yarn weights and hook sizes in this guide follow the Craft Yarn Council standards.
Keep going: Crochet Puppy: Cute Amigurumi Pattern and Easy Tips · Halloween Crochet: Easy Ghost, Pumpkin & Bat Patterns · Cute Crochet Amigurumi Puppy Pattern Tutorial for Beginners