
Easy Moss Stitch Crochet Blanket Pattern for Beginners
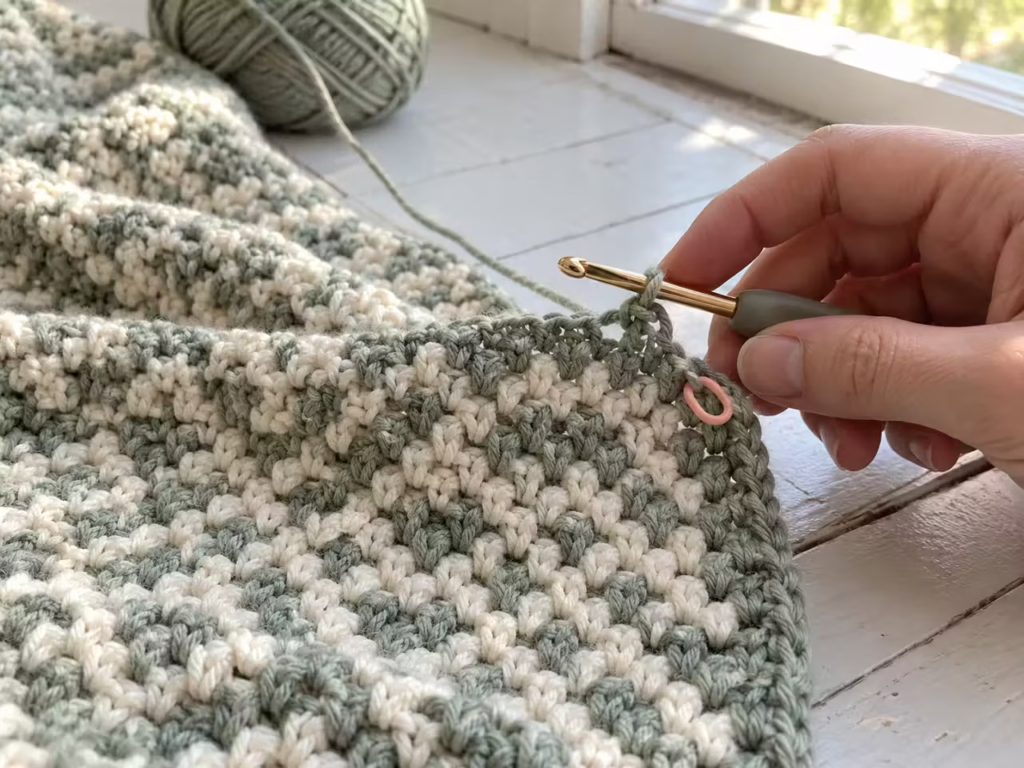
Moss stitch, sometimes called linen stitch or granite stitch, combines single crochet stitches with chain-one spaces.

Jump to the Pattern
- [Materials and Tools](#materials-and-tools)
- [Easy Moss Stitch Crochet Blanket Pattern for Beginners: Step by Step](#easy-moss-stitch-crochet-blanket-pattern-for-beginners-step-by-step)
- [How to Add Beautiful Moss Stitch Stripes](#how-to-add-beautiful-moss-stitch-stripes)
- [How to Keep Your Blanket Edges Straight](#how-to-keep-your-blanket-edges-straight)
- [Yarn Planning and Blanket Sizes](#yarn-planning-and-blanket-sizes)
- [Finishing and Caring for Your Blanket](#finishing-and-caring-for-your-blanket)
- [Troubleshooting Common Moss Stitch Mistakes](#troubleshooting-common-moss-stitch-mistakes)
- [Comparing Blanket Options](#comparing-blanket-options)
- [What to Make Next](#what-to-make-next)
- [Frequently Asked Questions](#frequently-asked-questions)
Moss stitch, sometimes called linen stitch or granite stitch, combines single crochet stitches with chain-one spaces. The alternating placement creates a flexible, woven-looking fabric without complicated stitch combinations.
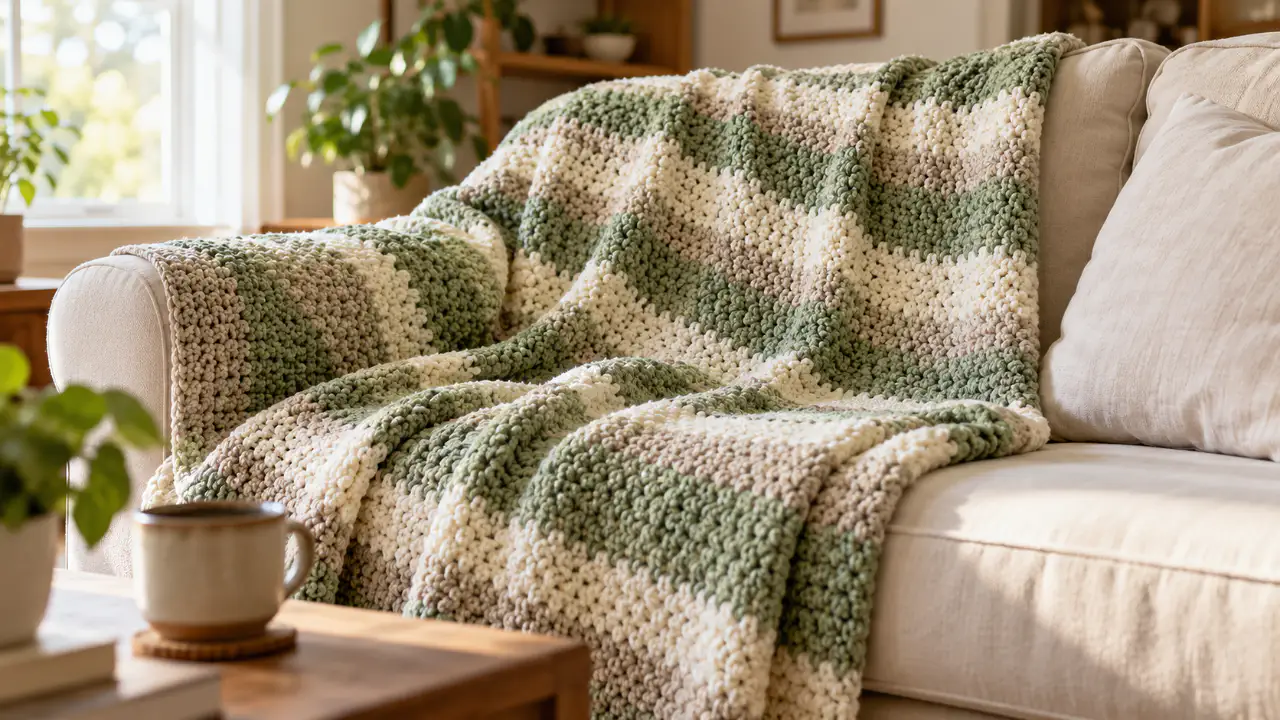
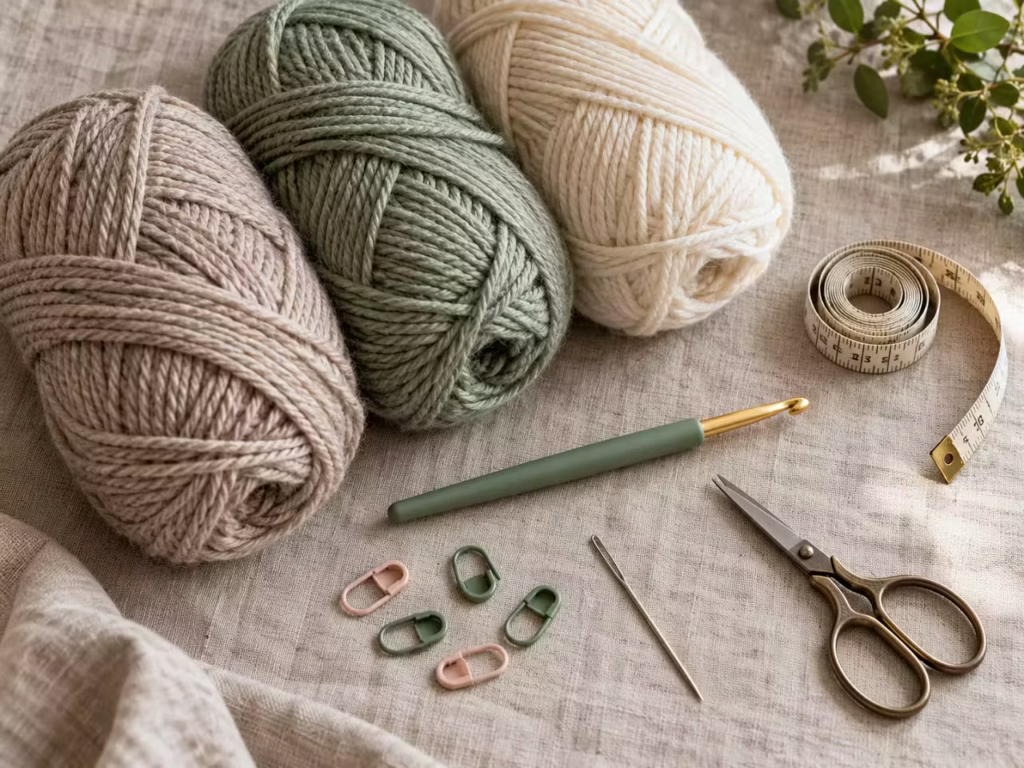
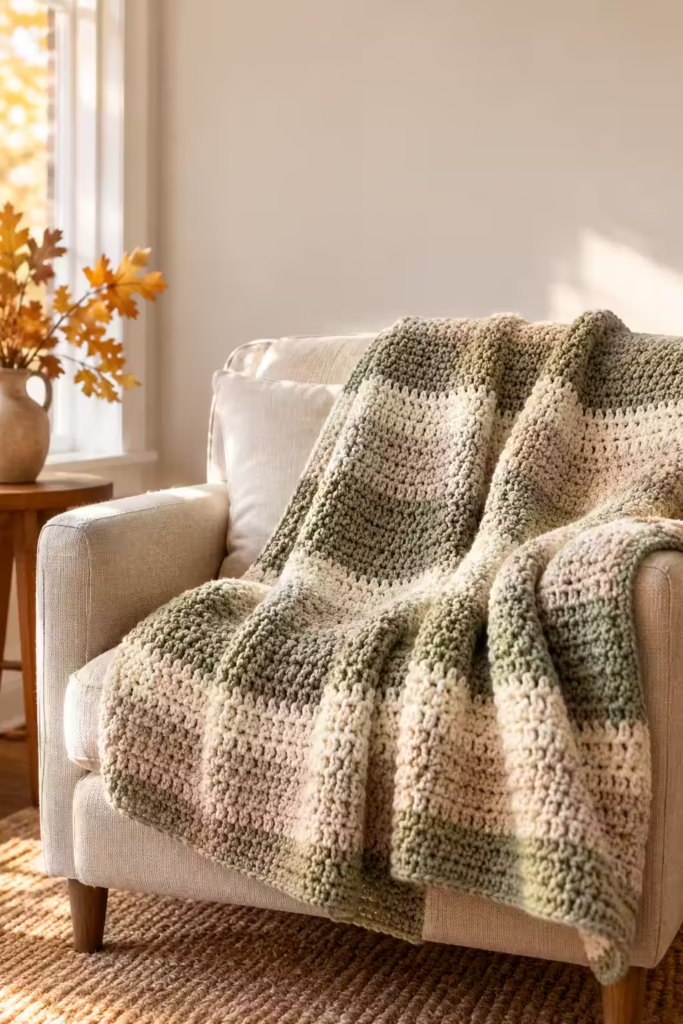
For the sample design, choose a smooth worsted-weight acrylic yarn in oatmeal, sage green, and warm cream. These colors work particularly well for an October-inspired blanket without limiting its use to autumn.
| Item | Quantity | Why This One | Cheaper Swap |
|---|---|---|---|
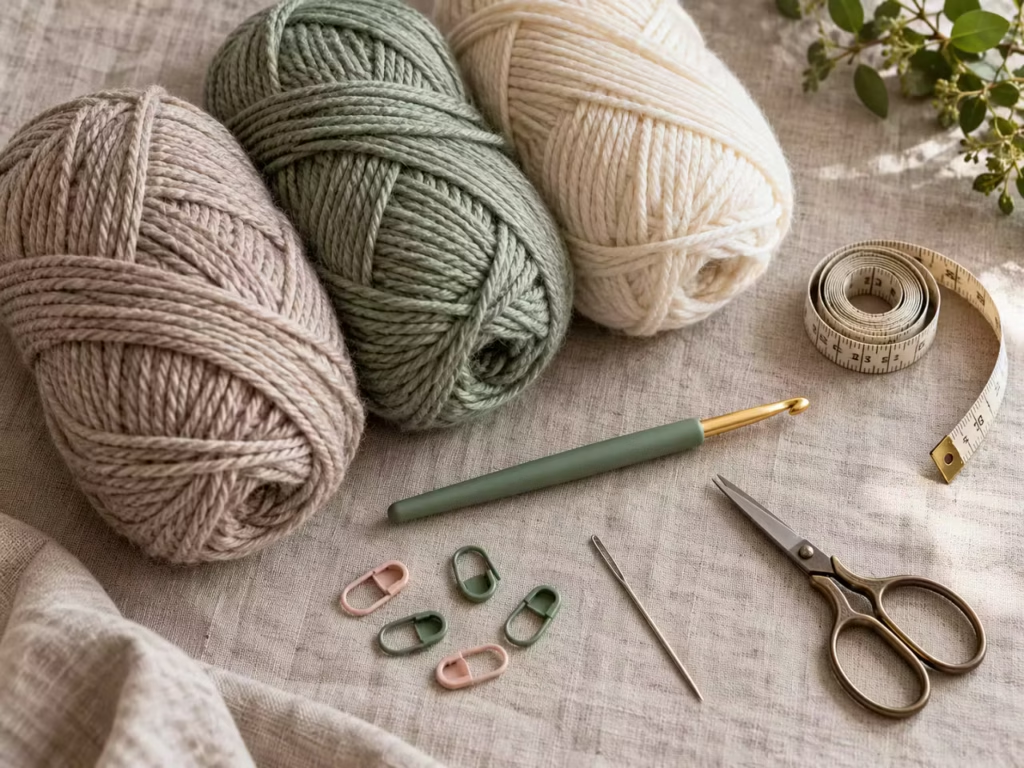
| Worsted-weight yarn (#4) | Approximately 1,600–2,000 yards for a 36 × 48-inch target | Soft, washable, and practical for everyday blankets | Value acrylic in the same weight |
| Crochet hook | 5.5 mm (US I-9) | Comfortable starting point for flexible moss stitch | Basic aluminum hook |
| Stitch markers | 2 | Identify the first and last stitches | Short contrasting yarn scraps |
| Yarn needle | 1 | Hides yarn tails securely | Basic blunt tapestry needle |
| Scissors | 1 pair | Makes clean yarn cuts | Household scissors |
| Measuring tape | 1 | Checks width, length, and gauge | Ruler for smaller measurements |
The yardage is a planning allowance, not a tested consumption figure. Your actual requirement depends on stitch tension, fiber, and finished dimensions.
| Feature | Instructions |
|---|---|
| Skill level | Beginner |
| US terminology | Yes |
| Main stitches | Chain and single crochet |
| Starting chain | 121 chains for the sample |
| Repeat | One repeating row |
| Sample target | Approximately 36 × 48 inches |
| Construction | Worked flat in turned rows |
| Color design | Solid or three-color stripes |
| Border | Optional single crochet |
Abbreviations
The finished width of a 121-chain foundation depends on your gauge. Do not assume it will automatically measure 36 inches.
Easy Moss Stitch Crochet Blanket Pattern for Beginners: Step by Step
The secret to consistent moss stitch is simple: place most single crochet stitches into the gaps between stitches rather than into the tops of the stitches themselves.
Step 1: Make Your Starting Chain
With your main color and 5.5 mm hook, chain 121. Keep the foundation chain relaxed. Tight starting chains make the bottom edge narrower than the rest of your blanket. Your chain should lie flat without curling or pulling into a spiral.
Common problem: A foundation chain that feels stiff or looks noticeably shorter than later rows.
Fix: Use a slightly larger hook for the foundation chain, then return to your working hook.
Step 2: Crochet the Foundation Row
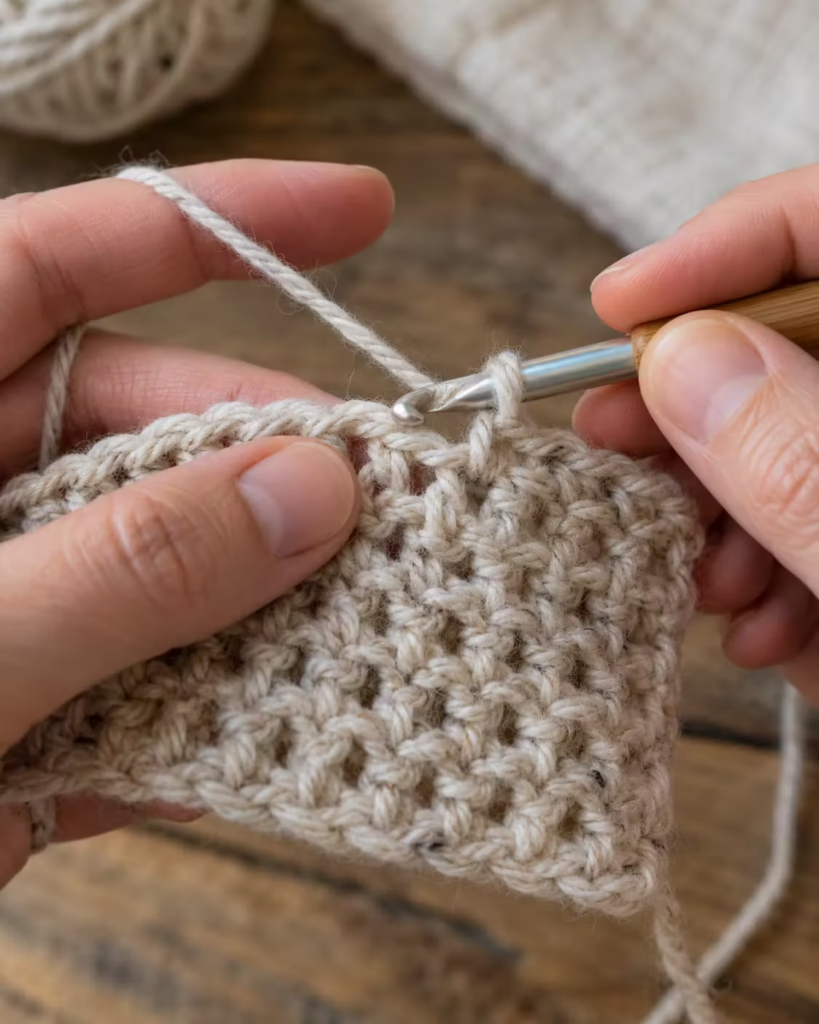
Work 1 sc into the third chain from your hook.
Then repeat:
- Ch 1.
- Skip the next chain.
- Work 1 sc into the following chain.
Continue until you reach the final chain. You should finish with 60 single crochet stitches separated by 59 chain-one spaces. The first and last actual stitches of the row are single crochets.
What it should look like: Small, evenly spaced gaps between neat single crochet stitches.
Common problem: Accidentally crocheting into every foundation chain.
Fix: Remember to skip one foundation chain after each chain-one.
Step 3: Work the Moss Stitch Repeat
Chain 2 and turn your work. The turning chain does not count as a single crochet.
Work 1 sc into the first chain-one space from the previous row.
Then repeat:
Ch 1. Sc in the next ch-1 space.
Work across every remaining chain-one space. After the last space, chain 1 and work 1 sc into the final single crochet stitch at the edge of the previous row. This final edge stitch prevents the blanket from gradually narrowing. Every completed row should contain 60 single crochet stitches and 59 internal chain-one spaces.
What it should look like: New single crochet stitches sit in the gaps between stitches from the previous row.
Common problem: Missing the final edge stitch because it sits close to the turning chain.
Fix: Mark the last actual single crochet stitch of each row before turning.
Step 4: Repeat Until Your Blanket Reaches the Desired Length
Repeat Step 3 for every additional row. Lay your blanket on a flat surface occasionally and measure from the foundation edge to your current working edge.
For the sample, aim for approximately 48 inches in length before adding a border. Measure after smoothing the fabric gently. Avoid stretching it.
What it should look like: An even woven texture with consistent spacing throughout.
Common problem: Pulling the working yarn tighter as you gain speed.
Fix: Relax your yarn tension and compare the current width with earlier rows.
Step 5: Fasten Off
After completing your final row, cut the working yarn, leaving a tail long enough to weave securely. Pull the tail through the final loop and tighten gently. Do not pull so hard that the corner becomes distorted.
What it should look like: A secure finishing loop and a relatively square final corner.
Common problem: Cutting the yarn too close to the final stitch.
Fix: Leave approximately 6 inches of yarn for weaving.
How to Add Beautiful Moss Stitch Stripes
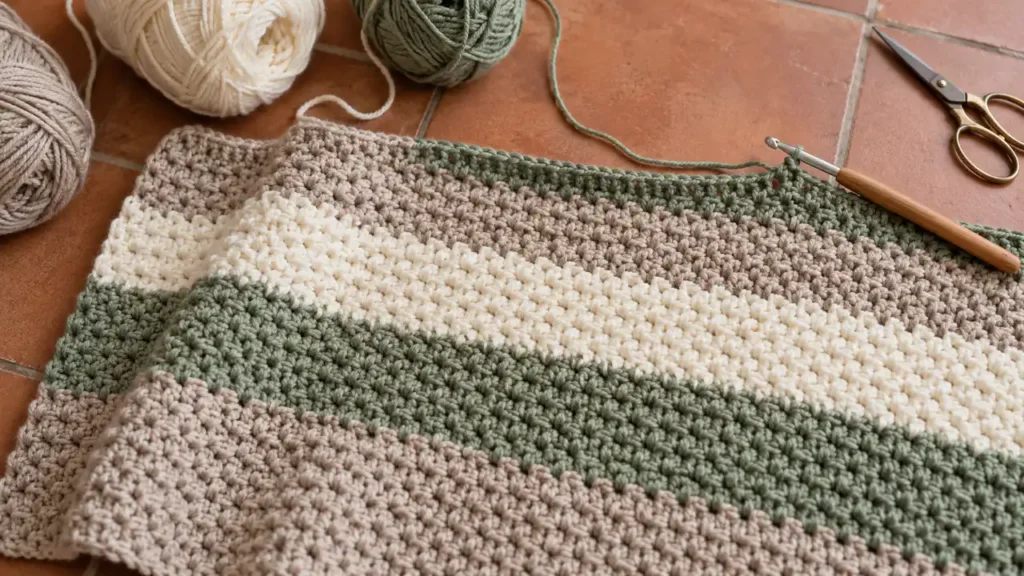
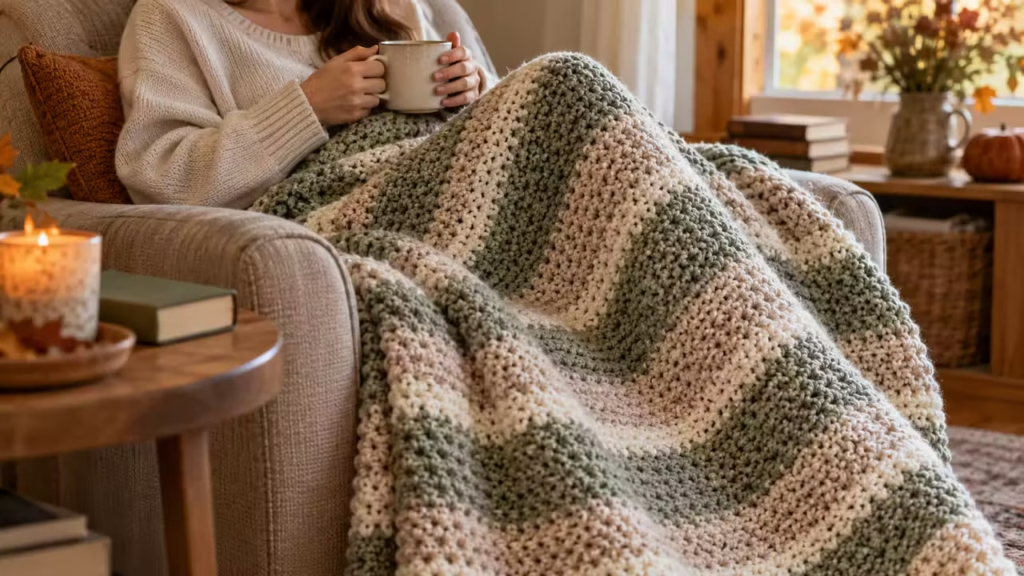
A crochet striped moss stitch blanket uses the same beginner-friendly instructions as a solid-color version. Only your yarn changes.
Step 1 — A Simple Three-Color Layout
Try this repeating arrangement:
| Color | Rows | Visual Effect |
|---|---|---|
| Oatmeal | 12 | Calm neutral foundation |
| Sage green | 6 | Soft contrasting stripe |
| Warm cream | 6 | Light transition |
| Oatmeal | 12 | Wider neutral section |
Repeat the sequence as needed until the blanket reaches your target length. Twelve rows will not produce the same stripe height for every crocheter. Your row gauge controls the finished proportions.
Step 2 — How to Change Colors Neatly
Work the final single crochet of your current color until two loops remain on the hook.
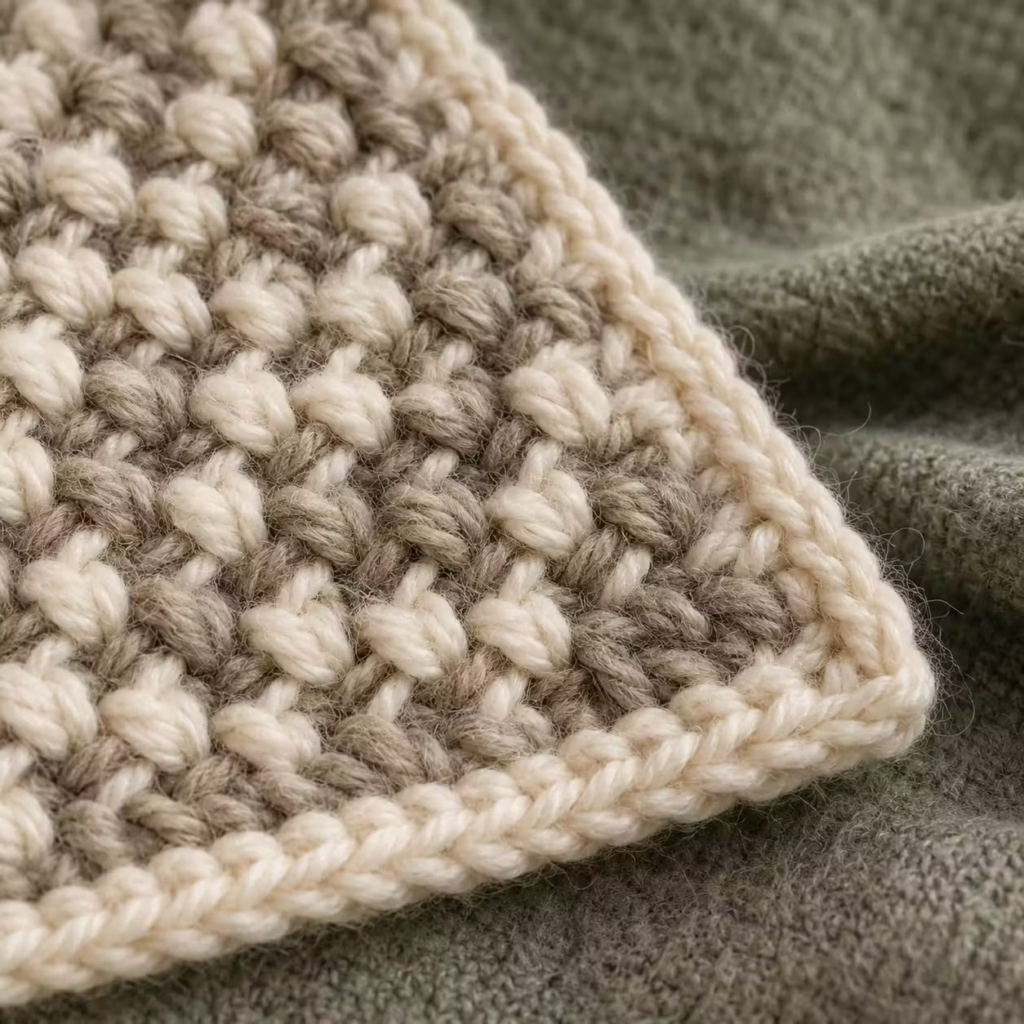
Yarn over with your next color and pull through both loops.
Turn and continue the normal moss stitch repeat. This completes the stitch with the new color and makes the transition cleaner. For long color sections, cut the previous yarn and leave a tail for weaving. Avoid carrying several unused strands loosely along the edge.
Striping tip: Change colors consistently at the same edge whenever possible. This keeps the finishing process organized.
How to Keep Your Blanket Edges Straight
<!– gap –>
Straight edges are one of the biggest challenges when learning moss stitch. Because chain-one spaces resemble ordinary gaps, beginners sometimes skip the first opening or forget the last single crochet.
Step 3 — The Two-Marker Method
Place one stitch marker in the first actual single crochet stitch and another in the last actual single crochet stitch of your completed row. Move both markers as you work. Check your stitch count whenever you stop crocheting.
For this foundation, your stitch count should stay at 60 single crochets and 59 internal chain-one spaces per row. A slight change in tension may alter the width, but the stitch count should remain consistent.
Step 4 — How to Check for Accidental Increases
Spread several completed rows across a table. Compare the number of spaces in the newest row with an earlier row. If your newer row has extra chain spaces, you probably crocheted into a turning chain or added an unnecessary stitch at the edge. Correct the mistake before making several more rows.
Yarn Planning and Blanket Sizes
<!– gap –>
A small gauge swatch can prevent a surprisingly large yarn shortage. Make a moss stitch sample using the same hook and yarn you plan to use for the blanket. Wash and dry it according to the yarn label before measuring.
Calculate Your Starting Chain
For this pattern, use an odd number of foundation chains.
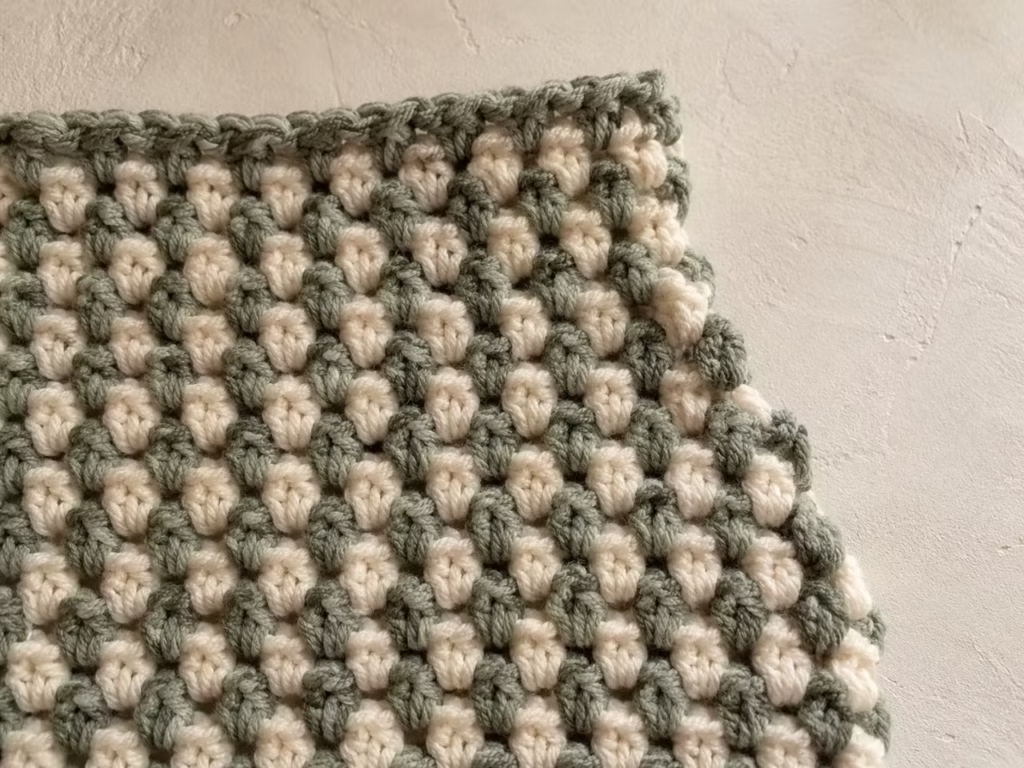
Each additional two chains adds one single crochet position to the row.
For a practical size adjustment:
- Crochet a sample foundation with 21 chains.
- Work several moss stitch rows.
- Measure the relaxed width.
- Calculate how many two-chain repeats you need for your desired width.
- Add or remove pairs of chains from the 121-chain example.
Do not calculate blanket width from chain length alone. Moss stitch fabric can settle differently after washing.
Suggested Blanket Size Targets
| Blanket Type | Target Dimensions | Best Use |
|---|---|---|
| Baby blanket | 30 × 36 inches | Supervised use and gifting |
| Lap blanket | 36 × 48 inches | Reading chairs and sofa lounging |
| Throw blanket | 50 × 60 inches | Adult sofa blanket |
| Large afghan | 60 × 72 inches | Generous coverage |
These are design targets, not guarantees from a fixed chain count. Baby blankets should not be placed in an infant’s sleep space.
Estimate Yarn More Accurately
Weigh a completed swatch and measure its area. Divide your intended blanket area by the swatch area, then multiply by the swatch’s yarn weight. Add an allowance for borders, weaving tails, and small gauge differences. This method gives you a more useful estimate than relying on a general skein count.
Finishing and Caring for Your Blanket
Add a Simple Border
For a clean finish, work one round of single crochet around the blanket. Place one single crochet in each foundation-chain position along the bottom. Along the side edges, distribute stitches evenly. The correct number depends on your row height, so do not force one stitch into every visible loop.
Work three single crochets into each corner to help the border turn smoothly. Along the top edge, work evenly across the stitches and chain-one spaces.
Join with a slip stitch and fasten off. If the border ripples, you have probably added too many stitches. If it pulls inward, add more stitches along the affected side.
Weave in Yarn Tails
Thread each yarn tail through a tapestry needle.
Weave the tail back and forth through several stitches on the wrong side, changing direction to help secure it. Trim any remaining yarn only after checking that the end stays secure.
Wash and Shape
Follow the care instructions printed on your yarn label. For machine-washable acrylic, use the permitted water temperature and drying method.
Avoid direct heat if the fiber label warns against it. Lay the blanket flat and gently shape the corners. Measure again after the fabric dries completely.
A Beginner-Friendly Progress Check
<!– gap –>
You do not need to finish your entire blanket in one sitting. Divide the project into manageable sessions and inspect your progress after each one.
| Checkpoint | What to Inspect | Action |
|---|---|---|
| After foundation row | Even chain tension | Restart if the edge pulls tightly |
| After 5 rows | Correct moss stitch placement | Check chain spaces and stitch count |
| After 12 rows | Consistent width | Measure against earlier rows |
| After each stripe | Neat color transition | Secure loose strands |
| Before the border | Straight, balanced edges | Correct problems before finishing |
Photograph the blanket beside a measuring tape at each checkpoint. These progress photos also make it easier to identify exactly where a mistake began.
Troubleshooting Common Moss Stitch Mistakes
| Mistake | Symptom | Cause | Fix |
|---|---|---|---|
| Missing edge stitch | Blanket becomes narrower | Final single crochet is skipped | Mark and count the last stitch |
| Accidental increase | Blanket gradually widens | Extra stitch worked into turning chain | Identify the final actual sc |
| Tight foundation | Bottom edge pulls inward | Starting chains are too small | Remake with looser chains |
| Uneven stripes | Color bands look irregular | Inconsistent row counts or tension | Count rows and maintain the same hook |
| Gaps look inconsistent | Fabric appears patchy | Hook enters the wrong space | Work into chain-one spaces, not stitch tops |
When Should You Undo a Row?
If an error changes the stitch count, undo the row and correct it immediately. If the stitch count remains correct and the difference is only slightly uneven tension, continue for a few rows before deciding. Moss stitch often looks more uniform after gentle washing and shaping, although washing cannot repair missing stitches.
Comparing Blanket Options
The best version depends on how you plan to use the blanket.
| Option | Main Advantage | Trade-Off | Recommendation |
|---|---|---|---|
| Worsted acrylic | Washable and accessible | Fiber feel varies by brand | Best beginner default |
| Cotton yarn | Breathable and defined stitches | Can become heavy | Smaller warm-weather throws |
| Wool blend | Warm with attractive texture | May require special washing | Cozy autumn projects |
| Solid moss stitch | No color changes | Less visual contrast | First full-size blanket |
| Striped moss stitch | Strong decorative effect | More ends to weave | Second blanket or confident beginner |
| 5.5 mm hook | Balanced starting point | Gauge varies by crocheter | Start here and swatch |
| 6.0 mm hook | Looser fabric | Larger openings | Use if your stitches feel stiff |
Pattern Testing and Accuracy
<!– gap –>
Pattern testing disclosure: This written pattern has not been physically tested by the author of this article. The instructions and stitch counts have been checked for consistency, but a completed sample and its measured gauge are still needed.
Tested by:
Number of completed samples:
What went wrong during testing:
Finished measured dimensions:
Do not publish the sample dimensions or material quantities as verified until your test blanket confirms them.
What to Make Next
Once your blanket is finished, photograph the complete afghan in daylight, then capture one close-up of its texture and one image of the edges. Save this pattern so you can reuse the stitch repeat when making a matching cushion cover or a smaller lap blanket. For your next project, try a striped version using colors from your room or explore another beginner crochet blanket pattern to practice a different stitch texture.
Frequently asked questions
Is moss stitch good for a beginner crochet blanket?
Yes. Moss stitch uses only chains and single crochet stitches, making it approachable once you recognize chain-one spaces. The repeating row becomes easier to follow as the fabric grows. For your first project, use smooth, light-colored yarn so you can see exactly where the hook should enter.
How many chains do I need for a moss stitch blanket?
The number depends on your yarn, hook, gauge, and desired width. This particular pattern begins with 121 chains and uses an odd-number foundation. You can change the width by adding or subtracting chains in pairs. Make a swatch before starting a larger blanket so you can calculate a reliable foundation length.
Does moss stitch use more yarn than single crochet?
Yarn consumption depends on gauge, tension, and the size of the fabric. Moss stitch contains chain spaces, so it may use less yarn than a dense fabric made entirely from single crochet at a comparable finished size. Weighing a sample swatch is the most reliable way to estimate your specific project’s requirements.
How do you keep moss stitch blanket edges straight?
Count your stitches regularly and make sure you work the final single crochet at the end of every row. Use stitch markers to identify the first and last actual stitches. Avoid accidentally treating a turning chain as an additional stitch. Consistent tension also helps prevent edges from looking wavy.
What is the difference between moss stitch and linen stitch?
In many crochet patterns, moss stitch and linen stitch describe the same alternating combination of single crochet and chain-one spaces. Granite stitch is another common name. Terminology can vary between designers, so always examine the pattern instructions before assuming the stitches are identical. This tutorial uses the alternating single crochet and chain-one version.
Can I make a striped moss stitch blanket without cutting the yarn?
Yes, especially when alternating colors over short sections. You can carry unused yarn neatly along an edge and conceal it with a border. For wider stripes, cutting yarn generally produces a cleaner result. Whichever method you choose, avoid pulling carried yarn tightly because it can distort the blanket’s sides.
How long does it take to crochet a moss stitch blanket?
Completion time depends on the blanket’s dimensions, your stitch speed, and how often you pause to count or change colors. A planning range for this small throw is approximately 12–20 hours, but it is not a verified project test result. Work a timed swatch to create a more dependable estimate for your own crocheting speed.
Pin “Easy Moss Stitch Crochet Blanket Pattern for Beginners” so you can find it when the yarn arrives.
Get the next free pattern first
One email a week. New patterns, no noise.
Yarn weights and hook sizes in this guide follow the Craft Yarn Council standards.
Keep going: Crochet Moss Stitch: Easy Free Tutorial for Beginners · Crochet Fingerless Gloves: Easy Free Pattern for Beginners · Crochet Moss Stitch: Easy Step-by-Step Tutorial for Beginners
Gauge & sizing
Gauge: [MY INPUT: measured stitch and row gauge after crocheting and washing a sample swatch].





