
How to Crochet Moss Stitch or Linen Stitch: Complete Beginner Guide
This complete guide to how to crochet moss stitch or linen stitch walks you through every step, from making the foundation chain to finishing a polished…

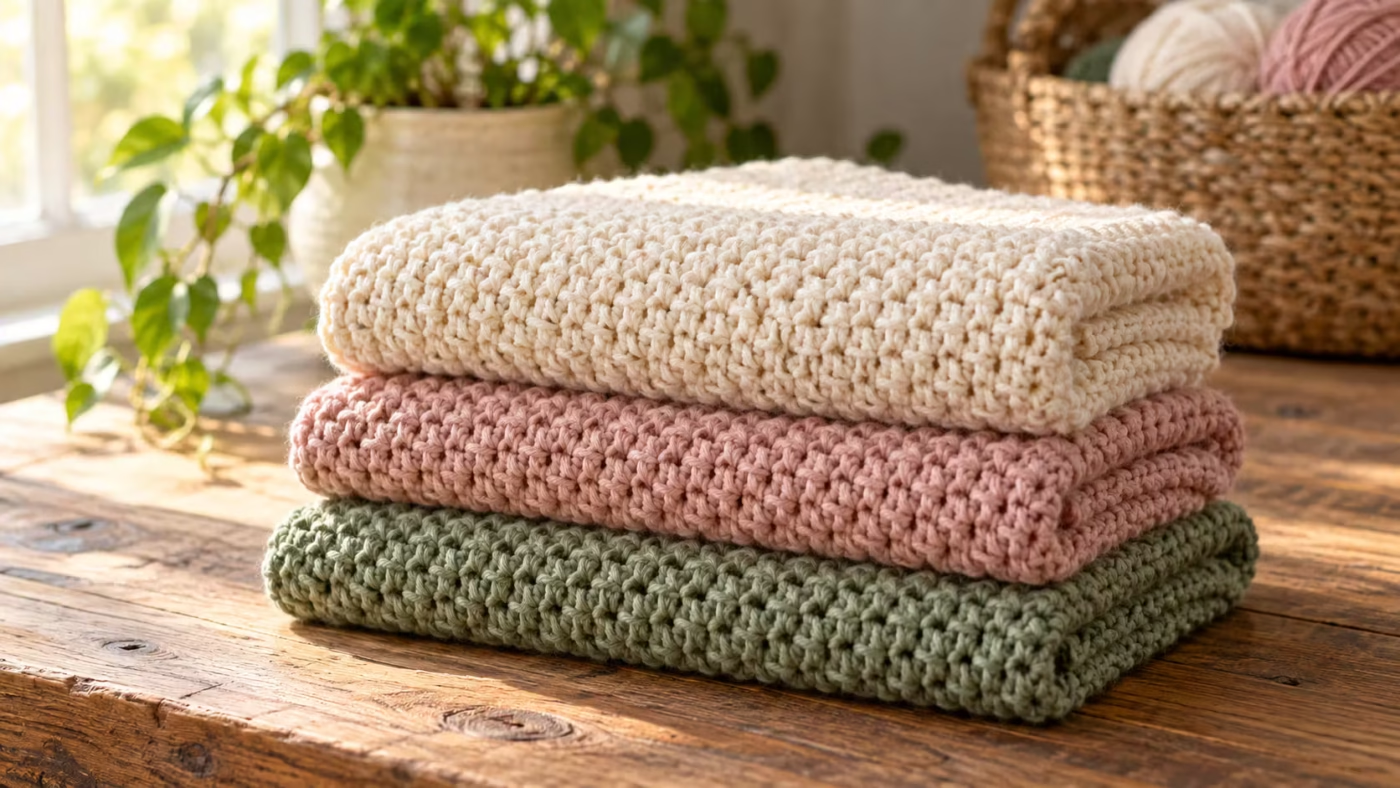
This complete guide to how to crochet moss stitch or linen stitch walks you through every step, from making the foundation chain to finishing a polished swatch. You’ll also learn how to read your stitches, keep straight edges, switch colors, adjust sizing, and transform this simple stitch into blankets, scarves, dishcloths, and more.
What Is Crochet Moss Stitch?
Moss stitch is a repeating crochet pattern that alternates single crochet stitches with chain-one spaces.
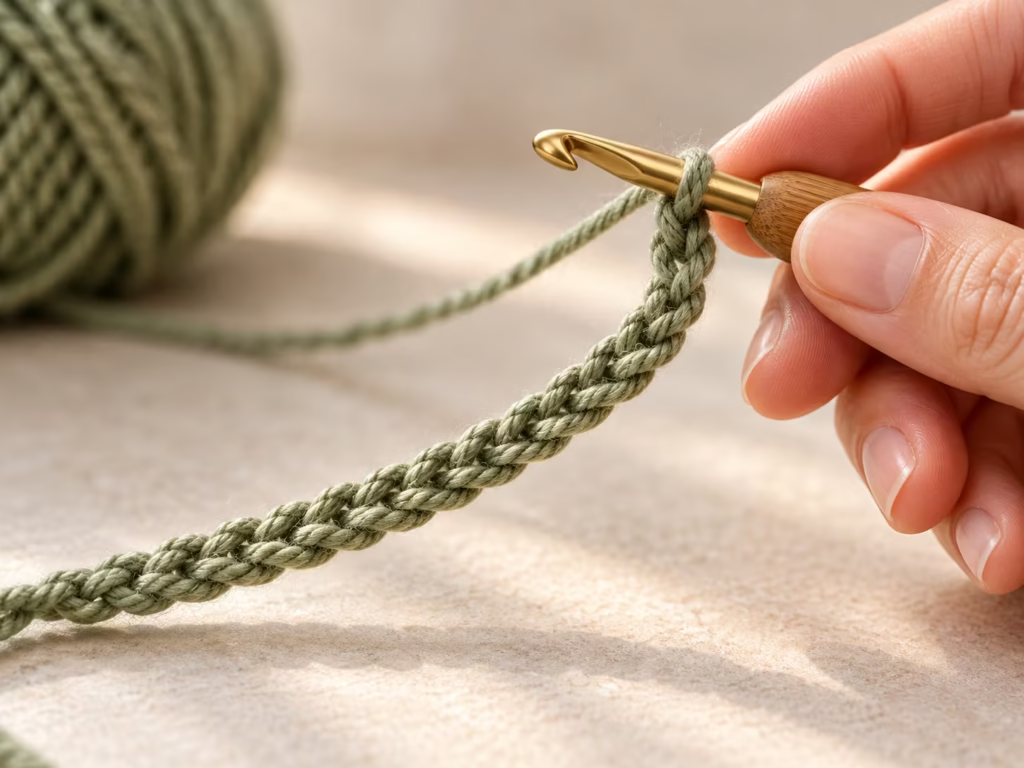
Instead of stacking each single crochet directly above another single crochet, you work into the chain-one spaces created in the previous row. This offset construction gives the finished fabric a distinctive appearance resembling closely woven threads.
You may encounter three names for essentially the same crochet technique:
- Moss stitch: A widely used name for the alternating single crochet and chain-space pattern.
- Linen stitch: Describes the woven, fabric-like appearance.
- Granite stitch: Another traditional name for this textured crochet stitch.
All three names commonly refer to the same stitch structure when worked flat using US single crochet terminology. Be aware that knitting patterns also use the name moss stitch for a different technique.
Why Crocheters Love This Stitch
Moss stitch offers several practical advantages:
- Uses only chains and single crochet stitches.
- Produces an attractive texture on both sides.
- Works beautifully with solid, tonal, and variegated yarn.
- Creates less visual bulk than many raised crochet textures.
- Makes color changes look neat and intentional.
- Suits rectangular projects requiring a consistent stitch repeat.
- Provides an accessible introduction to working into chain spaces.
The fabric is typically more flexible than dense single crochet fabric, although its actual drape depends on the yarn, hook size, and crocheter’s tension.
Project Overview
| Detail | Description |
|---|---|
| Skill level | Confident beginner |
| Terminology | US crochet terms |
| Main stitches | Chain (ch), single crochet (sc) |
| Stitch repeat | Single crochet, chain 1 |
| Row structure | Alternating stitches and chain spaces |
| Recommended practice | Small rectangular swatch |
| Yarn suggestion | Smooth worsted-weight yarn, category 4 |
| Hook suggestion | Start with the size recommended on your yarn label |
| Fabric texture | Flat, subtly textured, woven appearance |
| Reversible | Both sides have a similar appearance |
| Project possibilities | Scarves, blankets, dishcloths, bags, and accessories |
The instructions below use a 20-chain practice foundation. This creates a manageable sample with nine single crochet stitches and nine chain-one spaces in the first pattern row. The finished width depends on your yarn, hook, and tension rather than the foundation count alone.
Materials and Tools
| Item | Suggested specification | Purpose | Alternative |
|---|---|---|---|
| Yarn | Smooth category 4 worsted-weight yarn | Easy-to-see practice stitches | DK cotton or acrylic |
| Crochet hook | Size appropriate for chosen yarn | Forms stitches and chain spaces | Adjustable choice based on gauge |
| Scissors | Small sharp craft scissors | Cuts yarn neatly | Yarn snips |
| Tapestry needle | Blunt yarn needle | Weaves in ends | Flexible finishing needle |
| Stitch markers | 2 removable markers | Identifies first and last stitches | Contrasting yarn loops |
| Measuring tape | Flexible tape measure | Checks gauge and dimensions | Ruler |
Choosing Your First Yarn
For beginners, choose a smooth yarn in a medium or light color. Cream, dusty blue, sage green, and soft peach reveal the small chain spaces clearly. Very dark yarn can make it difficult to locate the correct insertion point. Fuzzy yarn may obscure stitch definition, while highly textured novelty yarn makes troubleshooting harder.
Cotton produces crisp, well-defined stitches and is especially suitable for dishcloths. Acrylic is often economical, lightweight, and forgiving for practice. Wool can offer warmth and elasticity for scarves and accessories.
Understanding the Moss Stitch Pattern
Before picking up your hook, learn the three elements that form the entire pattern.
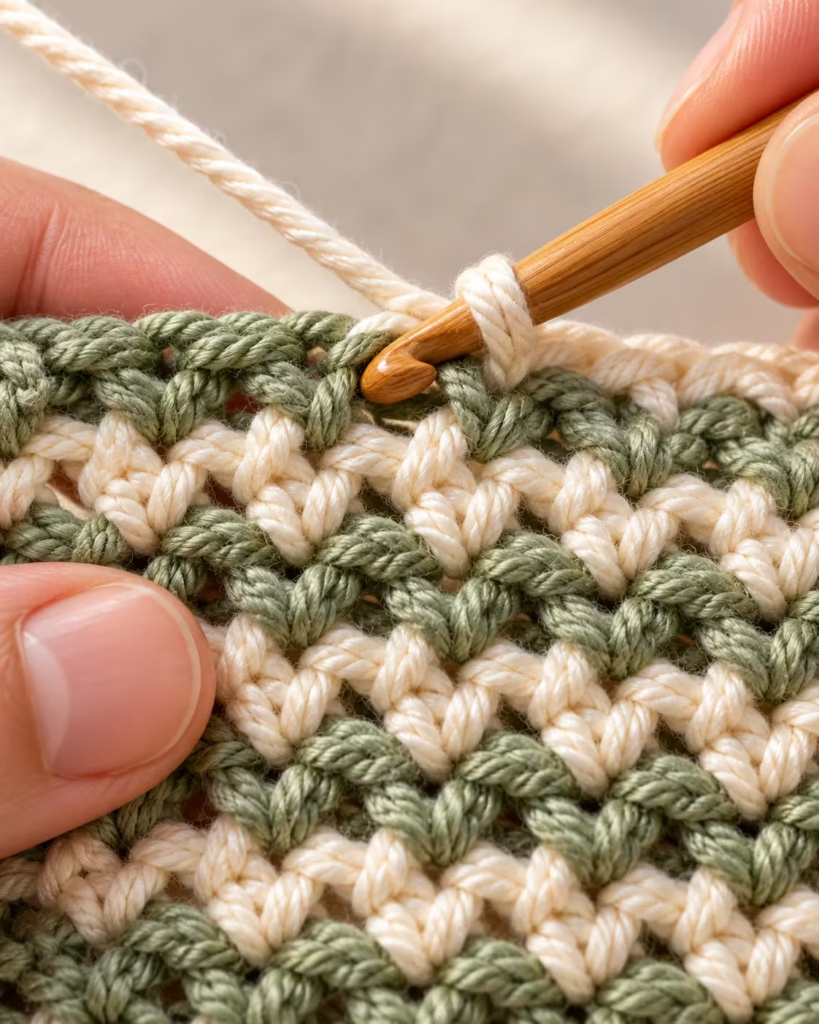
Chain (ch): Pull yarn through the loop on your hook to form one chain.
Single crochet (sc): Insert your hook into the designated stitch or space, yarn over, pull up a loop, yarn over again, and pull through both loops.
Chain-one space (ch-1 sp): The opening created beneath a chain stitch between neighboring single crochets.
The defining feature of moss stitch is working the next row’s single crochets into these openings rather than into the tops of the previous row’s single crochets.
Step 1 — The Basic Rhythm
Think of each repeat as:
Single crochet into a space → chain one → skip the next single crochet → repeat.
After the foundation and setup row, this rhythm becomes natural.
Step 2 — An Important Edge Detail
Different moss stitch tutorials use slightly different turning-chain methods. For this lesson, the turning chain counts as an edge chain space, not as an additional single crochet.
The instructions consistently use a chain-two turn and an end-of-row single crochet into the previous row’s turning-chain space. Following one method throughout the project prevents accidental increases or decreases.
How to Crochet Moss Stitch or Linen Stitch
This beginner-friendly pattern uses an even-numbered foundation chain.
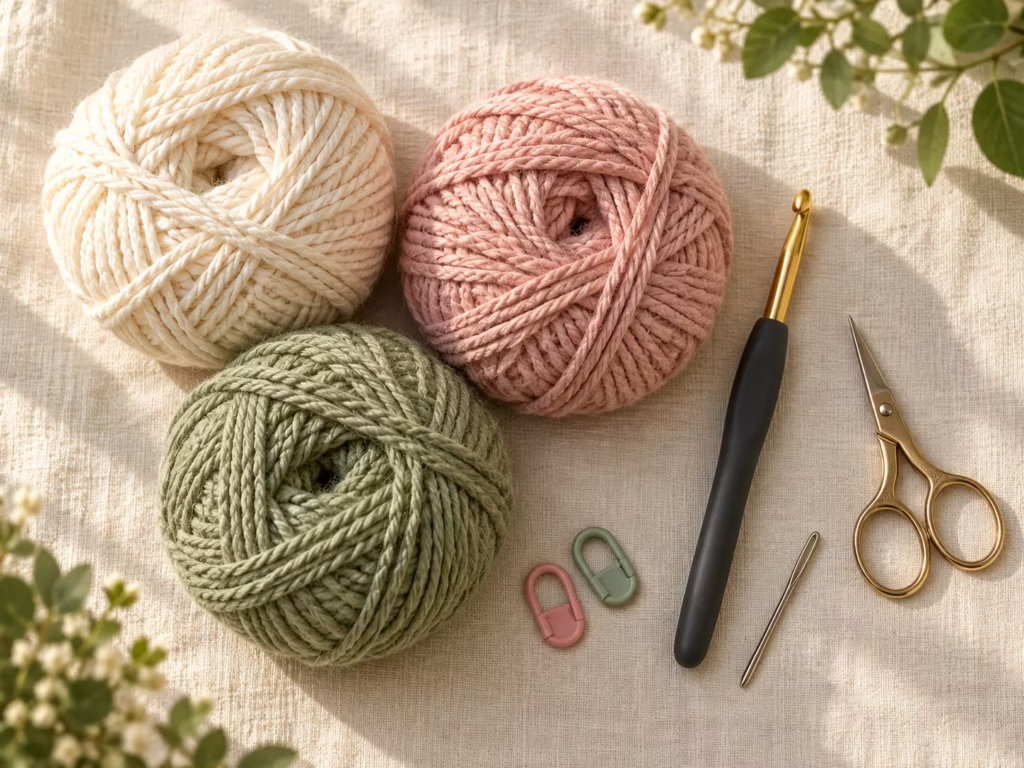
The sample starts with 20 chains, but you can substitute any positive even number that accommodates the repeating stitch sequence.
Step 1: Make a Slip Knot and Foundation Chain
Action
- Make a slip knot and place it on your hook.
- Chain 20.
- Keep your chains relaxed and approximately even.
- Lay the foundation chain flat without twisting it.
The slip knot does not count as a chain.
Visual check: You should see 20 recognizable V-shaped chain stitches, forming an untwisted row.
Common error: Pulling the foundation chain too tightly makes the first row difficult to work.
Solution: Relax your yarn tension. If necessary, remake the chain using a slightly larger hook and switch back to your intended hook for the stitch rows.
Expert tip: Count your foundation chains twice before proceeding. Correcting an incorrect foundation is much easier than adjusting multiple completed rows.
Step 2: Crochet the First Moss Stitch Row
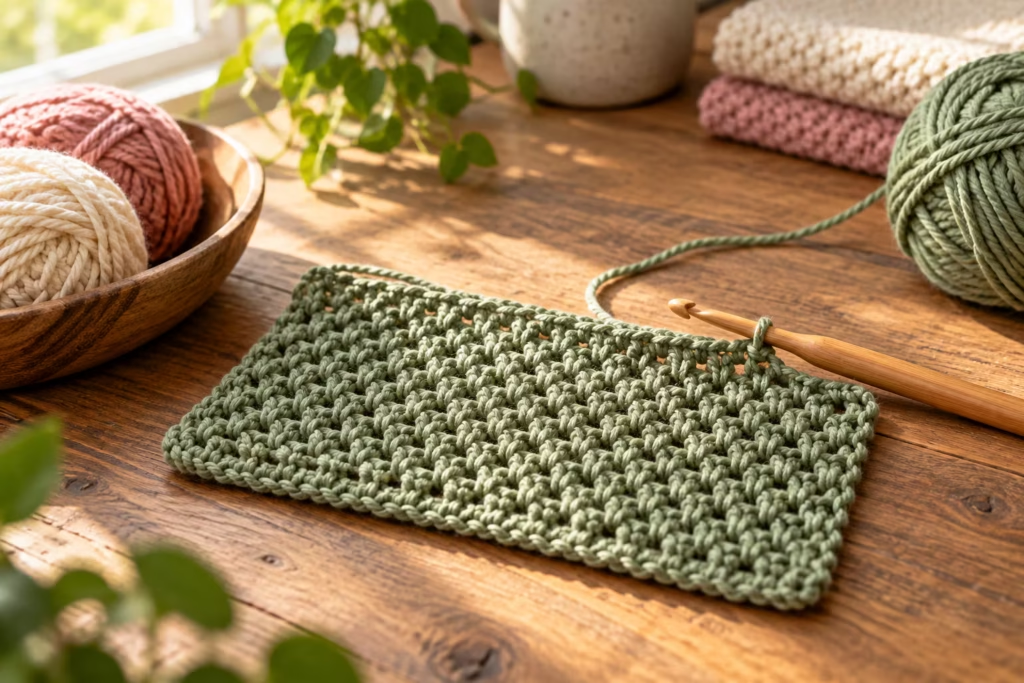
Action
- Skip the first three chains from your hook.
- Work one single crochet into the fourth chain.
- Chain one.
- Skip the next foundation chain.
- Work one single crochet into the following chain.
- Repeat the sequence of chain one, skip one chain, and single crochet in the next chain across.
Your first pattern row finishes with a single crochet in the final foundation chain.
Row 1 written pattern:
Sc in 4th ch from hook, ch 1, skip next ch, sc in next ch; repeat from across.
Stitch count: 9 sc and 9 ch-1 spaces, counting the initial three skipped foundation chains as the first edge chain space.
For clarity, the initial skipped chains form one turning-chain edge space; the eight subsequently worked chain stitches create the interior spaces.
Visual check: Nine single crochet stitches should appear at alternating positions along the foundation, separated by chain spaces.
Common error: Working a single crochet into every foundation chain.
Solution: Stop after each single crochet and deliberately work one chain before skipping the next foundation chain.
Expert tip: Mark the final single crochet so you can identify the row ending when learning the turning sequence.
Step 3: Turn and Begin Row Two
Action
- Chain two.
- Turn your work.
- Identify the first chain-one space of the previous row.
- Work one single crochet into that first available interior chain-one space.
- Chain one.
The chain-two turning segment provides an edge space and the height needed for the next row. Do not work an additional stitch into the single crochet directly beneath your turning chain.
Visual check: The new single crochet should sit inside an opening between previous-row single crochets, not directly into a V-shaped stitch top.
Common error: Mistaking the top of a single crochet for a chain space.
Solution: Spread the fabric gently with your fingers and look for the horizontal chain strand bridging two single crochets. Insert your hook beneath that strand into the opening.
Expert tip: When stitches are difficult to distinguish, rotate the fabric slightly toward the light rather than stretching the loops excessively.
Step 4: Continue Across Row Two
Action
- Skip the next single crochet from the previous row.
- Work one single crochet into the next chain-one space.
- Chain one.
- Repeat across the row.
- At the final edge, work one single crochet into the opening beneath the previous row’s beginning chain-three turning segment.
Row 2 written pattern:
Ch 2, turn, sc in first ch-1 sp, ch 1, sc in next ch-1 sp; repeat from across, ch 1, sc in turning-chain space.
In this sample, that final turning-chain space is the opening formed by the three skipped foundation chains.
Visual check: Your new single crochets sit offset between the single crochets of Row 1.
The row contains nine single crochets, with chain spaces between them and at the turning edge.
Common error: Missing the turning-chain space at the end.
Solution: Before finishing each row, count your single crochets and locate the final edge opening. Use a stitch marker if the edge remains difficult to see.
Expert tip: Treat the final turning-chain space as a planned destination rather than an afterthought. This small habit is especially valuable on long blankets.
Step 5: Repeat the Pattern
Action
Repeat the Row 2 sequence for each new row.
Row 3 and every following row:
Ch 2, turn, sc in first ch-1 sp, ch 1, sc in next ch-1 sp; repeat from across, ch 1, sc in turning-chain space.
Continue until your swatch reaches the desired length.
Visual check: The alternating single crochets should create small woven-looking blocks with consistent spacing.
Common error: Accidentally working into a single crochet instead of the chain-one opening.
Solution: Check your stitch placement immediately after making each stitch. If you discover an incorrect placement, unravel back to that point and redo it.
Expert tip: Maintain similar tension in both your chains and single crochets. Tight chains are a common cause of rigid-looking moss stitch fabric.
Step 6: Inspect the Texture and Edges
Pause after several rows. Your swatch should now show the defining moss stitch texture.
Check three features:
- The stitches alternate horizontally.
- The row width stays consistent.
- The left and right edges remain approximately straight.
A slight curve or small amount of unevenness can occur while learning. Strong diagonal slanting usually indicates missed or extra stitches.
Visual check: Each completed row in the 20-chain practice example has nine single crochet stitches.
Common error: Gradually losing stitches at the end of successive rows.
Solution: Count the single crochets in each row and check the final turning-chain insertion.
Expert tip: Insert a removable marker into the turning-chain edge space as soon as you create it. Remove and reposition the marker as you advance.
Step 7: Fasten Off Your Practice Swatch
Action
- Finish the final single crochet.
- Cut the yarn, leaving a tail long enough to weave securely through the fabric.
- Pull the yarn tail through the last loop.
- Tighten gently.
- Thread the tail through a tapestry needle.
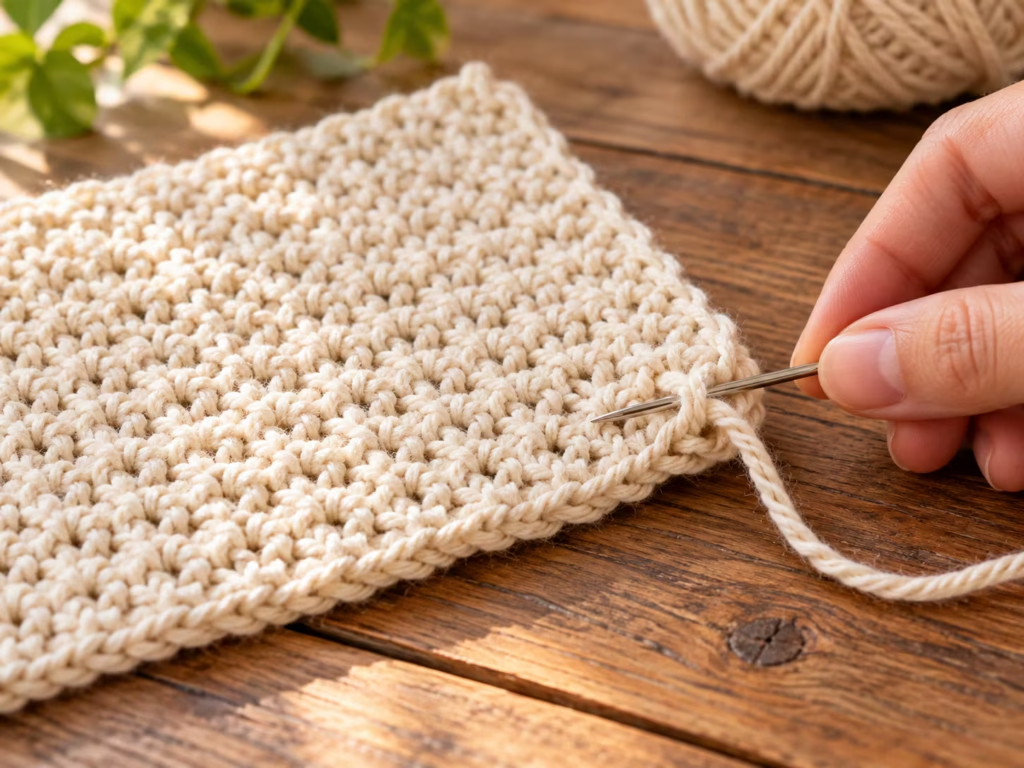
- Weave through several nearby stitch structures on the reverse side.
- Change direction and weave through another section.
- Trim any remaining excess after securing the yarn.
Visual check: The finishing point should blend into the existing fabric without a large knot or visible loose tail.
Common error: Cutting yarn close to the final stitch.
Solution: Leave enough yarn for secure weaving before trimming. If you have already cut it too short, carefully assess whether the end can be secured using a smaller needle.
Expert tip: For slippery fibers, weaving tails in more than one direction helps resist gradual loosening during use.
Moss Stitch Diagram and Stitch Placement
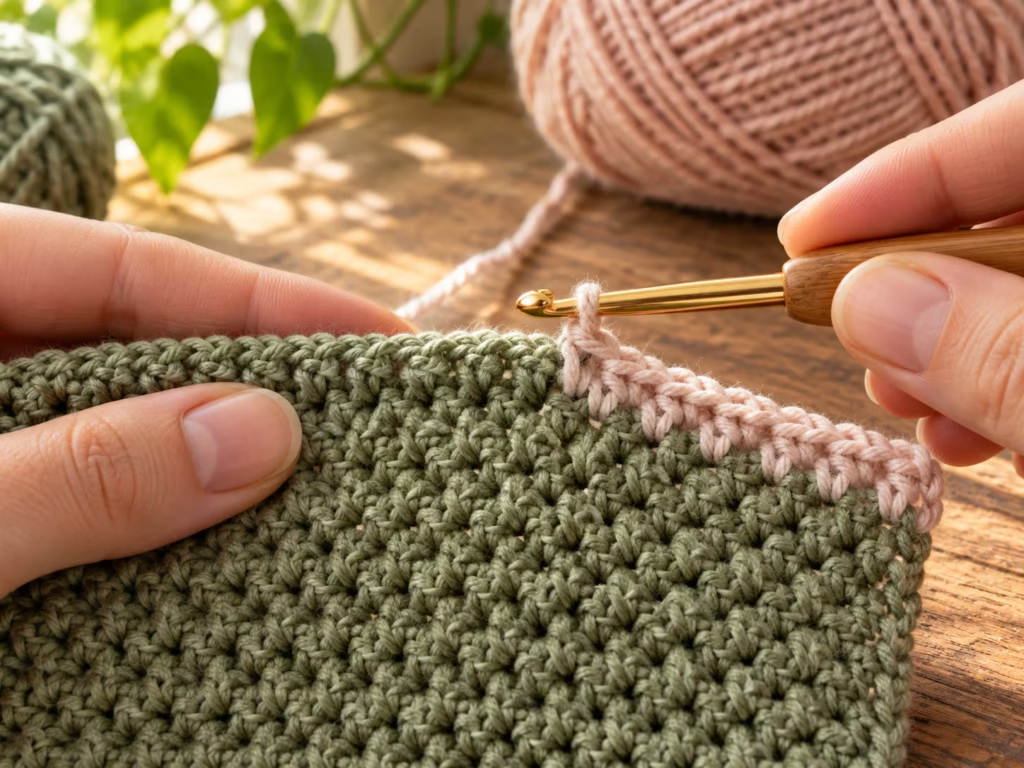
The diagram below shows the repeating relationship between single crochet stitches and chain spaces.
Stitch Symbols
SC= Single crochetCH= Chain-one spaceT= Turning-chain edge space→= Working direction←= Working direction after turning
Simplified Stitch Structure
Row 4 ← T SC–CH–SC–CH–SC–CH–SC T
Row 3 → T SC–CH–SC–CH–SC–CH–SC T
Row 2 ← T SC–CH–SC–CH–SC–CH–SC T
Row 1 → T SC–CH–SC–CH–SC–CH–SC
The diagram is a schematic of the repeating texture, not an exact stitch-count chart for the 20-chain sample. Each SC in a new row is placed into a CH opening from the preceding row, with special handling at the turning edges.
Detailed 20-Chain Foundation Placement
Number the chains beginning with the chain closest to your hook:
Foundation positions: 01 02 03 04 05 06 07 08 09 10 11 12 13 14 15 16 17 18 19 20
Positions 01–03: skipped turning-chain segment
SC positions: 04, 06, 08, 10, 12, 14, 16, 18, 20
Skipped interior foundation chains: 05, 07, 09, 11, 13, 15, 17, 19
Interior SC stitches: 9 Interior ch-1 spaces: 8 Beginning edge space: 1
This placement chart is useful when a beginner wants to verify the setup row without relying on a photograph. Remember that chain positions are counted from the hook after completing the foundation chain.
How to Change Colors in Moss Stitch
One of the most appealing variations is striped moss stitch.
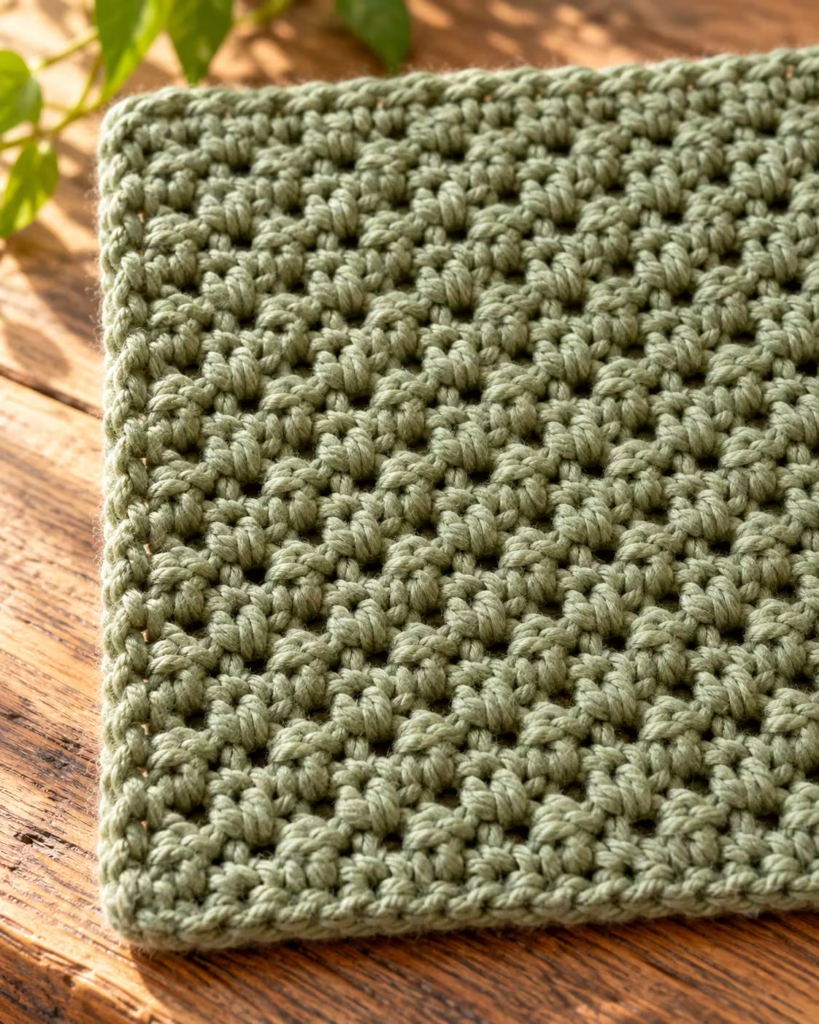
The small alternating stitches distribute color across the fabric, producing a woven visual effect. You can alternate two colors for classic stripes or use several coordinating shades.
Step 3 — Step-by-Step Color Change
- Work until the final single crochet of the row.
- Insert the hook into the final chain space.
- Yarn over with the current color and pull up a loop.
- Drop the old yarn.
- Yarn over with the new color.
- Pull the new color through both loops to finish the single crochet.
- Chain two with the new color.
- Turn and continue following the standard moss stitch repeat.
This method joins the new shade at the last movement of the previous row’s final single crochet. Avoid tying bulky knots directly into the working stitches.
Step 4 — Three Attractive Color Combinations
| Color combination | Appearance | Suggested project |
|---|---|---|
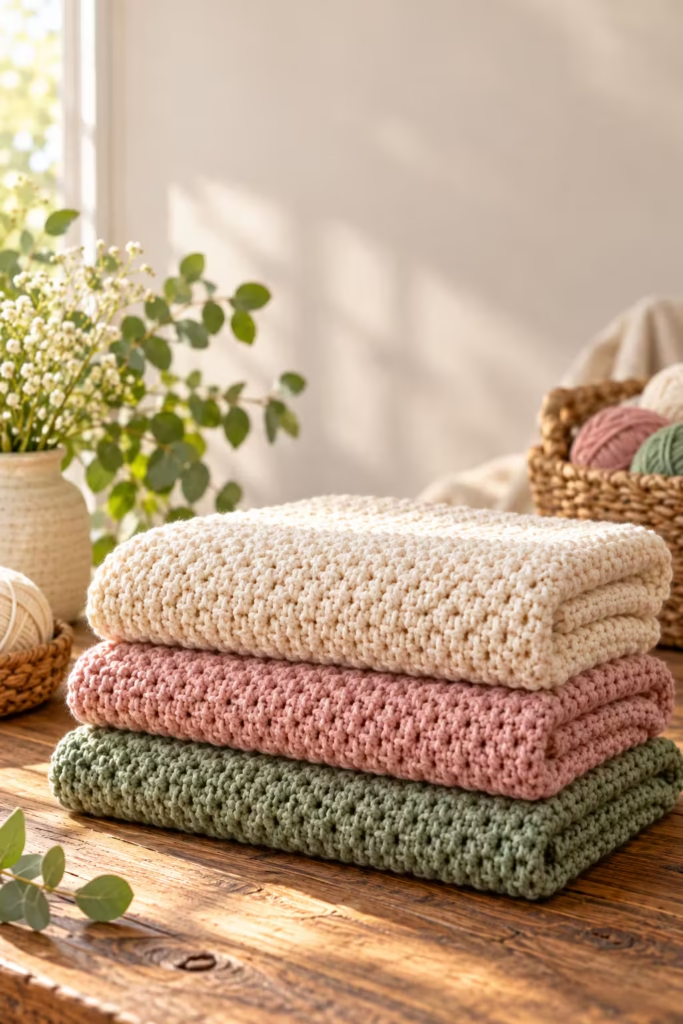
| Cream, sage, dusty rose | Soft and calming | Baby blanket |
| Terracotta, mustard, oatmeal | Cozy autumn palette | Throw blanket |
| Charcoal, ivory, deep teal | Modern contrast | Scarf or cushion |
For a subtle woven effect, change colors every row. For bolder stripes, work several rows in one shade before switching. When using strongly contrasting colors, monitor the yarn carried along an edge so that it does not pull the fabric inward.
Beginner-to-Pro Moss Stitch Techniques
Level 1: Consistent One-Color Fabric
Concentrate on identifying the chain spaces accurately. Use one yarn color until you can complete several rows without recounting every single crochet. Focus on steady tension, recognizable stitches, and clean row endings.
Level 2: Two-Color Striped Moss Stitch
Introduce two colors and practice finishing the last single crochet with the new yarn.
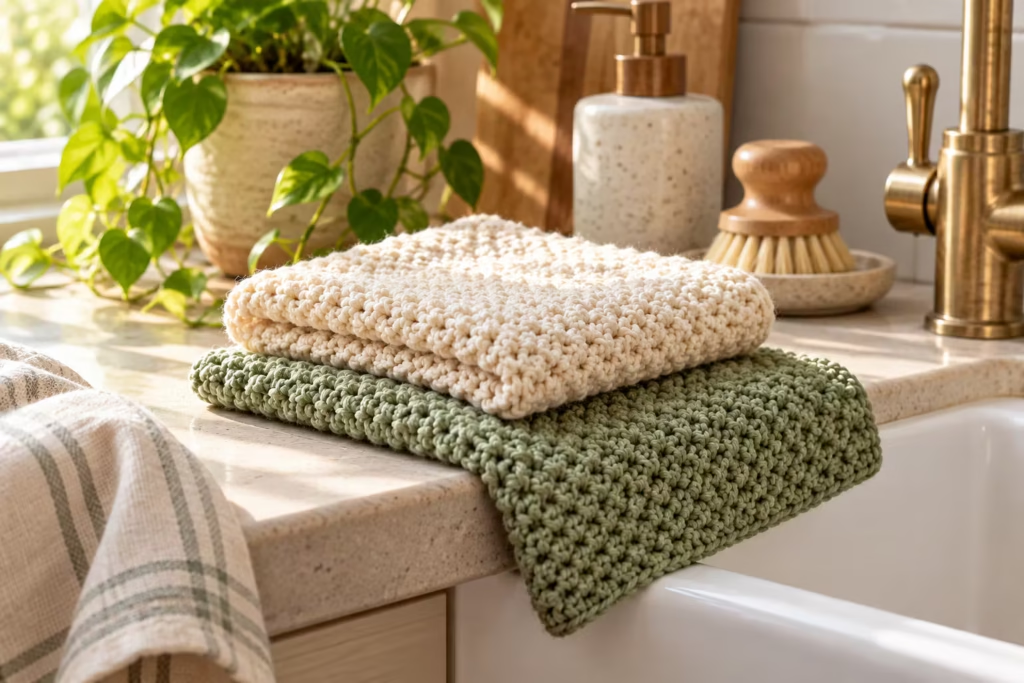
Keep the transition consistent. Use stitch markers at the edges until you can identify turning-chain spaces easily.
Level 3: Professional Edges and Fabric Control
Experienced crocheters can refine the fabric through gauge adjustments, careful yarn selection, and finishing techniques. For a softer, looser drape, try a slightly larger hook and compare swatches. For a firmer fabric suitable for bags or home accessories, experiment with a slightly smaller hook, provided the resulting fabric is not stiff or distorted.
An optional single crochet border can create a more defined outline for rectangular projects. However, border spacing should be adjusted to the actual fabric dimensions rather than forcing an identical number of stitches along every side.
Troubleshooting Common Moss Stitch Problems
| Problem | Likely cause | Practical fix | Prevention |
|---|---|---|---|
| Edges become narrower | Missing final edge space | Undo incorrect row and replace missing stitch | Mark edge spaces |
| Swatch widens | Additional stitches at turns | Count sc stitches and remove accidental increases | Follow one turning method |
| Texture looks uneven | Inconsistent chain tension | Adjust tension and remake irregular section | Practice even chain length |
| Fabric feels stiff | Tight tension or small hook | Try a larger hook | Make a gauge swatch |
| Fabric has large gaps | Loose chains or oversized hook | Reduce hook size if appropriate | Compare yarn and hook combinations |
| Stitches look stacked | Working into sc tops | Insert hook into ch-1 spaces | Check placement each row |
| Foundation curls | Tight beginning chain | Remake with a larger hook | Keep starting chains relaxed |
| Stripes have messy transitions | Inconsistent yarn changes | Change color on final pull-through | Use the same method for every stripe |
| Yarn ends become visible | Inadequate weaving | Reweave tails securely | Use multiple directions |
| Border ripples | Too many edging stitches | Remove excess edging stitches | Distribute border stitches evenly |
Why Does My Moss Stitch Keep Getting Smaller?
The most likely problem is a missed stitch at an edge. Unlike ordinary single crochet rows, the moss stitch pattern relies on chain spaces and turning-chain placements.
If you skip the last turning-chain opening, you may lose a single crochet. Repeating the mistake creates a triangular swatch. Count your single crochets after every row until the pattern feels automatic.
Why Are My Moss Stitch Rows Uneven?
Uneven tension can make one row look compressed while another appears loose. Examine both your single crochet stitches and your chain-one loops. Try to form each chain with a similar movement and avoid tightening the working loop excessively after completing a stitch. Remember that mild variation is normal in handmade crochet.
Moss Stitch vs. Other Crochet Stitches
Moss stitch is useful, but it is not always the ideal choice. Compare it with other beginner-friendly techniques before choosing your next project.
| Stitch | Best for | Advantages | Limitations | Recommendation |
|---|---|---|---|---|
| Moss/linen stitch | Scarves, blankets, home accessories | Woven texture and reversible appearance | Many short stitches and frequent space placement | Best for subtle texture |
| Single crochet | Firm fabric and simple shapes | Dense, structured fabric | Can feel stiff | Best when firmness matters |
| Half double crochet | Everyday accessories | Taller stitches and faster growth | Less woven appearance | Best for quicker fabric |
| Double crochet | Lightweight blankets and open fabric | Builds height quickly | More noticeable openings | Best for airy projects |
| Lemon peel stitch | Textured scarves and washcloths | Alternating stitch heights create texture | Different drape and appearance | Best for stronger surface variation |
Moss stitch is particularly effective when you want the yarn color to stand out without competing against complicated stitch patterns. Its understated texture works well in modern, minimalist projects.
<!– gap –>
How to Calculate Moss Stitch Sizing and Gauge
A reliable gauge calculation helps you turn a small practice swatch into a properly sized finished project. The number of chains alone cannot guarantee the finished width.
Step 1: Crochet a Sample
Make a moss stitch sample larger than the area you intend to measure. Allow the fabric to relax. Wash and dry the sample according to the yarn care instructions when the finished project’s dimensions need to remain stable after laundering.
Step 2: Measure the Gauge
Measure a central section without stretching the fabric.
Record:
- The number of stitch repeats across a measured width.
- The number of rows across a measured height.
- Any dimensional changes after washing or blocking.
For clarity, one moss stitch repeat consists of one single crochet and its associated chain-space progression.
Step 3: Calculate Your Foundation
For the particular foundation method used in this tutorial:
Foundation chains = 2 × desired SC count + 2
For example:
Desired SC count: 40
Foundation = (2 × 40) + 2
Foundation = 82 chains
This calculation applies to the foundation and edge method taught here. Other moss stitch patterns may use different starting multiples.
Step 4: Estimate Width
Suppose your measured sample has eight single crochet positions across four inches.
That gives:
8 ÷ 4 = 2 SC positions per inch
For a target width of 20 inches:
20 × 2 = 40 SC positions
Using this tutorial’s setup formula:
(2 × 40) + 2 = 82 starting chains
This is an illustrative calculation, not a verified gauge for any particular yarn. Make a larger sample and recheck the width before beginning a large blanket or garment.
<!– gap –>
How to Choose Moss Stitch Yarn for Better Results
Yarn selection changes more than the appearance of a finished swatch.
Fiber content, strand construction, thickness, and elasticity all influence the project.
Step 5 — Cotton
Cotton offers strong stitch definition. It works well for dishcloths, table accessories, and items that benefit from a relatively structured fabric. Some cotton yarns have limited stretch, so keep your turning chains comfortable rather than tight.
Step 6 — Acrylic
Acrylic is a practical option for beginner blankets and everyday accessories. It comes in a broad range of colors and often requires straightforward care. Select a smooth variety if you want the moss stitch texture to remain visible.
Step 7 — Wool and Wool Blends
Wool can give moss stitch fabric a warm, soft finish. Depending on the yarn, it may respond well to gentle blocking. Check care labels carefully because laundering requirements vary, and some wool fibers can felt when exposed to agitation and unsuitable temperatures.
Step 8 — Variegated and Self-Striping Yarn
Moss stitch can showcase color-changing yarn because its simple structure does not compete with the shade variations. However, the final color distribution depends on the length of each color section, stitch gauge, and project width. Make a swatch before committing to a large project.
<!– gap –>
Professional Finishing: Blocking, Edging, and Care
Finishing can improve a project’s appearance, but it cannot always correct structural mistakes. A missing stitch that significantly changes the fabric’s shape usually needs to be repaired by unraveling and remaking the affected rows.
Blocking Your Swatch
Blocking involves gently shaping the fabric and allowing it to settle into its intended dimensions. Choose a technique appropriate for your fiber. For many cotton projects, dampening and shaping the piece flat may be useful.
For wool, follow the yarn manufacturer’s care recommendations and avoid unnecessary agitation. Never expose acrylic or other heat-sensitive fibers to excessive heat. Steam can permanently alter some synthetic yarns.
Adding a Simple Border
For a rectangular moss stitch piece:
- Finish the final pattern row.
- Work an optional border using the same yarn or a contrasting shade.
- Place stitches along the top and bottom edges at a rate that produces a flat border.
- Distribute stitches along the sides according to the actual row height.
- Add appropriate additional stitches at corners if needed.
- Check for rippling or curling before completing the border.
There is no universal side-edge stitch ratio that works for every combination of yarn and gauge. The best result comes from adjusting the border while the fabric lies flat.
Caring for Finished Projects
Always follow the yarn label first. For items that are frequently washed, select fibers appropriate for that use. Lay delicate projects flat to dry when necessary to prevent stretching. Store clean, completely dry crochet items away from persistent moisture and direct sunlight.
Quality Control Checklist
Before using your moss stitch technique in a larger project, inspect the practice swatch.
- [ ] The foundation chain is even and not excessively tight.
- [ ] Each row contains the intended number of single crochet stitches.
- [ ] Single crochets are placed into the correct chain-one spaces.
- [ ] The texture has a consistent woven appearance.
- [ ] Both sides have a similar finished appearance.
- [ ] The edges remain approximately straight.
- [ ] No accidental increases or decreases appear.
- [ ] The fabric has an appropriate drape for the intended project.
- [ ] Yarn tails are securely woven in.
- [ ] Finished dimensions have been checked after any necessary washing or blocking.
Acceptable variation: Minor differences in stitch tension that do not interfere with the intended shape or use.
Correctable problem: Slight irregularities in edge tension that can be improved through technique or suitable blocking.
Structural problem: Missing or additional stitches that significantly alter the stitch count. These generally require correction rather than attempting to hide them with edging.
Frequently asked questions
1. Is moss stitch the same as linen stitch in crochet?
Yes. In many crochet patterns, moss stitch, linen stitch, and granite stitch describe the same alternating single crochet and chain-one technique. The fabric has a woven appearance because each new row’s single crochets are placed into chain spaces from the row below. Always check the written pattern, however, since stitch names are not perfectly standardized across every crochet tradition.
2. Is crochet moss stitch beginner-friendly?
Moss stitch is suitable for beginners who already understand chain stitches and single crochet. The most challenging part is learning to distinguish chain-one spaces from stitch tops, especially near row edges. A small practice swatch, smooth light-colored yarn, and removable stitch markers make the technique easier to learn without introducing complicated shaping.
3. Does moss stitch use more yarn than single crochet?
Yarn consumption depends on the stitch gauge, fiber, hook, tension, and finished fabric dimensions. Moss stitch includes chain spaces between single crochets, which may reduce the density of some fabrics, but that does not establish a universal yarn-saving amount. For a meaningful comparison, make equally sized swatches using the same yarn and measure how much yarn each consumes.
4. Can I use moss stitch to crochet a blanket?
Yes. Moss stitch is a practical blanket stitch because it creates a visually consistent fabric with a relatively simple repeat. Begin by making a gauge swatch, calculating the starting chain for your desired width, and estimating the row count for your intended length. For striped blankets, plan the color sequence before starting and keep the edge technique consistent throughout.
5. Is moss stitch reversible?
The front and back of crochet moss stitch have a similar woven texture, making it a useful choice for blankets, scarves, and accessories where both surfaces are visible. Small differences may appear because of yarn twist, tension, or color changes. Neatly woven yarn ends and consistent row construction help the finished fabric look attractive from either side.
6. Why does my moss stitch look like ordinary single crochet?
You may be inserting the hook into the top of each single crochet rather than into the chain-one spaces. Moss stitch gets its distinctive appearance from the alternating relationship between stitches and openings. Locate the small gap between neighboring single crochets on the preceding row, then work the next single crochet into that gap.
7. What crochet hook works best for moss stitch?
There is no single ideal hook size. Begin with the hook recommendation on your yarn label and make a small swatch. If the fabric feels stiff, test a slightly larger hook. If the stitches are too loose for a structured project, try a smaller one. Choose the final size based on stitch definition, desired drape, comfort, and measured gauge.
8. Can moss stitch be worked in the round?
Yes. Moss stitch can be adapted for working in joined rounds or continuous rounds, but the joining method, corners, and stitch placement must be planned to preserve the alternating pattern. A flat rectangular swatch is the easiest place to learn the basic rhythm before advancing to bags, circular accessories, or other three-dimensional projects. —
Your Next Moss Stitch Project
Once you can complete a rectangular swatch with consistent stitches and straight edges, use the same technique for a practical project. A cotton dishcloth is a manageable first choice because it allows you to practice a useful fabric without committing to many rows.
A striped scarf is a logical second project, giving you an opportunity to experiment with color transitions and yarn drape. For a more ambitious result, create a cozy autumn blanket using cream, caramel, rust, and muted olive green.
Three Practical Project Ideas
Beginner: Everyday Cotton Dishcloth
Choose smooth cotton yarn and work a square using the moss stitch repeat. Use a gauge sample to establish the foundation chain and number of rows needed for your preferred finished size. Finish with a secure yarn tail and, if desired, a simple edging.
Intermediate: Striped Moss Stitch Scarf
Select two or three coordinating colors. Practice changing yarn at row ends while preserving your turning-chain structure. Choose a hook that produces comfortable drape and check the scarf width before completing the full length.
Advanced Beginner: Cozy Striped Blanket
Make a larger gauge swatch with your chosen yarn. Calculate the desired foundation chain count, establish a repeating stripe sequence, and work systematically. Check the width periodically so errors do not accumulate over dozens of rows. A matching border can provide a finished frame if it lies flat without stretching or compressing the fabric.
Final Thoughts
Moss stitch proves that simple crochet techniques can produce beautifully refined fabric. Once the relationship between single crochet stitches and chain-one spaces becomes familiar, the repeat is easy to apply across many different projects.
Start with the 20-chain practice swatch, pay special attention to your turning-chain spaces, and count each row until your stitch placement becomes reliable.
Save this crochet moss stitch tutorial for your next project, and try a striped scarf or cotton dishcloth once your practice swatch has straight edges and an even woven texture.
Pin “How to Crochet Moss Stitch or Linen Stitch: Complete Beginner Guide” so you can find it when the yarn arrives.
Get the next free pattern first
One email a week. New patterns, no noise.
Yarn weights and hook sizes in this guide follow the Craft Yarn Council standards.
Keep going: How to Crochet the Moss Stitch (Linen, Granite): A Complete Beginner-to-Pro Tutorial · Crochet Moss Stitch: Easy Step-by-Step Tutorial, Pattern & Blanket Ideas · Crochet Moss Stitch: Easy Free Tutorial for Beginners





